
File History is a built-in Windows 11 feature designed to back up your personal folders—such as Documents, Pictures, and Desktop—on a scheduled basis to an external drive or network location. While great in theory, many users find that File History runs persistently, uses up system resources, or continues operating even after being turned off. Whether you’re looking to save storage, avoid redundant backups, or prevent system slowdowns, disabling File History can help streamline your Windows experience.
In this comprehensive guide, you’ll learn how to permanently disable File History using the Control Panel, Group Policy Editor, and the Windows Registry. We’ll also explore how to reset File History settings and troubleshoot persistent activity, so the feature stays off—once and for all.
Method 1: Disable File History via Control Panel (All Editions)
The Control Panel method is the easiest and safest way for most users, especially on Windows 11 Home.
Step-by-Step Instructions:
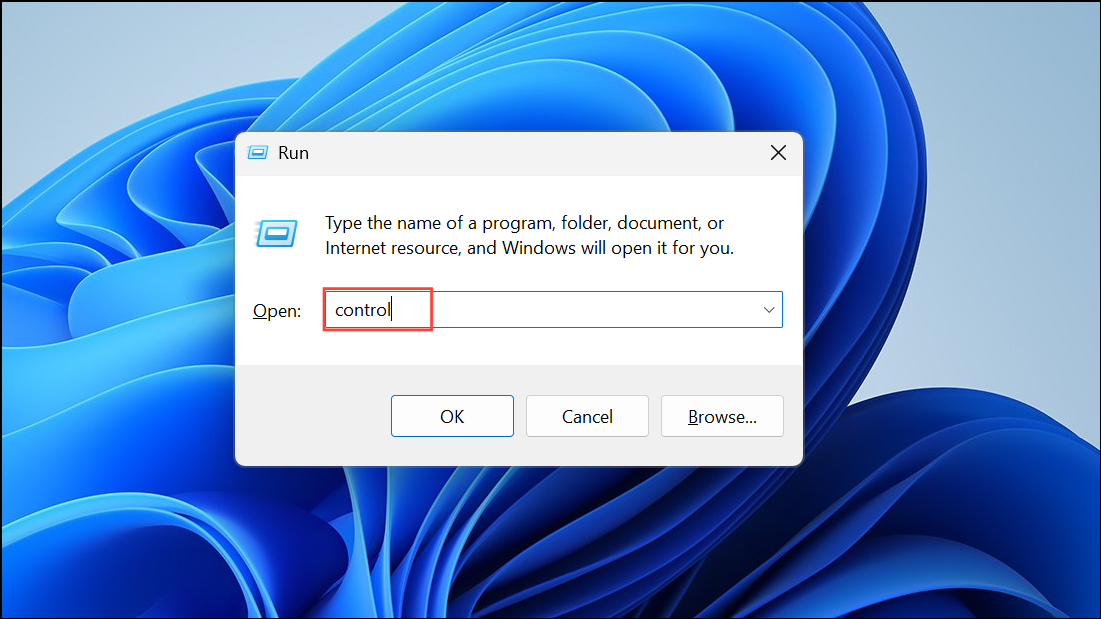
1- Open the Control Panel
Press Win + R, type control, and press Enter.
2- Navigate to File History Settings
Click System and Security > File History.

3- Turn Off File History
If File History is active, click the Turn off button.
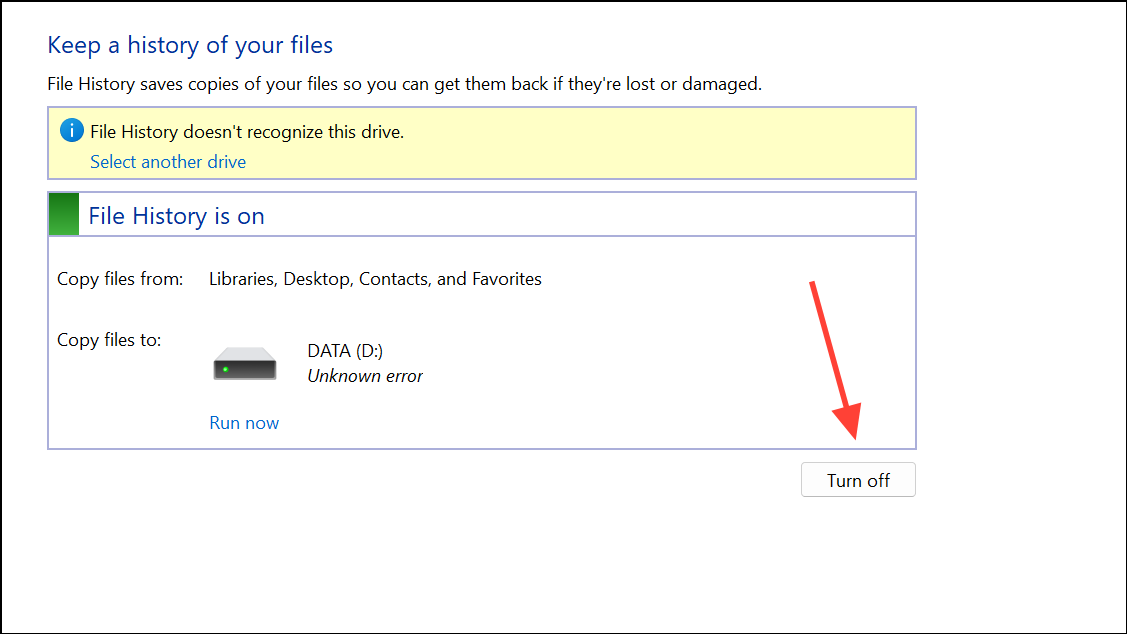
The status should now read “File History is off”.
Note: You can always return to this screen to re-enable File History by clicking Turn on.
Method 2: Use Group Policy Editor (Pro, Enterprise, Education)
If you’re using Windows 11 Pro or higher, the Group Policy Editor allows you to disable File History at a system-wide level—ideal for preventing reactivation or unauthorized changes.
How to Disable File History via Group Policy:
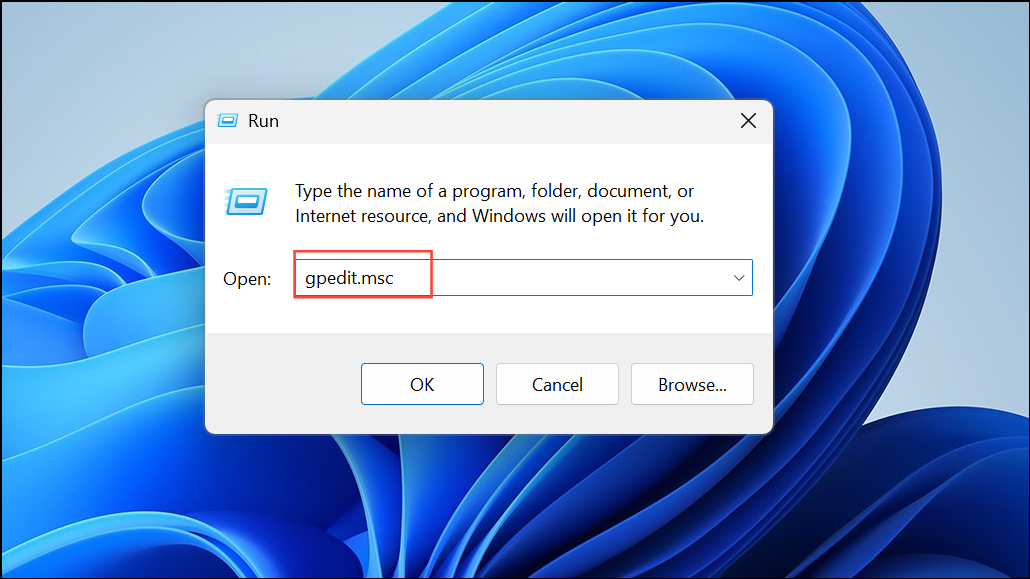
1- Launch Group Policy Editor
Press Win + R, type gpedit.msc, and press Enter.
2- Go to the File History Policy Settings
Navigate to:Computer Configuration > Administrative Templates > Windows Components > File History

3- Modify the Policy
Double-click Turn off File History in the right pane.

Select Enabled to disable File History.

Click Apply > OK.
4- Force Apply the Policy
Run gpupdate /force in Command Prompt or restart your PC.
🔒 This disables File History for all users on the computer.
Method 3: Disable File History Using the Windows Registry (Home Edition Compatible)
If you’re using Windows 11 Home, or Group Policy Editor is not accessible, you can disable File History via the Registry.
Instructions to Modify the Registry:
1- Open the Registry Editor
Press Win + R, type regedit, and press Enter.

2- Navigate to the File History Key
Go to:HKEY_LOCAL_MACHINE\SOFTWARE\Policies\Microsoft\Windows
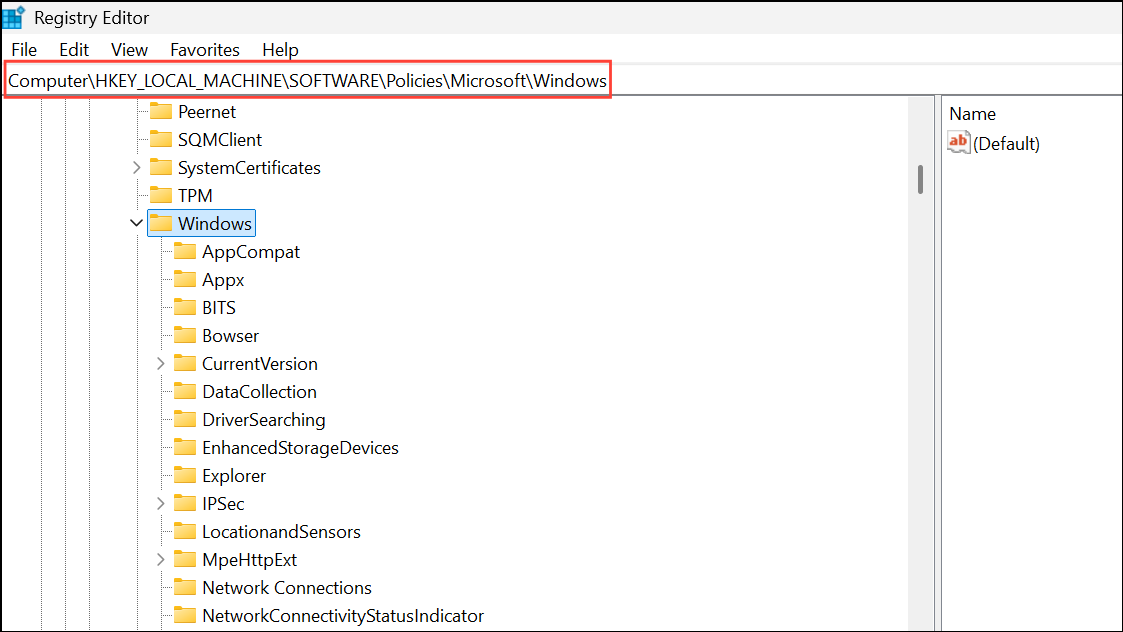
3- Create the FileHistory Key (If Missing)
Right-click the Windows folder > New > Key, name it FileHistory.

4- Add the Disable Value
Right-click inside the FileHistory key > New > DWORD (32-bit) Value.
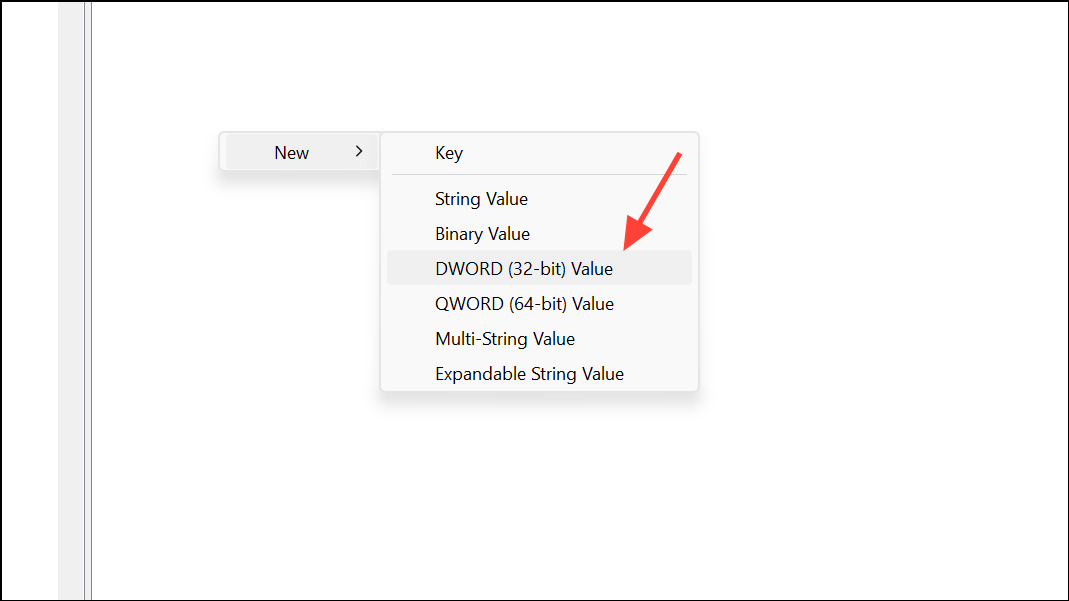
Name it Disabled.
5- Set Value to Disable File History
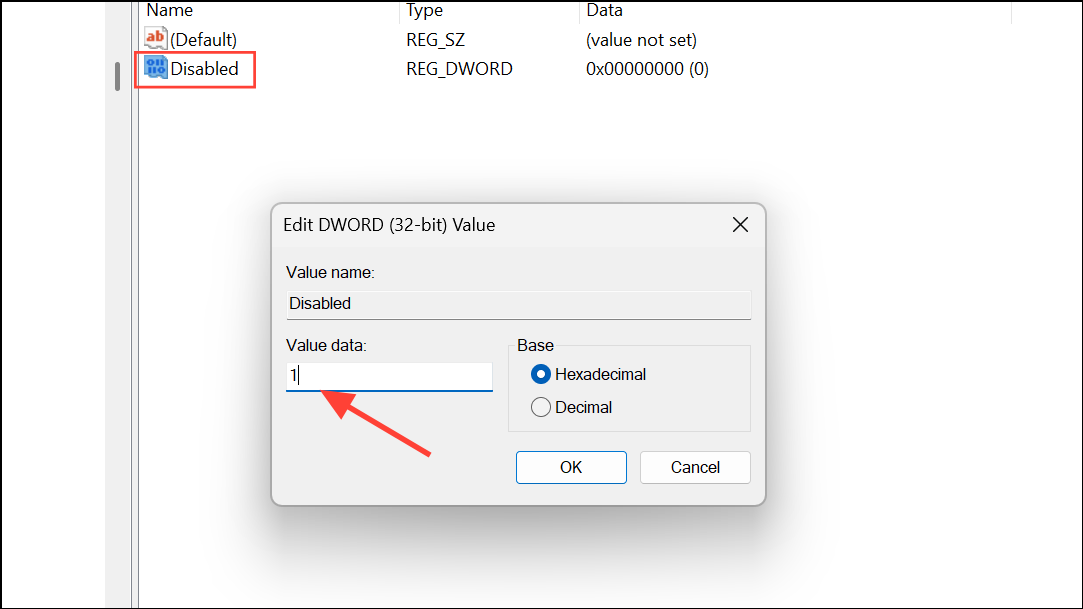
Double-click the Disabled value.
Set Value data = 1, then click OK.
6- Restart Your PC
Restart to apply the change.
⚠️ Always back up your registry before making changes. To re-enable, delete the
DisabledDWORD or change its value to0.
Reset File History Settings (Optional but Recommended)
If File History continues to operate or appears misconfigured, you may need to reset its settings and cache.
How to Reset File History:
1- Reveal Hidden Items in File Explorer
Open File Explorer > Click View > Show > Hidden items.

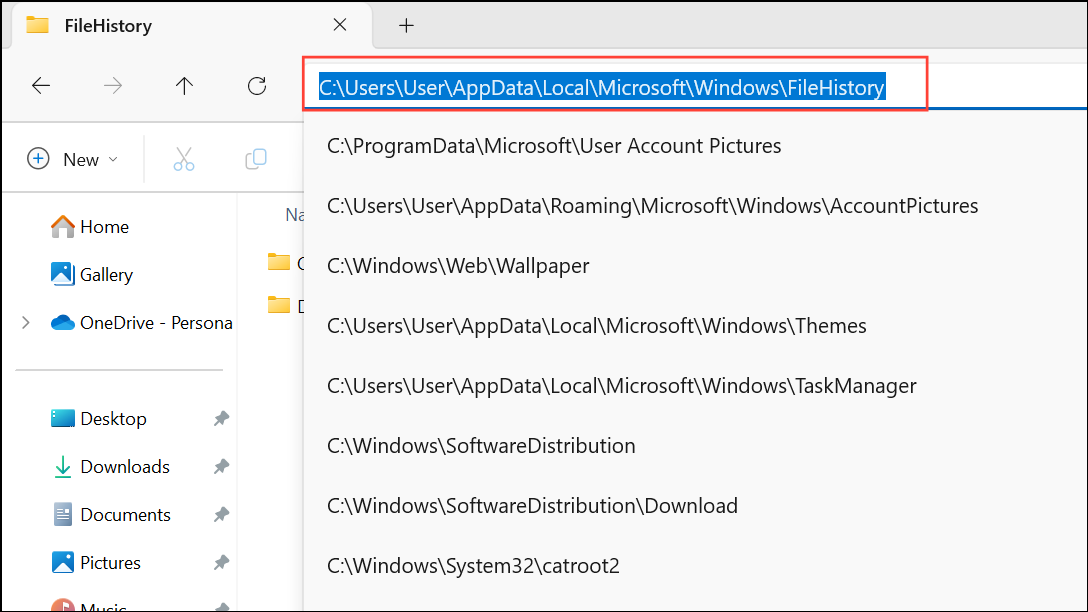
2- Navigate to File History Configuration
Go to:C:\Users\[YourUsername]\AppData\Local\Microsoft\Windows\FileHistory
3- Delete the FileHistory Folder Contents
Manually delete all items in the folder.
Or use Command Prompt: if exist "%UserProfile%\AppData\Local\Microsoft\Windows\FileHistory" RD /S /Q "%UserProfile%\AppData\Local\Microsoft\Windows\FileHistory"

🧹 This clears cached backup settings and completely resets File History.
Troubleshooting: When File History Won’t Stay Disabled
If File History keeps turning itself back on or consuming resources:
- Verify Settings:
- Double-check Control Panel, Group Policy, and Registry settings.
- Restart or Force Update Policies:
- Use
gpupdate /forceor restart your system after any change.
- Use
- Check Task Manager:
- Look for and end any FileHistory.exe processes still running.
- Investigate Other Backup Tools:
- Ensure OneDrive or third-party utilities aren’t auto-enabling backups.
- Repeat After Windows Updates:
- Major updates may reset system policies—repeat the above steps if needed.
Conclusion:
Disabling File History in Windows 11 helps reclaim system resources, stops redundant backups, and gives you full control over your data storage strategy. Whether you’re a casual user on Home edition or managing devices in a professional environment, using the Control Panel, Group Policy, or Registry Editor ensures File History stays off. By resetting and verifying your system settings, you can eliminate lingering processes and prevent reactivation after updates.
✅ Keep your system lean and in your control—disable File History and never worry about unwanted backups again.
And if you'd like to go a step further in supporting us, you can treat us to a virtual coffee ☕️. Thank you for your support ❤️!

We do not support or promote any form of piracy, copyright infringement, or illegal use of software, video content, or digital resources.
Any mention of third-party sites, tools, or platforms is purely for informational purposes. It is the responsibility of each reader to comply with the laws in their country, as well as the terms of use of the services mentioned.
We strongly encourage the use of legal, open-source, or official solutions in a responsible manner.
Comments