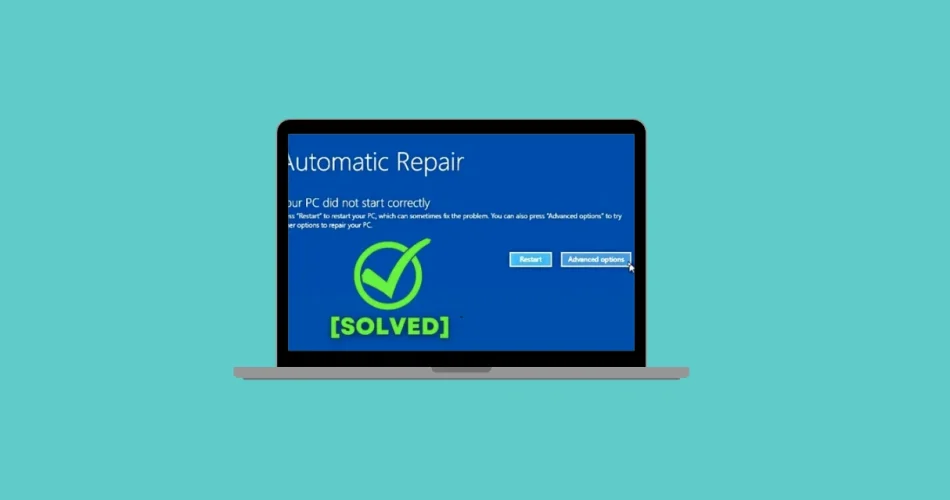
There are few phrases more disheartening for a Windows user than “Your PC Did Not Start Correctly.” This ominous message signals that your Windows 11 operating system has failed to load properly, leaving you locked out of your desktop, files, and essential applications. Whether triggered by a sudden power interruption, a recent configuration change, a faulty driver, or a problematic software update, this error can feel like a digital roadblock. The good news? It’s often resolvable.
This comprehensive guide will walk you through a series of increasingly advanced troubleshooting steps, from the simplest restart to more intricate system repairs. Our goal is to empower you to diagnose and fix the “Your PC Did Not Start Correctly” error, restoring your Windows 11 functionality and protecting your precious data. Let’s get your PC back in working order!
Initial Steps: Simple Solutions for Windows 11 Startup Issues
Sometimes, the simplest solution is the most effective. Before diving into complex diagnostics, try these quick fixes.
1. The Essential Restart
The first and often most effective step to resolve a “Your PC Did Not Start Correctly” error is a basic restart. This action can clear temporary glitches or boot sequence hiccups that might be preventing your system from loading correctly.
- Step 1: From the error screen displaying “Your PC Did Not Start Correctly,” you should see an option to “Restart.” Select this option.
- Step 2: Allow your computer to reboot. If Windows 11 loads successfully this time, the issue was likely a minor, transient error. You can then continue using your PC as normal.
- Step 3: If the error reappears after the restart, it indicates a more persistent problem, and you should proceed to the advanced troubleshooting methods below.
Advanced Troubleshooting: In-Depth Fixes for Persistent Errors
When a simple restart doesn’t suffice, it’s time to leverage Windows 11’s built-in recovery tools. Access these options via the “Advanced options” prompt on the error screen.
2. Utilize the Windows 11 Startup Repair Tool
Windows 11 features a powerful automated repair utility designed to fix common startup problems.
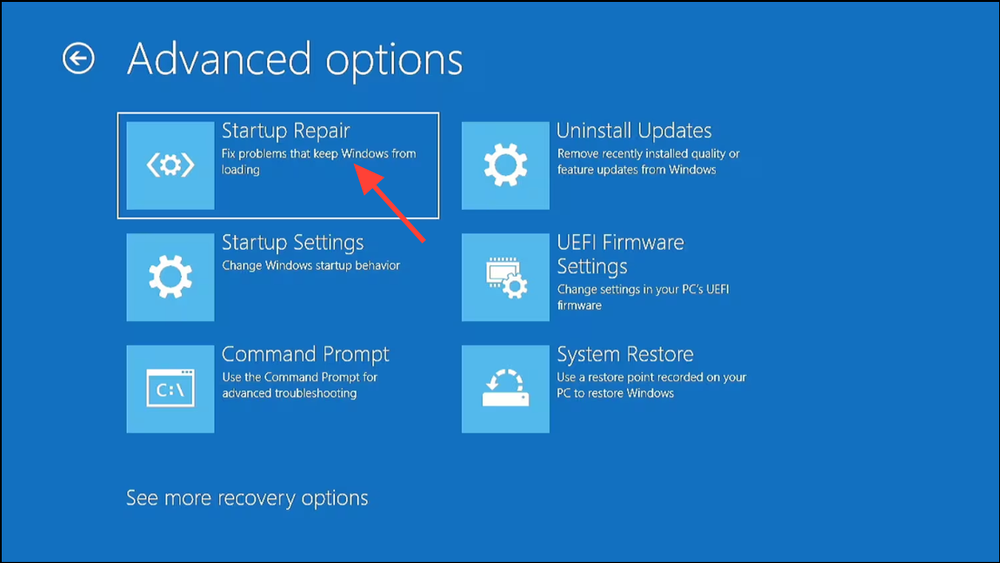
Step 1: From the “Your PC Did Not Start Correctly” screen, select “Advanced options.”
Step 2: Navigate to “Troubleshoot” > “Advanced options” > “Startup Repair.”
Step 3: You may be prompted to sign in with your Windows account credentials. Do so if required.
Step 4: The Startup Repair tool will now scan your system for issues preventing Windows from loading and attempt to perform automatic repairs. This process can take some time.
Step 5: Once the repair process completes, restart your PC to check if Windows 11 now boots correctly.
3. Boot Into Safe Mode to Diagnose and Rectify
Safe Mode starts Windows with a minimal set of drivers and services, making it an excellent environment for troubleshooting and resolving conflicts that prevent normal startup.
Step 1: From the error screen, choose “Advanced options” > “Troubleshoot” > “Advanced options” > “Startup Settings.”
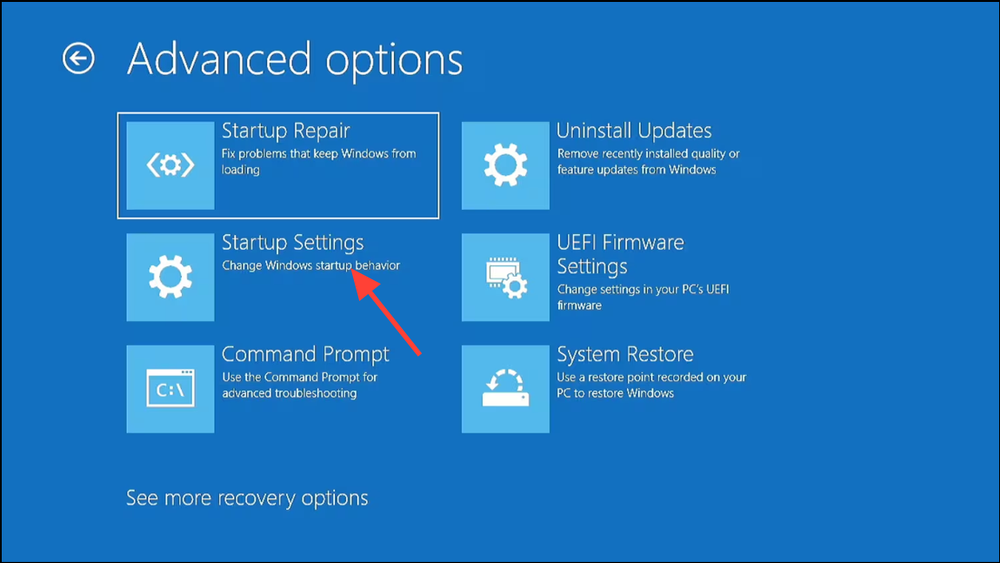
Step 2: Click the “Restart” button that appears.
Step 3: After your PC reboots, you’ll see a list of startup options. Press the corresponding key (typically 4 or F4 for standard Safe Mode, or 5 or F5 for Safe Mode with Networking) to enter Safe Mode.
Once successfully in Safe Mode, you can perform several crucial diagnostic and corrective actions:
Uninstall Recent Updates or Drivers: If you suspect a recent Windows update or driver installation caused the error, remove it from Safe Mode.
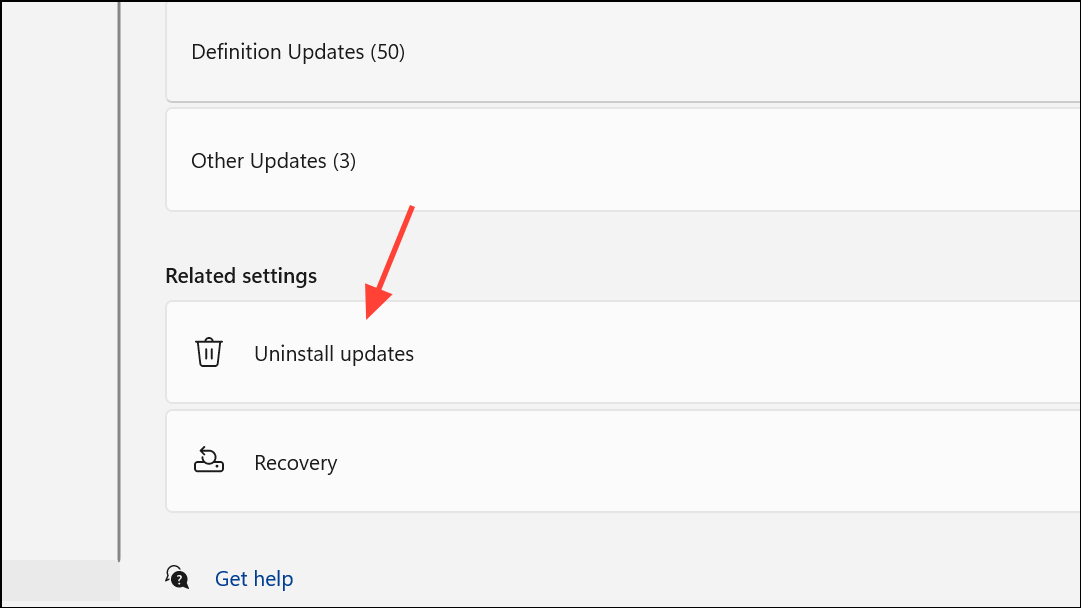
- For Windows 11 updates: Go to Settings > Windows Update > Update history > Uninstall updates. Select and remove the most recent update.
- For driver issues: Open Device Manager (you can search for it in the Start menu). Right-click on any recently installed or problematic devices (often indicated by a yellow exclamation mark) and select “Uninstall device.”

Backup Important Files: While in Safe Mode, it’s an opportune moment to back up any critical files to an external drive or cloud storage service (if using Safe Mode with Networking) to prevent potential data loss during further troubleshooting.
4. Reverse Problematic Windows Updates
If you’ve identified a recent Windows update as the culprit for your “Your PC Did Not Start Correctly” error, you can roll it back directly from the advanced startup menu.
Step 1: From the advanced startup options (accessed via “Advanced options” on the error screen), navigate to “Troubleshoot” > “Advanced options” > “Uninstall Updates.”
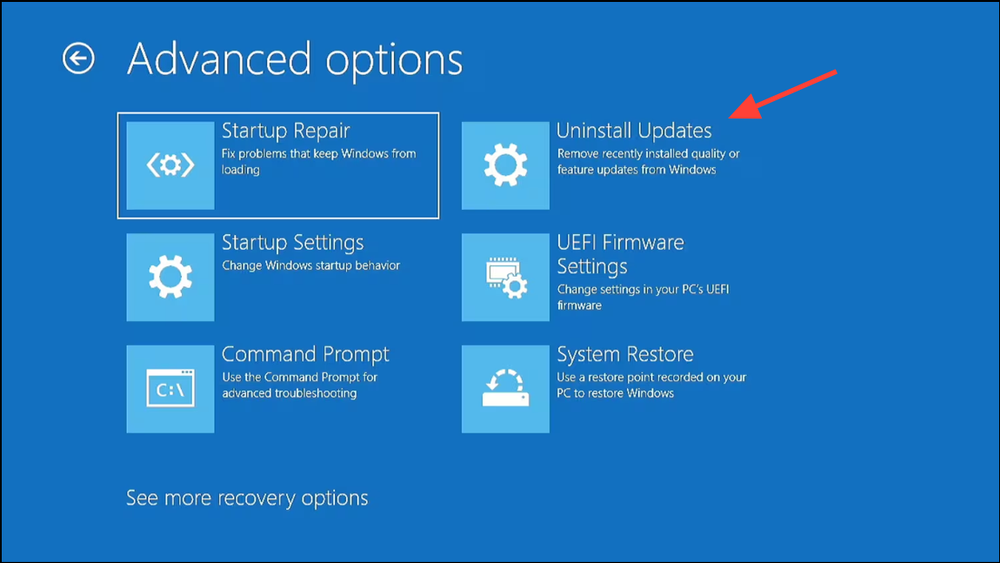
Step 2: You’ll be given the choice to uninstall the latest Quality Update (smaller, more frequent updates) or the latest Feature Update (larger, less frequent version upgrades). Choose the one you suspect is causing the issue.
Step 3: Follow the on-screen prompts to complete the uninstallation. This process might take some time.
Step 4: Once the update is removed, restart your computer and check if Windows 11 boots normally.
5. Utilize System Restore to Revert Changes
System Restore allows you to revert your computer’s system files, installed applications, Windows Registry, and system settings to a previous point in time. This can be invaluable if the error started after a specific change or installation.
Step 1: From the advanced startup options, select “Troubleshoot” > “Advanced options” > “System Restore.”
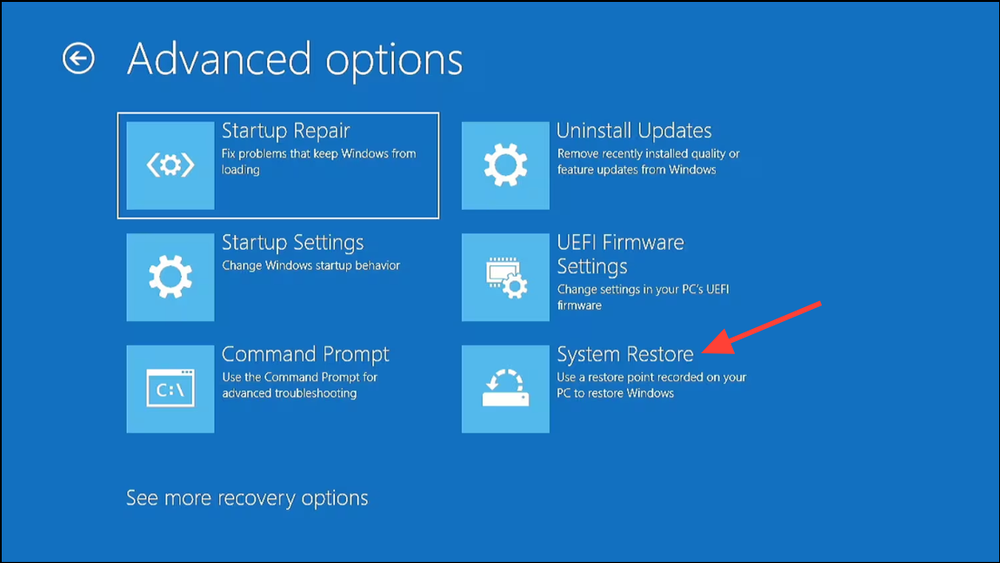
Step 2: Follow the on-screen instructions to select a restore point. Choose a point created before the “Your PC Did Not Start Correctly” error began appearing.
Step 3: Confirm your choice and allow System Restore to complete the process. Your PC will restart.
Important Note: If you haven’t created any system restore points previously, this option will not be available, and you’ll need to proceed to the next troubleshooting method.
6. Repair Corrupted Boot Configuration Data (BCD)
The Boot Configuration Data (BCD) stores critical boot options and parameters. Corruption in the BCD can directly lead to startup failures like “Your PC Did Not Start Correctly.” Repairing it often resolves these issues.
Step 1: From the advanced startup options, select “Troubleshoot” > “Advanced options” > “Command Prompt.”
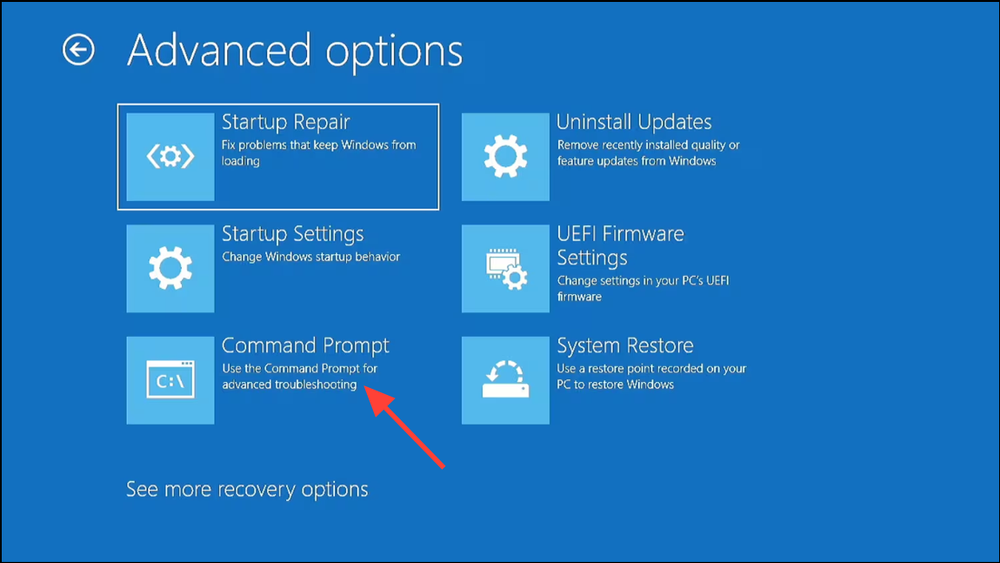
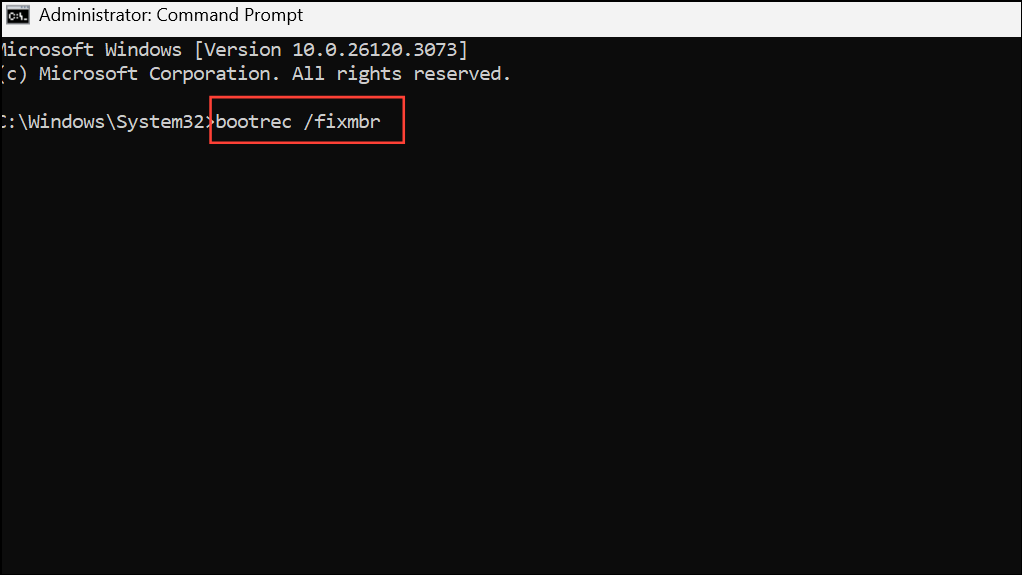
Step 2: Once the Command Prompt window appears, enter the following commands one at a time, pressing Enter after each:
bootrec /fixmbr (This command writes a Windows 11-compatible Master Boot Record to the system partition.)
bootrec /fixboot (This command writes a new boot sector to the system partition.)
bootrec /rebuildbcd (This command scans for Windows installations and allows you to add them to the BCD.)
Step 3: After all commands have been executed, type exit and press Enter to close the Command Prompt.
Step 4: Restart your PC to see if Windows 11 boots correctly.
7. Reset Your PC: The Last Resort
If all previous methods have failed to resolve the “Your PC Did Not Start Correctly” error, performing a PC reset is often the final solution. This process essentially reinstalls Windows 11.
- Step 1: From the advanced recovery menu, select “Troubleshoot” > “Reset this PC.”
- Step 2: You will be presented with two crucial options:
- “Keep my files”: This option reinstalls Windows 11 but attempts to preserve your personal files. However, all installed applications and settings will be removed.
- “Remove everything”: This option performs a clean reinstallation of Windows 11, deleting all personal files, applications, and settings. This is akin to a fresh start.
- Step 3: Choose the option that best suits your needs. If you can, always back up your important data before choosing “Remove everything,” as it will lead to permanent data loss. Follow the on-screen prompts to proceed with the reset.
What if the Reset Fails or You Can’t Access the Recovery Environment?
In rare cases, the reset process itself might fail, or your system might be too corrupted to even access the recovery environment. In such scenarios, you’ll need to create Windows 11 installation media:
- Step 1: On another working computer, download the Windows 11 Media Creation Tool from Microsoft’s official website.
- Step 2: Use the tool to create a bootable USB drive (you’ll need an empty USB drive with at least 8GB of space).
- Step 3: Insert the bootable USB into your problematic PC and configure your PC’s BIOS/UEFI settings to boot from the USB drive.
- Step 4: Once booted from the USB, instead of clicking “Install now,” select “Repair your computer” in the lower-left corner. This will bring you to the same advanced recovery environment, allowing you to try the “Reset this PC” option or any of the other troubleshooting steps mentioned above.
Conclusion:
Encountering the “Your PC Did Not Start Correctly” error in Windows 11 can be incredibly frustrating, but as you’ve seen, there are many powerful tools and techniques at your disposal to resolve it. By systematically working through the steps outlined in this guide, from a simple restart to a full PC reset, you significantly increase your chances of getting your system back up and running.
Remember to approach each step methodically, prioritizing data backup before more drastic measures. With patience and these comprehensive instructions, you can conquer this common Windows 11 startup problem and restore seamless access to your digital world. Don’t let a boot error keep you from your productivity or entertainment any longer!
And if you'd like to go a step further in supporting us, you can treat us to a virtual coffee ☕️. Thank you for your support ❤️!

We do not support or promote any form of piracy, copyright infringement, or illegal use of software, video content, or digital resources.
Any mention of third-party sites, tools, or platforms is purely for informational purposes. It is the responsibility of each reader to comply with the laws in their country, as well as the terms of use of the services mentioned.
We strongly encourage the use of legal, open-source, or official solutions in a responsible manner.
Comments