Is your Windows 11 desktop looking a little… bland? Are those once-familiar icons now blank, white rectangles, leaving you squinting to find the programs you need? This frustrating issue often stems from problems within your operating system, but don’t worry, it’s usually fixable! This guide provides clear, actionable steps to troubleshoot and restore your colorful icons, getting your desktop back to its visually appealing and functional best.
Why Are My Icons Blank? Unmasking the Culprit
The appearance of blank or white icons in Windows 11 typically indicates a breakdown in the system’s ability to link your shortcuts and executable files to their corresponding visual representations. This can be caused by several factors, including corrupted registry entries, a damaged icon cache, or problems with system files. Let’s dive into the solutions.
Step-by-Step Guide to Restoring Your Icons
Here’s how to troubleshoot and repair those missing icons:
1. Tweak the Registry: Delete the IconHandler Key
The Windows registry holds crucial information about how files are handled. Sometimes, a problematic entry can mess up icon display.
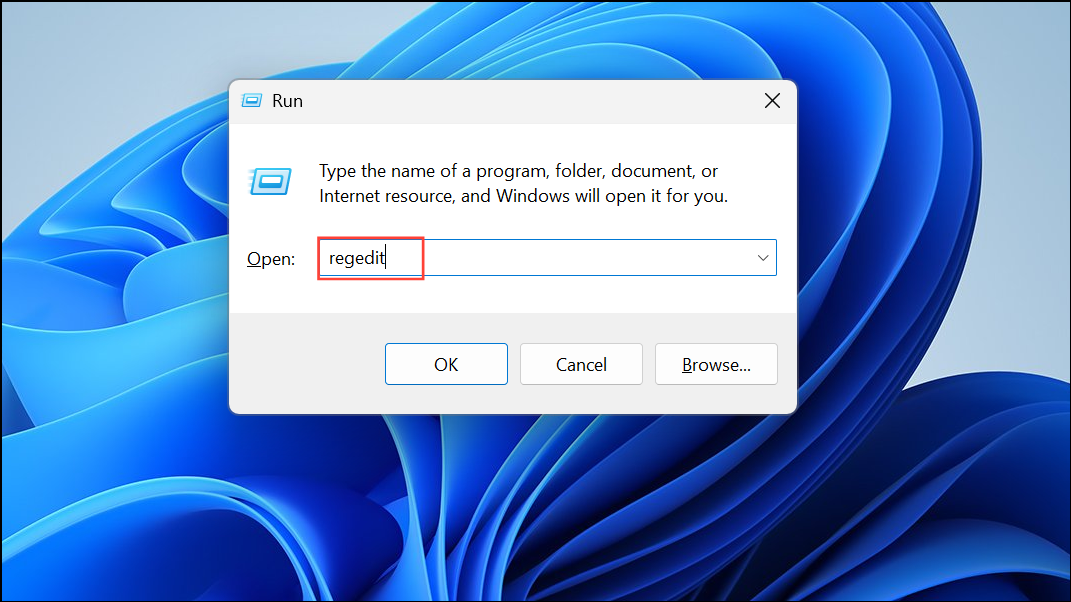
Step 1: Press Windows key + R, type regedit.exe, and press Enter. Approve the User Account Control prompt.
Step 2: In the Registry Editor, navigate to: HKEY_CLASSES_ROOT\exefile\shellex\

Step 3: Locate the IconHandler key. Right-click it and select Delete. Confirm the deletion.
Step 4: Close the Registry Editor and restart your computer. Windows will rebuild icon associations.
2. Clear the Cache: Rebuild the Icon Cache
The icon cache is a database that stores your icons for faster loading. When it gets corrupted, you’ll see missing or blank icons.
Step 1: Open File Explorer. Click the three-dot menu on the toolbar, and select Options.
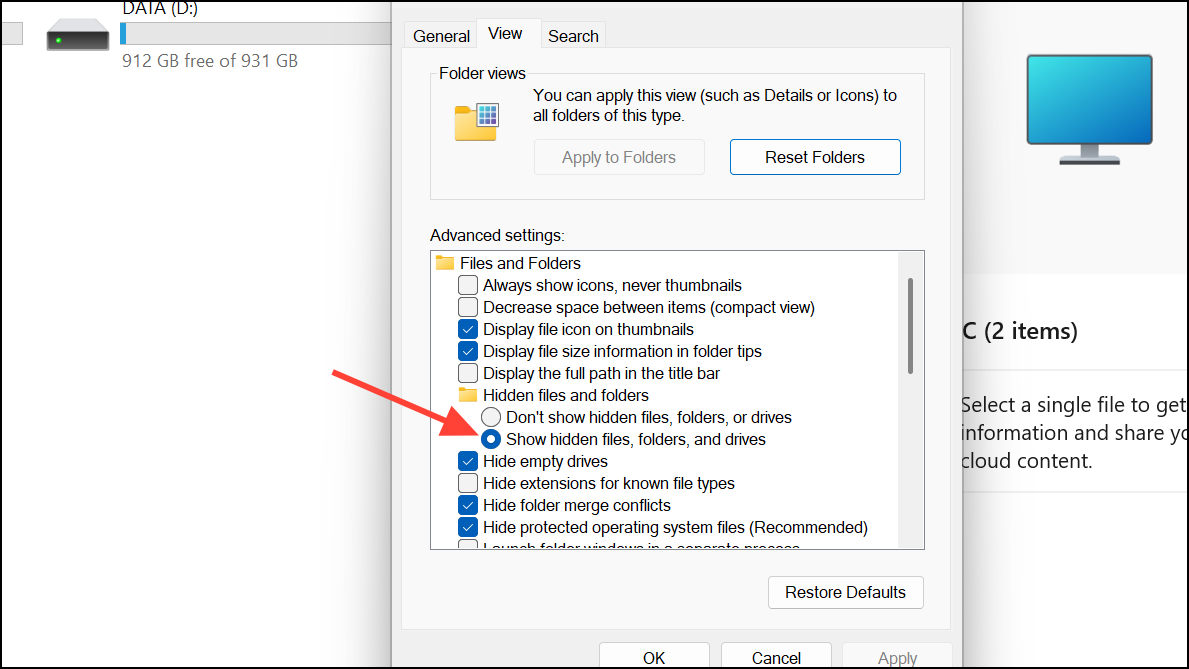
Step 2: In Folder Options, go to the View tab and check “Show hidden files, folders, and drives.” Click OK.
Step 3: Navigate to C:\Users\$YourUsername]\AppData\Local and find any files named IconCache.db or similar.

Step 4: Delete these icon cache files. You may need to log out and back in, or restart in Safe Mode if the file is in use.
Step 5: Restart your computer. Windows will automatically rebuild the cache.
3. System File Check: Run SFC and DISM Scans
System file errors can lead to icon problems. Running these tools can repair corrupted files.
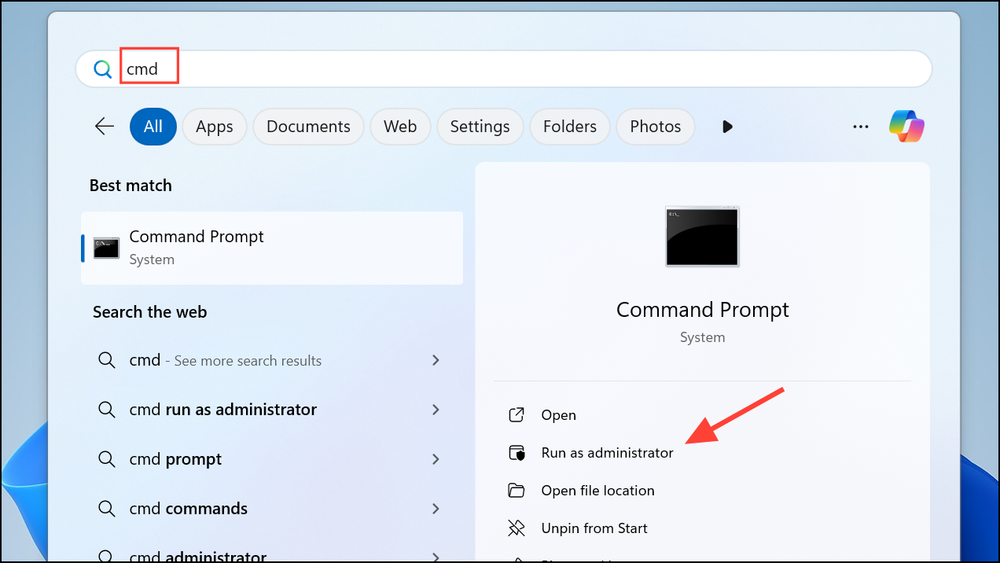
Step 1: Open the Start menu, type cmd, right-click “Command Prompt,” and select “Run as administrator.”
Step 2: In the Command Prompt window, type sfc /scannow and press Enter.
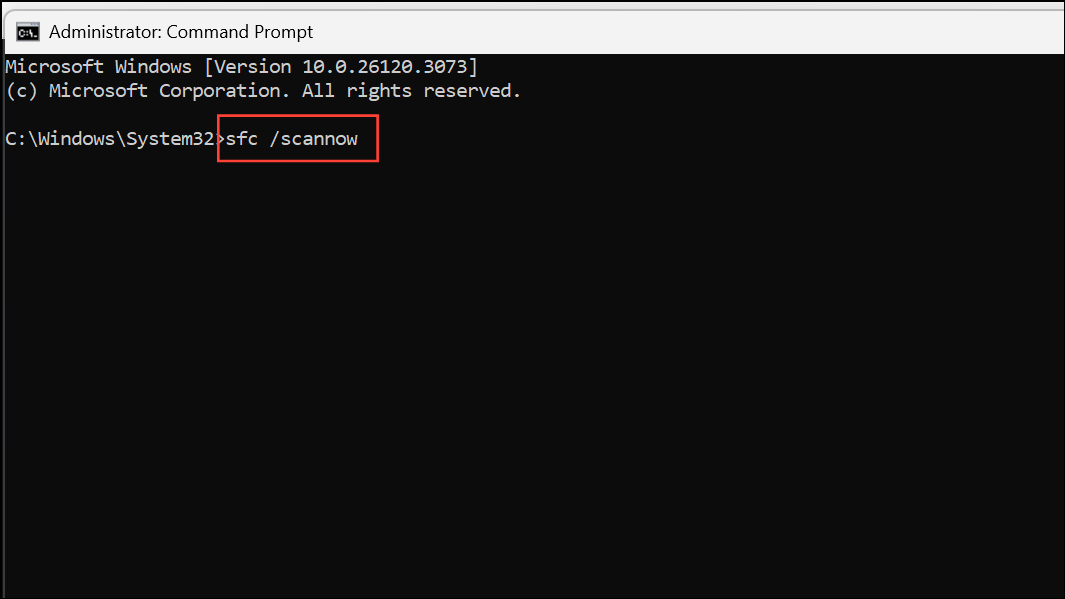
Step 3: Wait for the scan to complete. Restart if repairs are made. If SFC fails, run: dism /online /cleanup-image /restorehealth
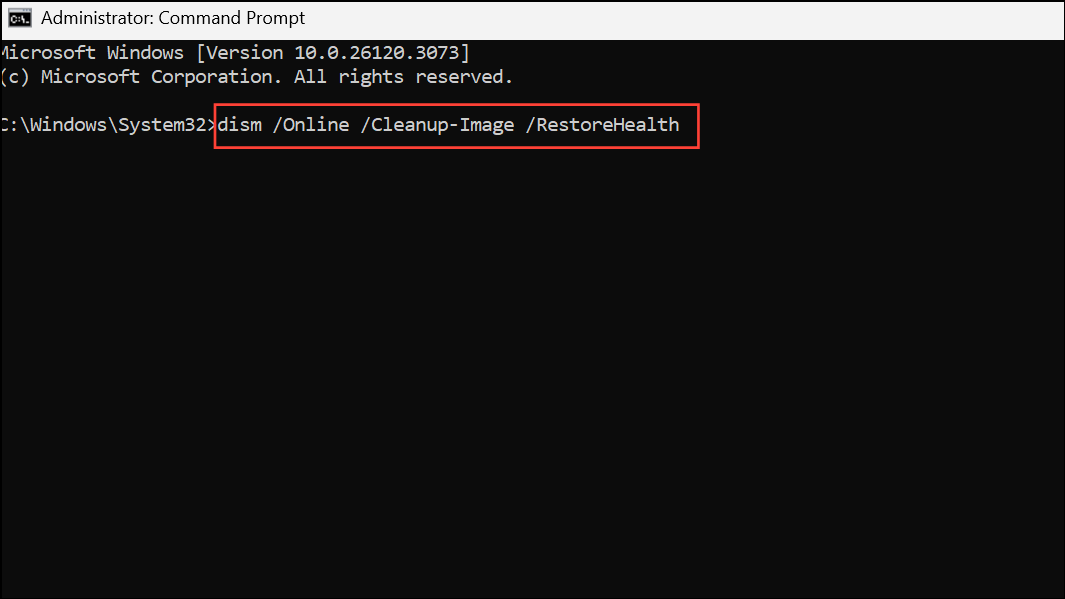
Step 4: After DISM completes, restart your computer.
4. Driver Check: Update or Reinstall Display Drivers
Outdated display drivers can cause graphical glitches.
Step 1: Right-click “Start” and select “Device Manager.” Expand “Display adapters.”

Step 2: Right-click your graphics card and choose “Update driver.” Select “Search automatically for drivers.”
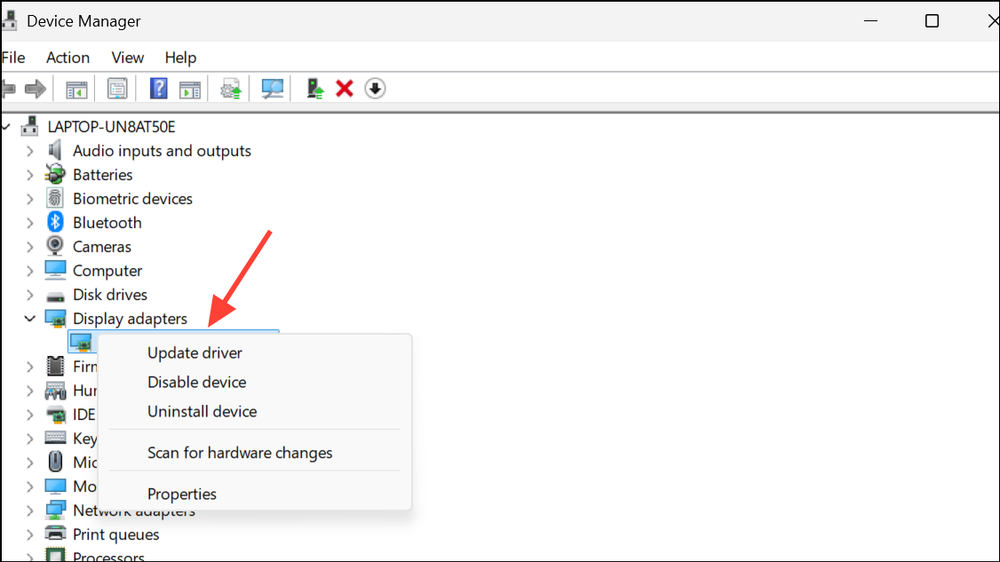
Step 3: If no updates are found, try “Uninstall device” and restart. Windows will reinstall the default driver.
5. Quick Fixes: Refresh Desktop and Restart Explorer
Sometimes, a simple refresh or Explorer restart can fix the issue.
Step 1: Right-click on the desktop and select “Refresh” (or press F5).
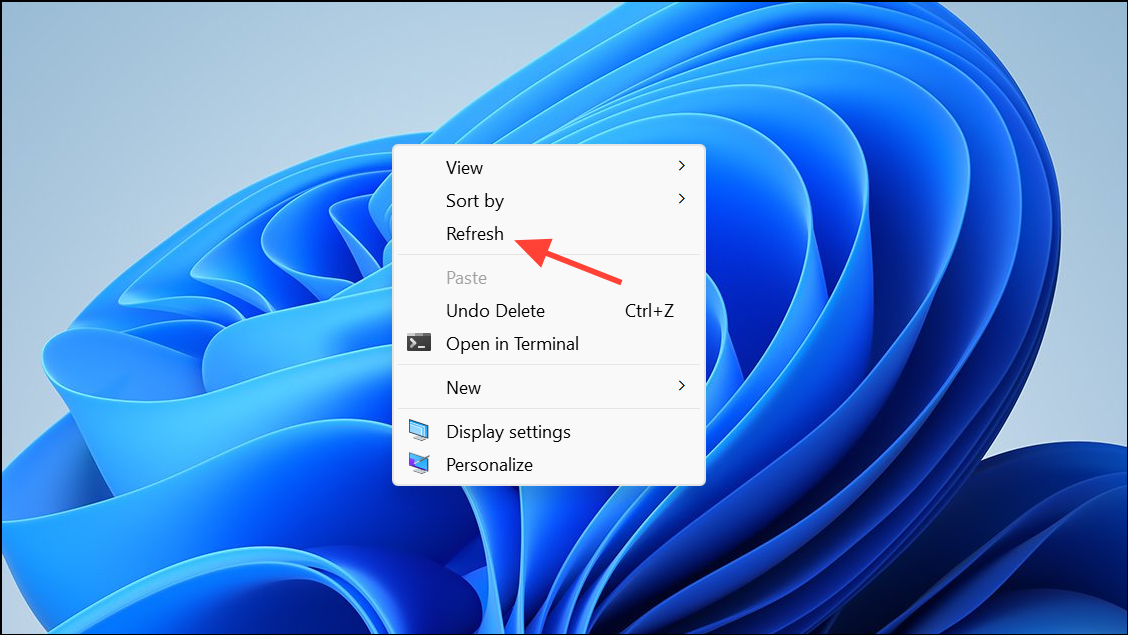
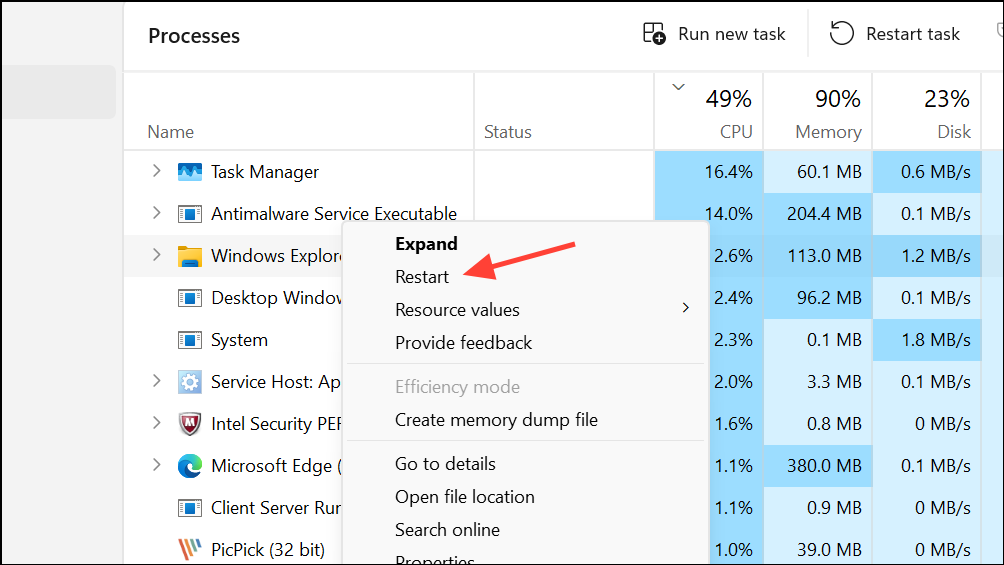
Step 2: If that doesn’t work, press Ctrl + Shift + Esc to open Task Manager. Locate “Windows Explorer,” right-click, and select “Restart.”
6. Tweak or Remove: Check for Customization Tools
Custom themes or icon packs may cause conflicts.
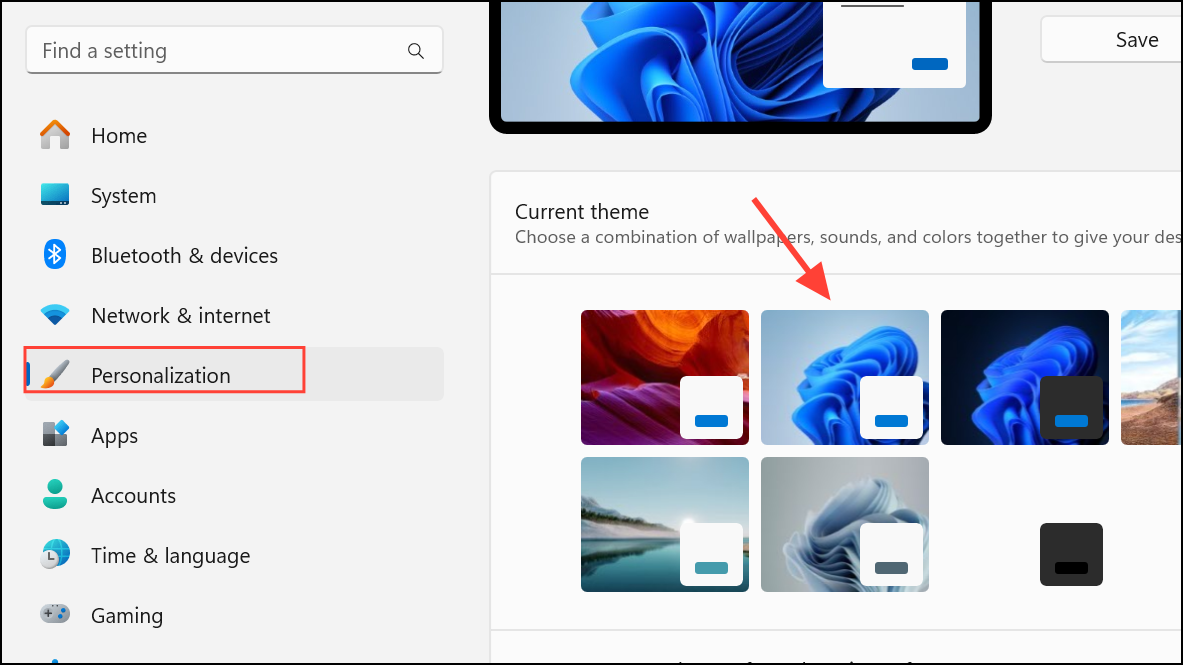
Step 1: Open Settings, go to “Personalization” > “Themes,” and switch to a default Windows theme.
Step 2: Uninstall or disable any third-party icon or desktop customization applications.
7. Isolate the Culprit: Perform a Clean Boot
Identify if a background program is causing the problem.
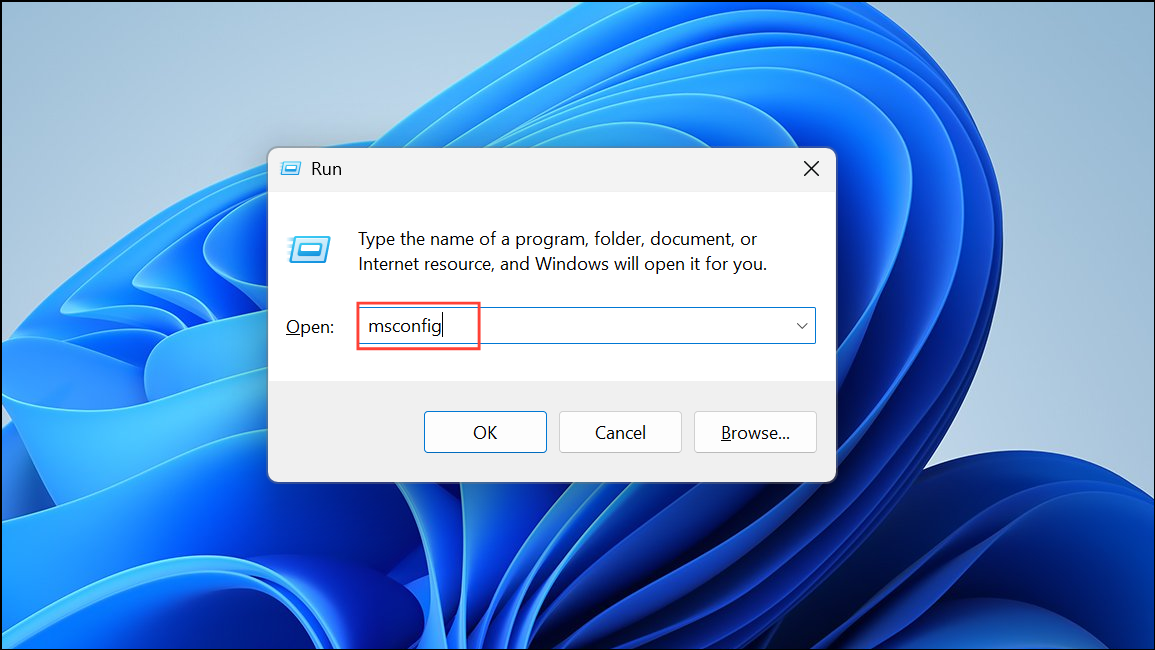
Step 1: Press Windows + R, type msconfig, and press Enter.
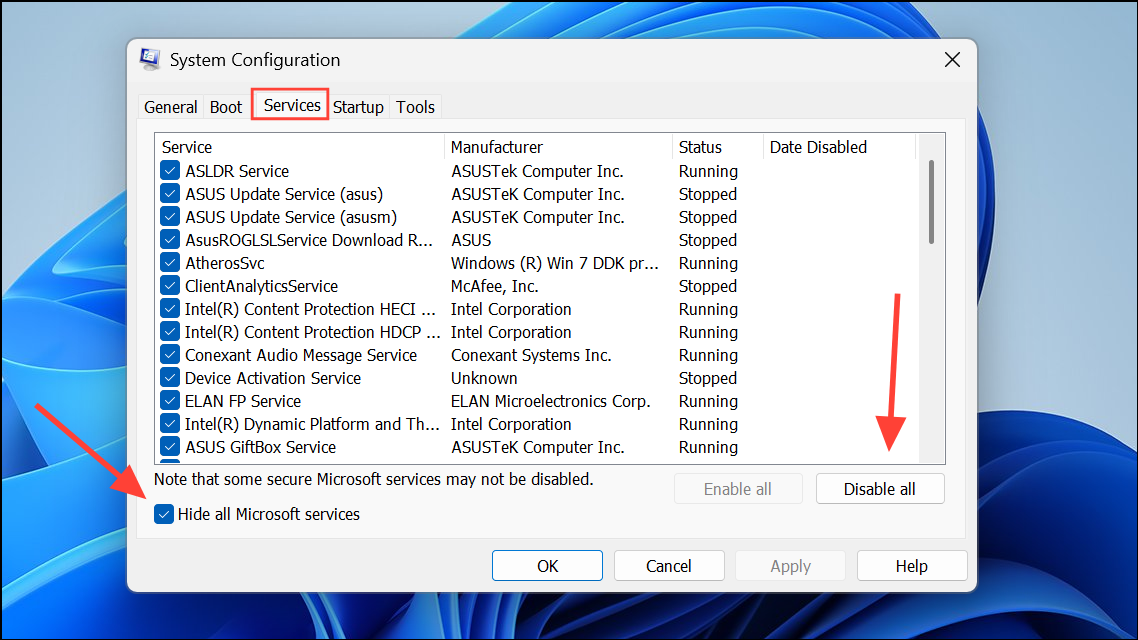
Step 2: In System Configuration, go to the “Services” tab, check “Hide all Microsoft services,” then click “Disable all.”
Step 3: Go to the “Startup” tab, click “Open Task Manager,” and disable all startup items. Close Task Manager, then click “OK” in System Configuration and restart your computer.

Step 4: If icons are correct after the clean boot, re-enable startup items and services one by one to find the culprit.
8. Stay Up-to-Date: Update Windows 11
Keep your system up-to-date with the latest bug fixes.
Step 1: Open Settings, go to “Windows Update,” and click “Check for updates.”

Step 2: Download and install any available updates, then restart your computer.
Conclusion:
Dealing with blank white icons in Windows 11 can be frustrating, but these steps provide a comprehensive approach to diagnosing and resolving the issue. By systematically addressing potential causes, from the registry and icon cache to display drivers and system files, you can often restore your icons and reclaim a visually appealing and functional desktop experience. Regular maintenance and keeping your system updated will help prevent this issue from returning.
And if you'd like to go a step further in supporting us, you can treat us to a virtual coffee ☕️. Thank you for your support ❤️!

We do not support or promote any form of piracy, copyright infringement, or illegal use of software, video content, or digital resources.
Any mention of third-party sites, tools, or platforms is purely for informational purposes. It is the responsibility of each reader to comply with the laws in their country, as well as the terms of use of the services mentioned.
We strongly encourage the use of legal, open-source, or official solutions in a responsible manner.
Comments