Encountering the error message: “The installation of this device is forbidden by system policy. Contact your system administrator.” can be incredibly frustrating, especially when you are the “system administrator” of your own Windows 11 PC. This seemingly insurmountable obstacle can prevent you from installing essential hardware like new Wi-Fi adapters, Bluetooth devices, or even simple USB drives, effectively paralyzing your ability to connect vital peripherals.
This issue typically arises when underlying system-level policies, often remnants from previous configurations, IT environments, or even third-party software, are actively blocking driver or hardware updates. While designed for managed corporate environments, these restrictions can mistakenly apply to personal computers, leaving users bewildered. Fortunately, resolving this error is not impossible. It requires a systematic approach to identify and remove these blocking policy restrictions, restoring your ability to install and utilize your hardware fully. This guide will walk you through the precise steps needed to regain control over your device installations.
Resolving “The Installation of This Device is Forbidden by System Policy” in Windows 11
The “Device installation forbidden by system policy” error in Windows 11 is a clear indicator that a security or management policy is actively preventing a device driver or hardware component from being installed. This policy often originates from Group Policy settings, either locally configured or pushed from a domain (if your PC was ever part of a corporate network). Even if you possess administrator rights, these policies can override user permissions.
Common causes include:
- Accidental Group Policy Configuration: Policies enabled by mistake or via scripts.
- Remnants from Corporate Environments: If your PC was previously managed by an organization (e.g., a work or school network), these policies can persist.
- Third-Party Software Interference: Some security suites or system optimizers might apply restrictive policies.
- Corrupted System Services: Essential services required for installations might be disabled or malfunctioning.
Let’s explore the most effective methods to address this issue.
Method 1: Remove Device Installation Restrictions in Local Group Policy Editor (Windows 11 Pro, Enterprise, Education)
The Local Group Policy Editor is the primary tool for managing system policies on professional editions of Windows 11. This method allows you to directly disable the policies that prevent device installations.
Step-by-Step Guide:
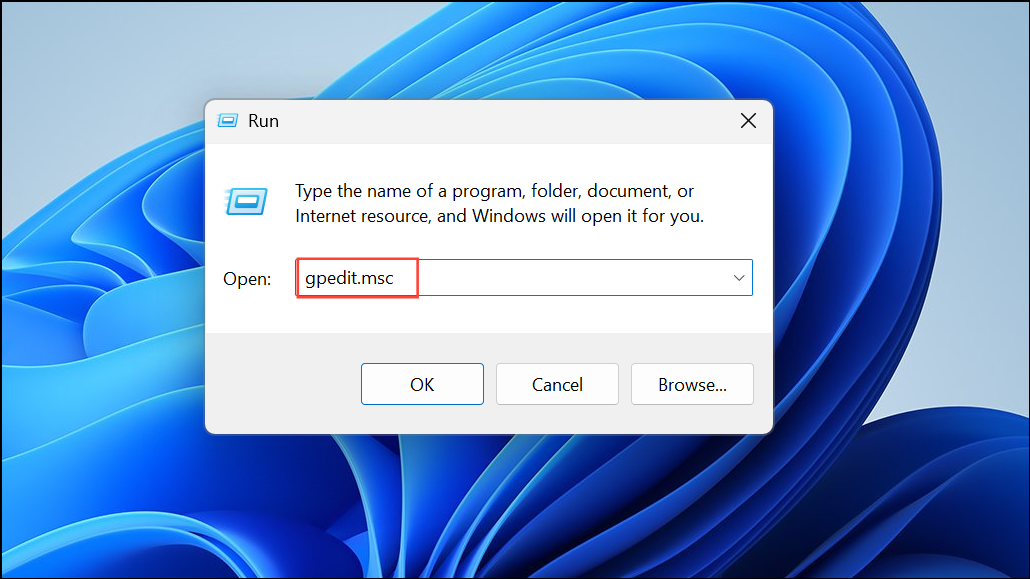
1- Open Local Group Policy Editor:
- Press
Windows key + Rto open the Run dialog. - Type
gpedit.mscand pressEnter. This tool is only available on Windows 11 Pro, Enterprise, and Education editions.
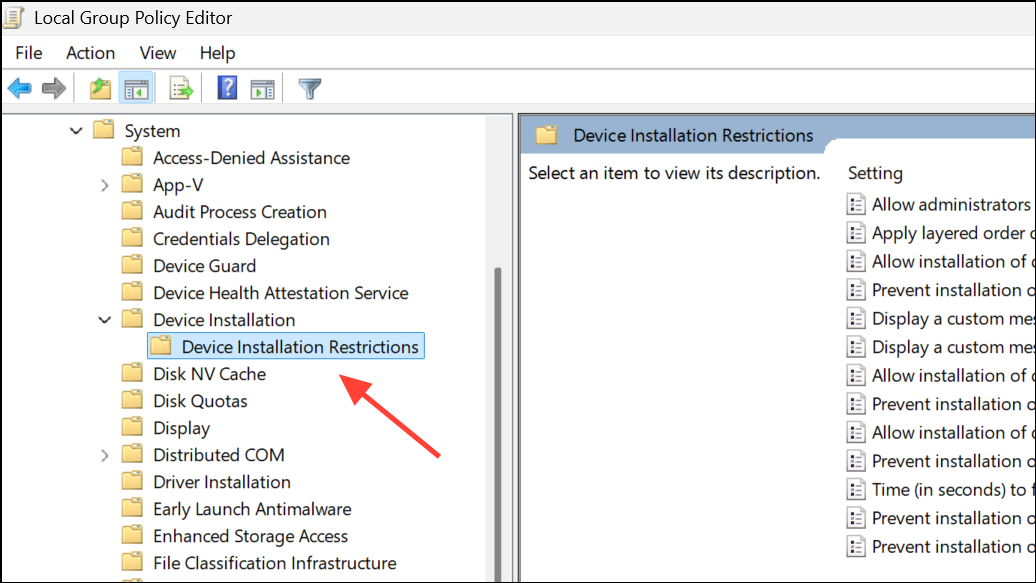
2- Navigate to Device Installation Restrictions:
In the left-hand panel of the Group Policy Editor, navigate through the following path: Computer Configuration > Administrative Templates > System > Device Installation > Device Installation Restrictions.
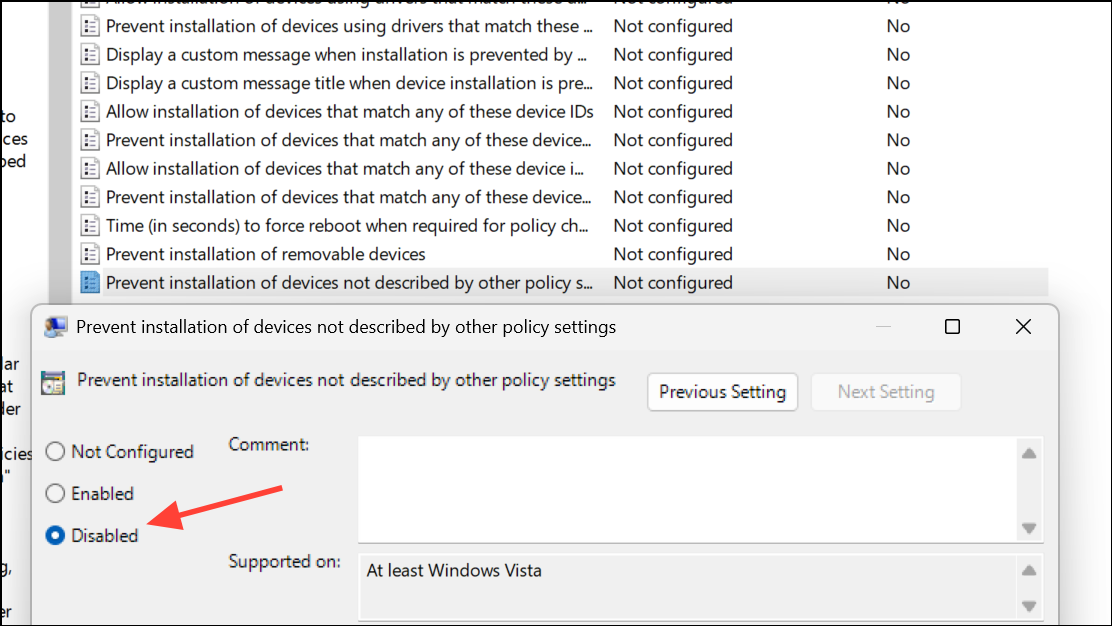
3- Disable Blanket Restrictions:
In the right-hand pane, locate and double-click the policy named “Prevent installation of devices not described by other policy settings”.
- In the properties window, select
Disabled. - Click
Apply, thenOK. Disabling this setting removes the overarching restrictions that block device installations unless they are explicitly allowed by other policies.
4- Review Other Restrictive Policies:
While in the Device Installation Restrictions section, review other policies that might be enabled and causing issues. Common ones include:
- “Prevent installation of removable devices”
- “Prevent installation of devices that match any of these device IDs”
If any of these are set to Enabled, consider setting them to Not Configured or Disabled depending on your specific needs and security posture. Be cautious when disabling policies you don’t fully understand.
5- Apply Changes and Restart:
- Close the Group Policy Editor.
6- Restart your computer. This step is crucial for the policy changes to take effect.
- After rebooting, attempt your device or driver installation again.
Method 2: Clear Device Installation Restrictions via Registry Editor (For Windows 11 Home and Advanced Users)
Windows 11 Home editions do not include the Group Policy Editor. However, you can achieve the same policy adjustments by directly editing the Windows Registry. This method is also useful for users of Pro/Enterprise who want to directly remove specific values.
Caution: The Windows Registry is a critical component of your operating system. Incorrect edits can lead to system instability or render your system unbootable. Always back up your registry before making any changes.
Step-by-Step Guide:
1- Open Registry Editor:
- Press
Windows key + R, typeregedit, and pressEnter.
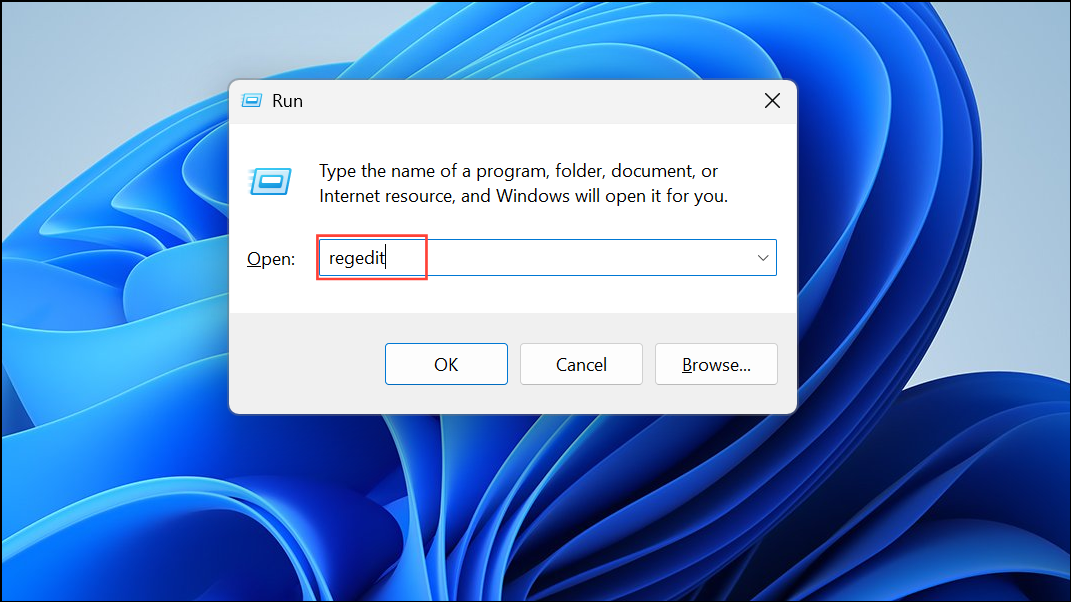
- Approve any User Account Control prompts.
2- Navigate to the Restrictions Key:
- In the Registry Editor, navigate to the following key:
HKEY_LOCAL_MACHINE\SOFTWARE\Policies\Microsoft\Windows\DeviceInstall\Restrictions - If the
DeviceInstallorRestrictionskeys do not exist, this particular policy might not be active, and you should check other methods.
3- Delete Problematic Values:
- Once inside the
Restrictionskey, look for values in the right-hand pane such as: DenyUnspecifiedDenyRemovableDevicesDenyDeviceIDs
If any of these values are present, right-click on them and select Delete. Confirm the deletion.
Delete the Restrictions Key (Optional):
If, after deleting specific values, the Restrictions key itself becomes empty (no values left in the right pane), you can optionally right-click on the Restrictions folder in the left pane and select Delete to remove the entire key. This effectively ensures no leftover policies.
4- Restart Your PC:
- Close the Registry Editor.
5- Restart your computer.
Try the device installation again. Removing these registry values lifts the policy restrictions preventing driver or hardware installations.
Method 3: Reset All Local Group Policy Settings to Default
If you suspect your computer has accumulated multiple conflicting or restrictive policies, perhaps from being previously managed by an organization or through third-party tools, resetting all local group policy settings to their default state can be an effective solution.
Step-by-Step Guide:
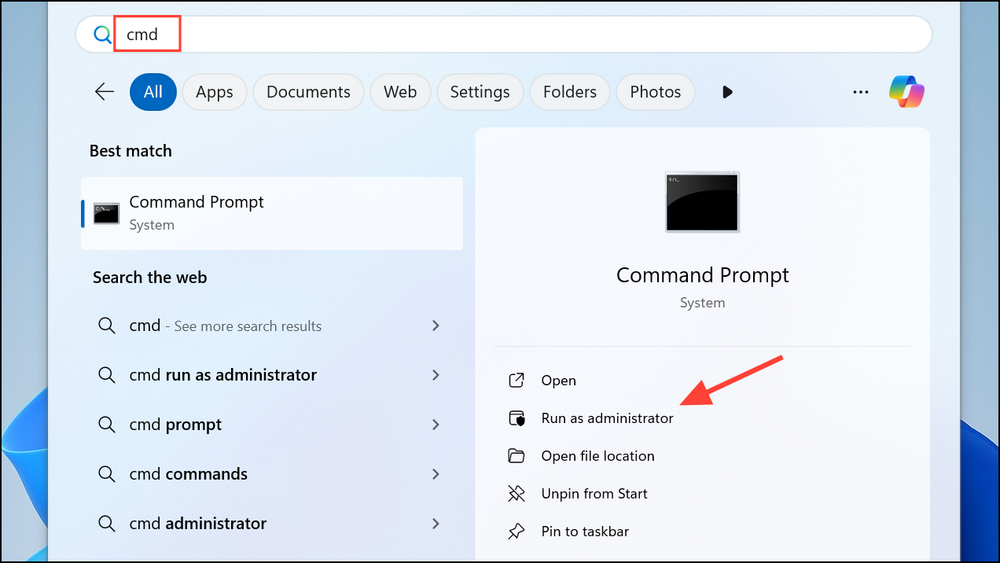
1- Open Command Prompt as Administrator:
- Press
Windows key + Sto open the search bar.
- Type
cmd, right-click onCommand Promptin the search results, and selectRun as administrator.
2- Delete Group Policy Folders:
- Execute the following commands one at a time. These commands delete the local group policy configuration folders.
RD /S /Q "%WinDir%\System32\GroupPolicy"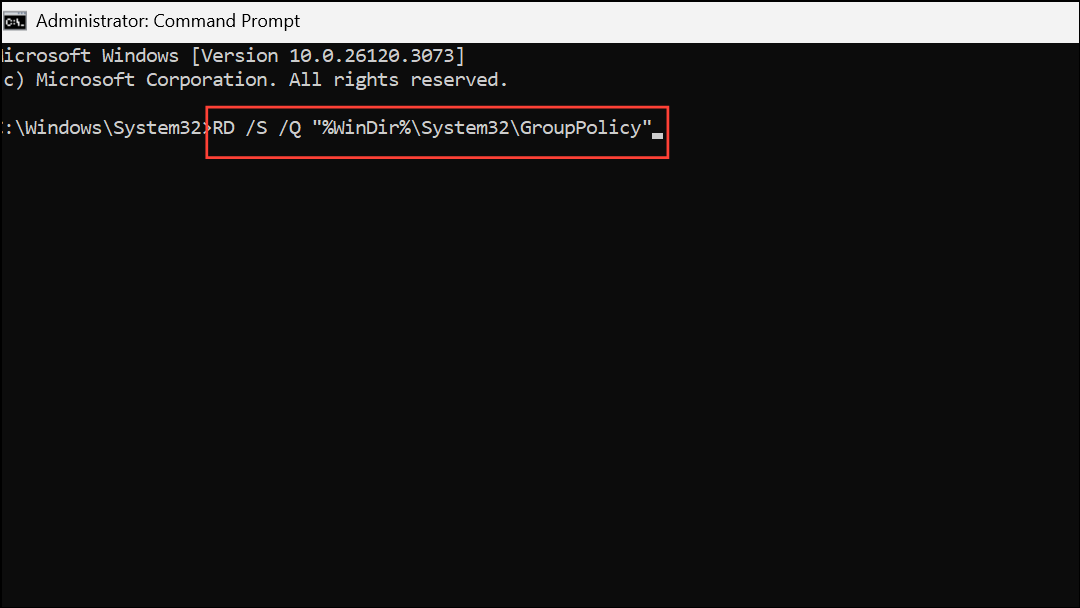
RD stands for Remove Directory, /S for all subdirectories, and /Q for quiet mode (no confirmation prompts).
RD /S /Q "%WinDir%\System32\GroupPolicyUsers"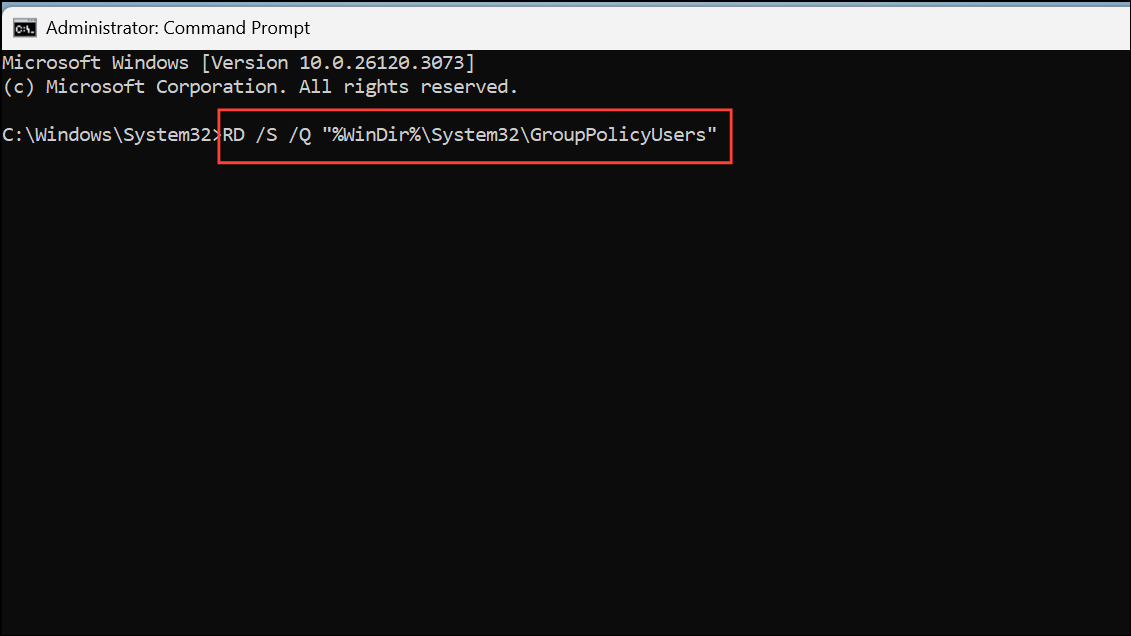
3- Restart Your Computer:
- After executing both commands, restart your computer.
4- Rebuild Group Policy Settings:
- Once your computer has restarted, open Command Prompt as administrator again (as in Step 1).
- Type the following command and press
Enterto force an update and rebuild of the group policy settings to their defaults:gpupdate /force
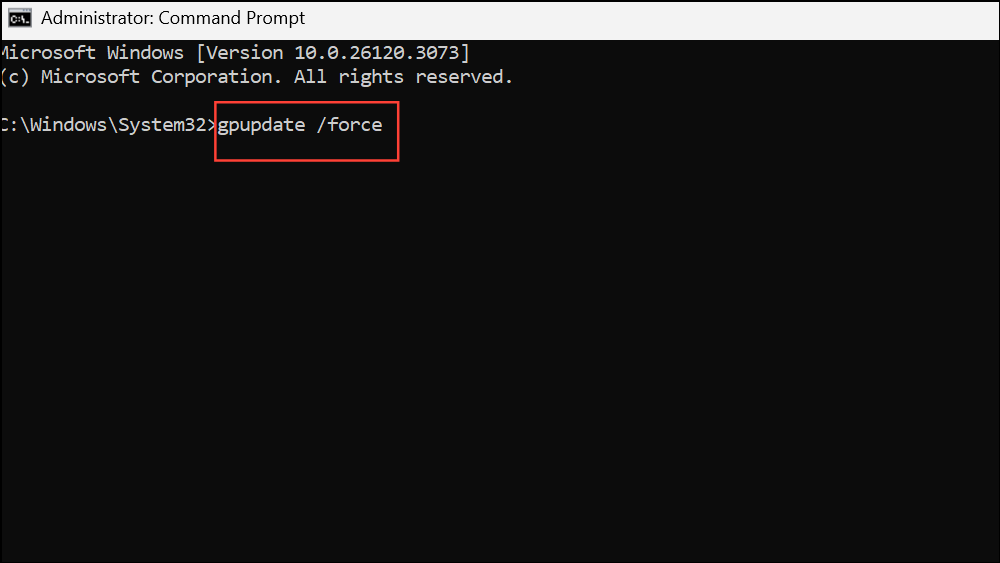
- Wait for the command to complete.
- Try installing your device or driver again.
Method 4: Enable and Start the Windows Installer Service
The Windows Installer service is a crucial component for installing many software applications and device drivers. If this service is disabled or not running, installations may fail, sometimes presenting policy-related errors.
Step-by-Step Guide:
1- Open Services Manager:
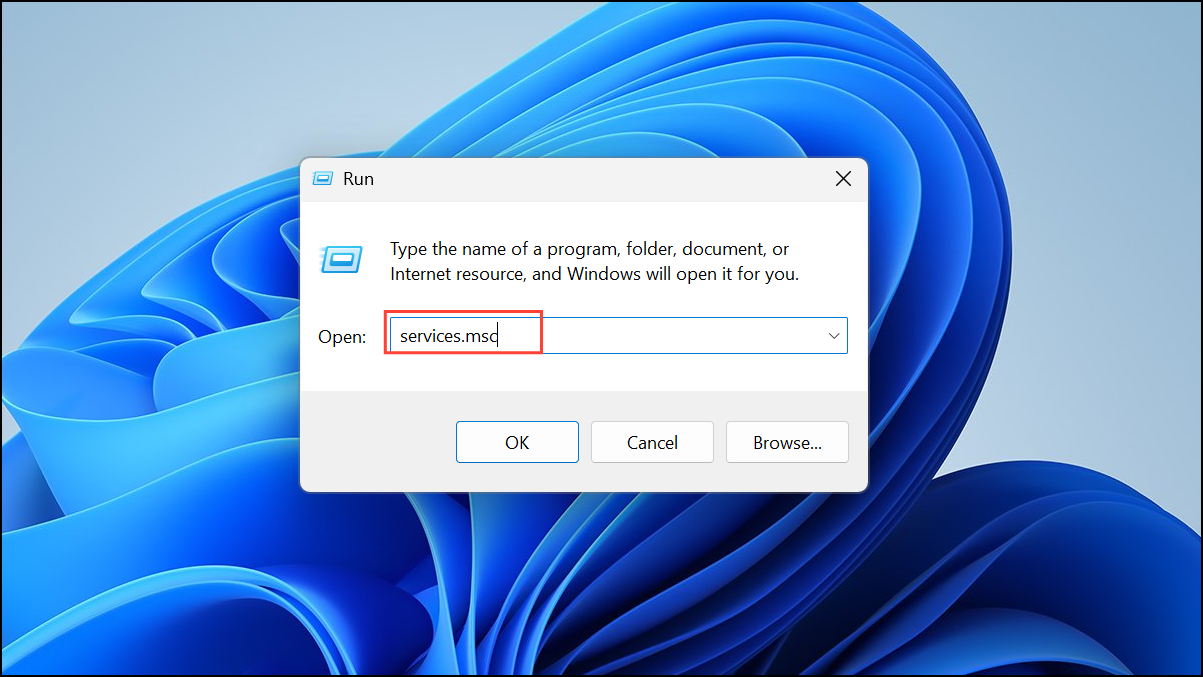
- Press
Windows key + R, typeservices.msc, and pressEnter.
2- Locate Windows Installer:
- In the Services window, scroll down the list and find “Windows Installer”.
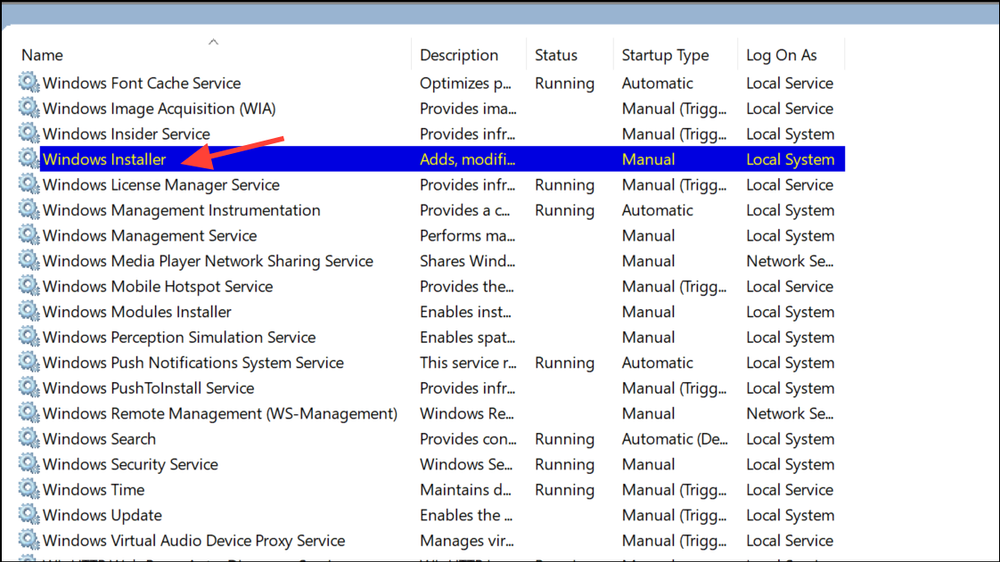
3- Configure Service Startup:
- Double-click on “Windows Installer”.
- In the properties window, ensure the
Startup typeis set toManual.
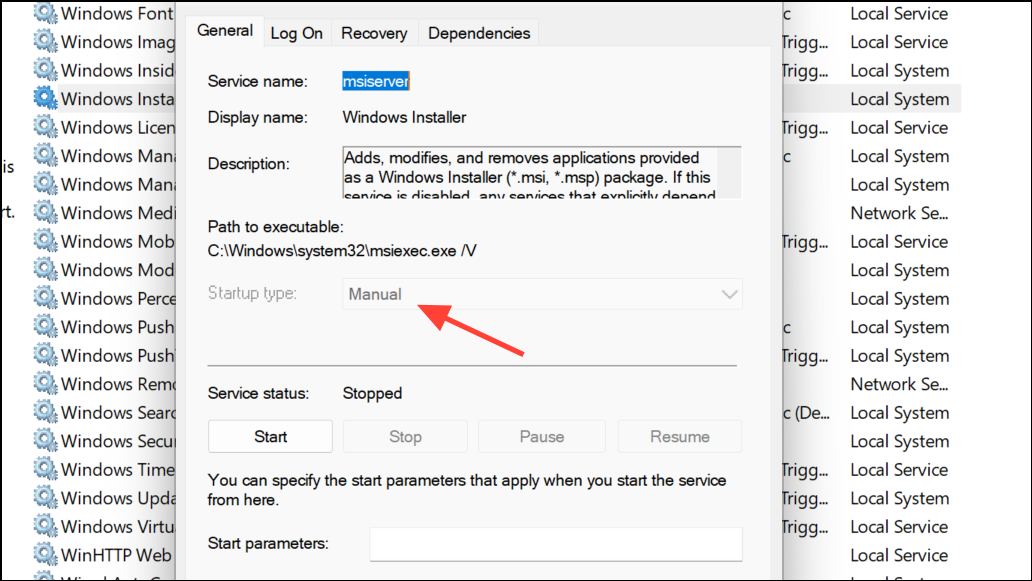
- If the
Service statusis “Stopped,” click theStartbutton. - Click
Apply, thenOK.
4- Attempt Installation:
- Close the Services window.
- Try your device or driver installation again. Enabling this service allows the necessary installation processes to run correctly.
Method 5: Check for Work or School Account Restrictions
Sometimes, policy errors occur because your Windows 11 PC is linked to a work or school account, or it retains management policies from a previous enrollment in an organizational management system (e.g., if you bought a used PC).
Step-by-Step Guide:
1- Check Account Connections:
- Open
Settings>Accounts>Access work or school.
Review any listed accounts. If you see any work or school accounts that you no longer use or that should not be managing your personal PC, click on them and select Disconnect.
2- Verify Administrator Privileges:
- Navigate to
Settings>Accounts>Family & other users. - Ensure that the account you are currently using has
Administratorprivileges. If not, change the account type to Administrator.
3- Clear Residual Policies:
If you purchased your PC used, it’s highly probable that residual management policies are still active. In such cases, applying Method 3 (Reset All Local Group Policy Settings to Default) and Method 2 (Registry Editor cleanup) becomes even more critical to thoroughly clear any leftover organizational policies.
Method 6: Manually Install Drivers Using Device Manager
When policy restrictions block automated driver installations, you can sometimes bypass the error by manually installing drivers via Device Manager, especially if you have the .inf driver files.
Step-by-Step Guide:
- Extract Driver Files:
- Download the specific drivers for your device from the manufacturer’s website. Ensure they are compatible with Windows 11.
- Extract the driver files (they often come in a
.zipor.exepackage) to an easily accessible folder on your PC. Look for.inffiles within the extracted content.
- Open Device Manager:
- Press
Windows key + Xand selectDevice Manager.
- Press
- Update Driver:
- Find the device you are trying to install (it might appear as an “Unknown device” or with a yellow exclamation mark).
- Right-click on the device and choose
Update driver.
- Browse for Drivers Manually:
- Select
Browse my computer for drivers. - Then, click
Let me pick from a list of available drivers on my computer. - Click the
Have Disk...button. - Click
Browseand navigate to the folder where you extracted the driver files. Select the.inffile (it might be the only one visible). - Follow the on-screen prompts to complete the installation.
- Select
- Compatibility Check:
- If you encounter a compatibility error during manual installation, double-check that you have downloaded the correct driver version for your specific device model and Windows 11 edition (e.g., 64-bit).
- If manual installation still fails due to policy errors, it’s a strong indication that the policy restrictions described in Methods 1, 2, or 3 are still active and need to be fully cleared.
Additional Troubleshooting Considerations:
- Registry Review for Installer Policies: In rare cases, specific installer-related policies might block installations. You can check
HKEY_LOCAL_MACHINE\SOFTWARE\Policies\Microsoft\Windows\Installerin Registry Editor. If you find a value namedDisableMSI, delete it or set its data to0. - New Local Administrator Account: If all else fails, try creating a completely new local administrator account (
Settings>Accounts>Family & other users>Add account). Log into this new account and attempt the device installation. This can help rule out profile-specific corruption. - System Reset or Clean Install: As a final, last resort for persistent and unresolvable policy issues, a full system reset (
Settings>Recovery>Reset PC) or a clean installation of Windows 11 will remove all accumulated policies and settings. Crucially, back up all your data before attempting these options.
Conclusion
The “installation of this device is forbidden by system policy” error can be a major hurdle when trying to add new hardware or update drivers on your Windows 11 PC. However, by systematically applying the troubleshooting methods outlined in this guide – from directly managing Group Policy and Registry settings to ensuring system services are running and leveraging manual driver installation – you can effectively overcome these restrictions.
Regaining full control over your device installations is essential for maintaining a functional and flexible Windows 11 environment. By understanding the origins of these policies and how to clear them, you empower yourself to manage your computer’s hardware without unnecessary roadblocks, ensuring your PC can adapt and connect as needed. Always remember to restart your PC after making changes for them to take full effect, and always back up your data before making significant system alterations.
And if you'd like to go a step further in supporting us, you can treat us to a virtual coffee ☕️. Thank you for your support ❤️!

We do not support or promote any form of piracy, copyright infringement, or illegal use of software, video content, or digital resources.
Any mention of third-party sites, tools, or platforms is purely for informational purposes. It is the responsibility of each reader to comply with the laws in their country, as well as the terms of use of the services mentioned.
We strongly encourage the use of legal, open-source, or official solutions in a responsible manner.
Comments