Experiencing the Windows 11 update error 0x80244018? This frustrating issue arises when your device struggles to communicate with Microsoft’s update servers. Factors such as misconfigured proxy settings, unstable network connections, and corrupted system files can lead to this problem. Fortunately, with the right troubleshooting steps, you can easily resolve this error and keep your system up-to-date and secure.

Understanding Error 0x80244018
Error 0x80244018 typically indicates a breakdown in connectivity between your PC and Microsoft’s update servers, preventing you from downloading essential updates. This issue can arise due to various reasons, including proxy misconfigurations, network instability, or even damaged system files. Resolving these underlying issues will help you restore access to critical updates.
Step-by-Step Fixes for Error 0x80244018
1. Adjust Proxy and Network Settings
Misconfigured proxy settings are a common culprit for this error. Here’s how to adjust them:
1- Open Settings: Press Windows Key + I to access the Settings menu. Then, navigate to Network & Internet.

2- Modify Proxy Settings: Click on Proxy in the right-hand pane. Under Manual proxy setup, toggle off Use a proxy server. If your organization requires a proxy, ensure that Automatically detect settings is enabled.

3- Disable VPN/Firewall: If you are using a VPN or third-party firewall, temporarily disable them as they may obstruct update traffic or server communication. Try the update again after disabling these tools.
4- Check Internet Connectivity: Ensure your internet connection is stable. If possible, switch to a wired Ethernet connection or restart your router to resolve connectivity issues.
2. Use the Windows Update Troubleshooter
1- Windows includes a built-in troubleshooter that can automatically fix many update issues.
Open Troubleshooter: Press Windows Key + I, go to System, and select Troubleshoot. Then, click on Other troubleshooters.

2- Run Windows Update Troubleshooter: Locate Windows Update and click Run. Follow the on-screen instructions to diagnose and resolve problems.

3- Restart Your PC: After the process completes, restart your computer and check for updates once again.
3. Restart Update Services and Clear Update Cache
If update services are disrupted, following these steps can help:
1- Access Command Prompt: Open the Start menu, type cmd, right-click on Command Prompt, and select Run as administrator.

2- Stop Update Services: Enter the following commands one by one, pressing Enter after each: net stop wuauserv net stop cryptSvc net stop bits net stop msiserver
3- Rename Software Distribution Folders: Execute these commands to rename corrupted folders: ren C:\Windows\SoftwareDistribution SoftwareDistribution.old ren C:\Windows\System32\catroot2 catroot2.old
4- Restart Update Services: Finally, restart the update services with these commands: net start wuauserv net start cryptSvc net start bits net start msiserver

5- Reboot Your Computer: Restart your system and attempt to update again.
4. Repair System Files Using SFC and DISM
Damaged system files can hinder the update process. To repair these:
1- Open Command Prompt as Admin: As before, access Command Prompt with administrator privileges.
2- Run SFC: Type sfc /scannow and hit Enter. This command will verify and repair corrupted system files.

3- Use DISM for Deeper Repairs: Once SFC completes, run the following DISM commands: DISM /Online /Cleanup-Image /CheckHealth DISM /Online /Cleanup-Image /RestoreHealth

4- Restart Your PC: After these commands finish, reboot your computer and check for updates.
5. Ensure Essential Update Services Are Running
Certain services must be active for Windows updates to proceed successfully:
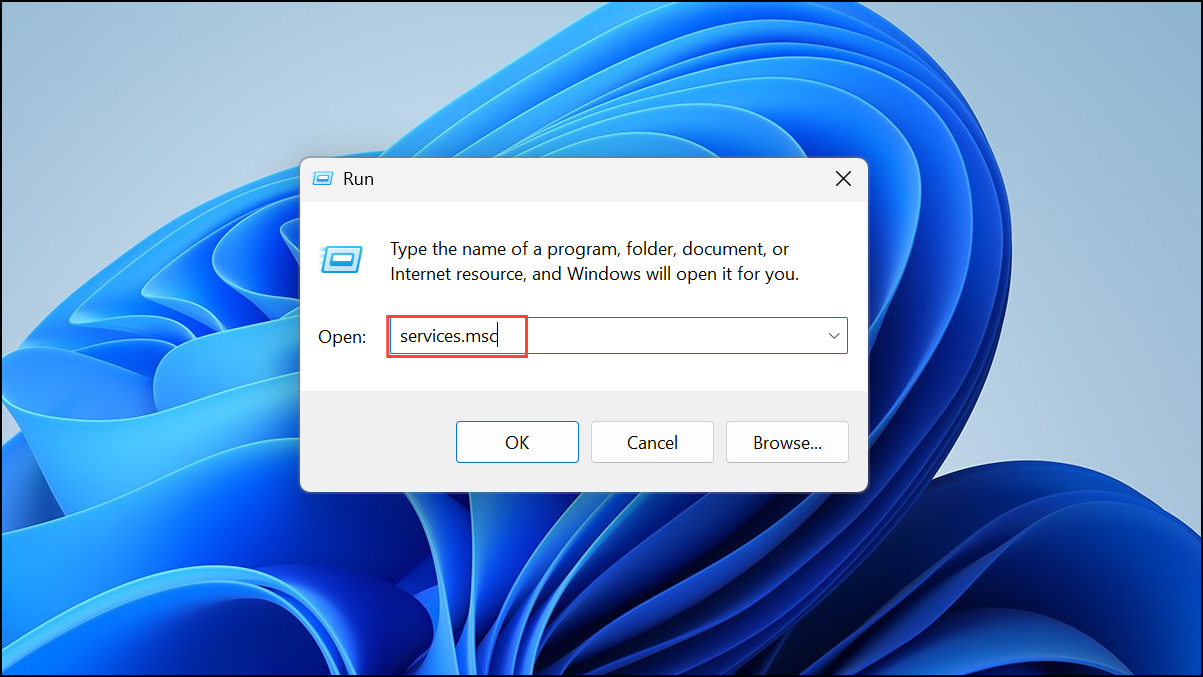
1- Open Services: Press Windows Key + R, type services.msc, and hit Enter.
2- Check Services: Locate Background Intelligent Transfer Service (BITS). Double-click it, set it to Automatic, and click Start if it’s not running. Repeat the process for the Windows Update service.

3- Close and Retry: Close the Services window and try the update process again.
6. Remove Corrupt Registry Entries
Sometimes, failed updates leave behind registry entries that can block future updates:
1- Open the Registry Editor: Press Windows Key + R, type regedit, and hit Enter.

2- Navigate to the Correct Path: Go to HKEY_LOCAL_MACHINE\SOFTWARE\Microsoft\WindowsSelfHost\Applicability.
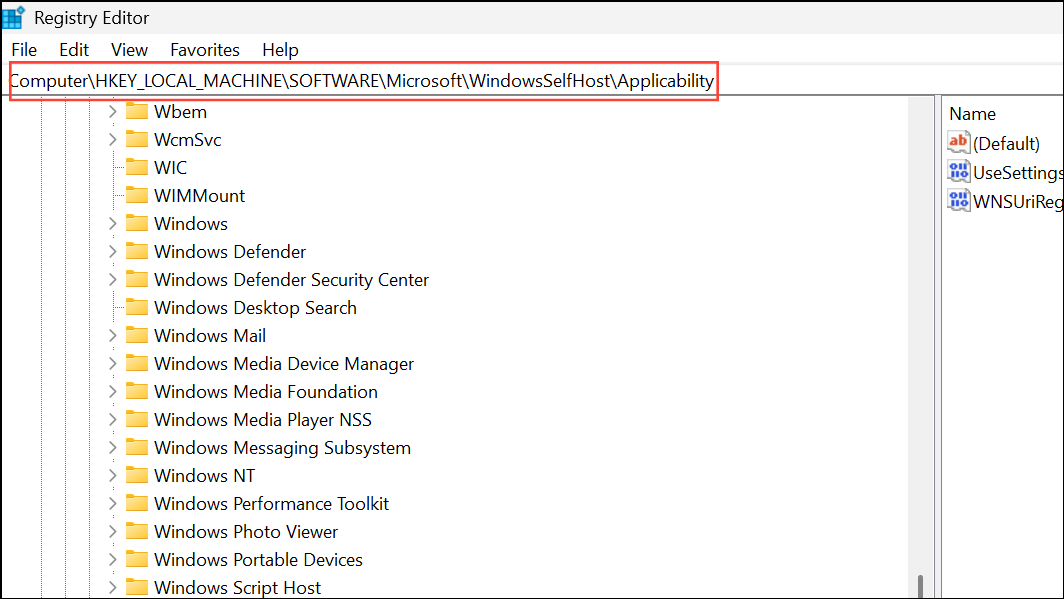
3- Delete the Entry: If you find the registry entry named ThresholdOptedIn, right-click it and select Delete. Exit the Registry Editor and restart your PC.
7. Perform a Clean Boot
A clean boot can help isolate software conflicts that may be causing the error:
1- Access System Configuration: Press Windows Key + R, type msconfig, and press Enter.

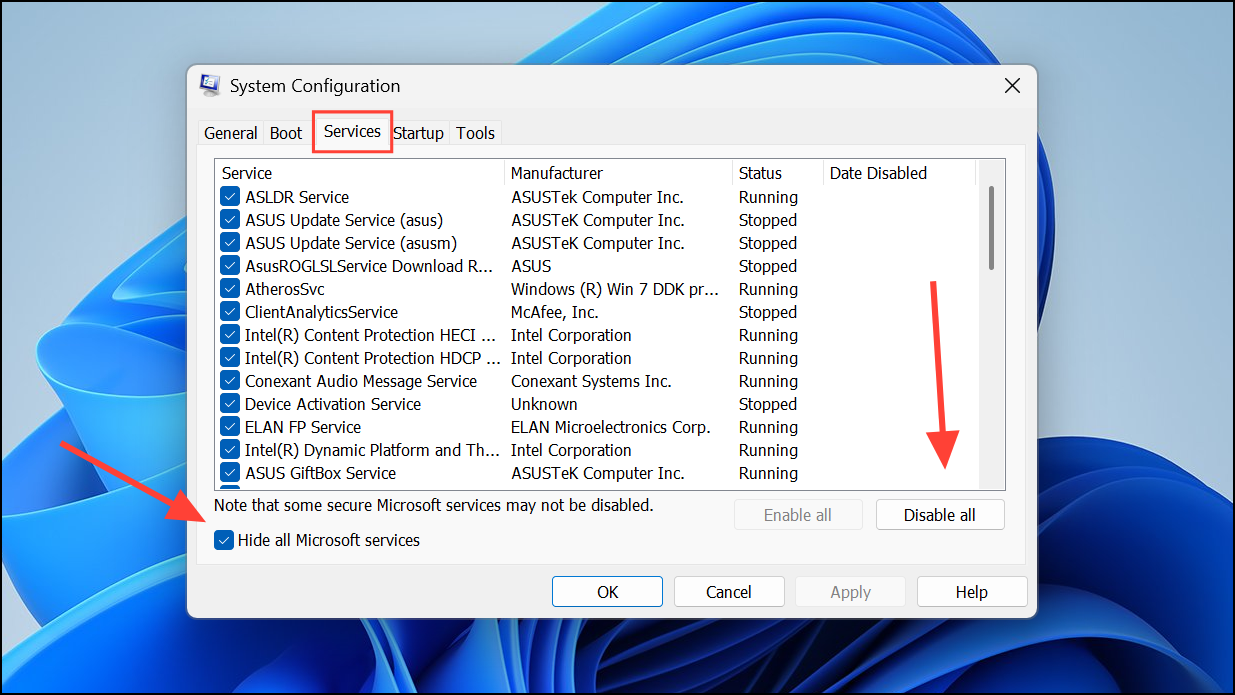
2- Disable Startup Programs: In the Services tab, check Hide all Microsoft services and click Disable all.
3- Then, go to the Startup tab and click Open Task Manager. Disable all startup items.

4- Reboot Your System: Close Task Manager, click OK in System Configuration, and restart your PC. If updates install successfully, identify and enable services and startup items gradually to pinpoint the conflict.
Conclusion
Resolving the Windows 11 update error 0x80244018 often requires a systematic approach to check proxy settings, refresh update components, and repair system files. By addressing these common issues, you can ensure smoother installation of updates, enhancing your system’s performance and security. Regular maintenance of your network configuration and system health will help prevent future update challenges, keeping your Windows experience seamless and efficient.
And if you'd like to go a step further in supporting us, you can treat us to a virtual coffee ☕️. Thank you for your support ❤️!

We do not support or promote any form of piracy, copyright infringement, or illegal use of software, video content, or digital resources.
Any mention of third-party sites, tools, or platforms is purely for informational purposes. It is the responsibility of each reader to comply with the laws in their country, as well as the terms of use of the services mentioned.
We strongly encourage the use of legal, open-source, or official solutions in a responsible manner.
Comments