
Do you find yourself constantly wrestling with windows popping up on the wrong screen? Or perhaps you crave the ultimate multi-monitor setup but are struggling to make it work seamlessly? In the age of sprawling desktops and dual-screen productivity, understanding how to manage your displays in Windows 11 is no longer a luxury – it’s a necessity. This guide provides a clear, step-by-step walkthrough of how to effortlessly swap your primary and secondary monitors, optimize their arrangement, and unlock the full potential of your multi-display configuration. Say goodbye to frustration and hello to a streamlined workflow!
Setting the Stage: Accessing Display Settings
The heart of managing your monitors in Windows 11 lies within the Display settings. Here’s how to quickly get there:
- Right-Click on the Desktop: Start by right-clicking anywhere on your desktop. This action brings up the context menu.
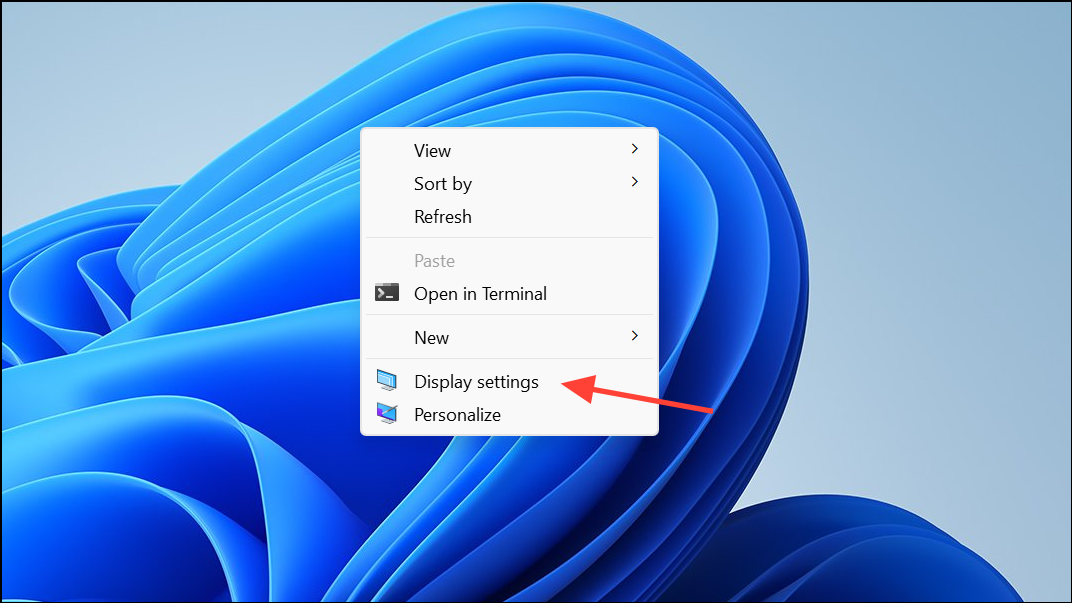
- Select “Display settings”: From the menu, choose “Display settings.” This will open the Display settings window, your central hub for monitor configuration.

Identifying Your Displays: Know Your Screens
Before you can make any changes, it’s crucial to understand which monitor is which. Windows 11 provides a simple identification method:
- Monitor Representation: In the Display settings window, you’ll see a visual representation of your connected monitors, each labeled with a number (e.g., 1, 2, 3).
- Use the “Identify” Button: If you’re unsure which physical monitor corresponds to each number, click the “Identify” button. Windows will then display a large number on each of your screens, matching the order shown in the settings. This makes it easy to pinpoint which monitor is which.
Claiming the Primary Display: The Main Event
Setting your primary display is where the magic truly happens. This is the monitor that will display your desktop icons, taskbar, and new application windows by default. Here’s how to change it:
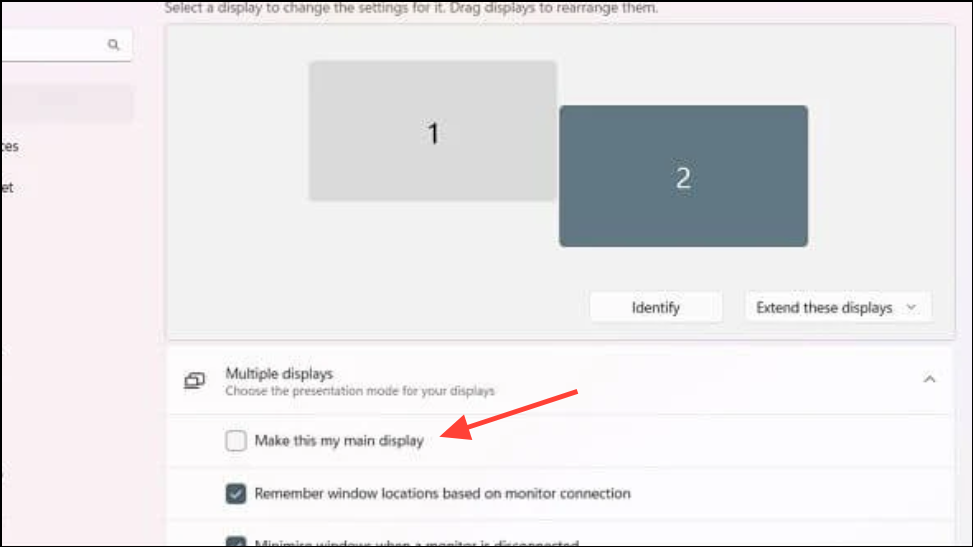
1- Select Your Target Monitor: In the Display settings window, click on the box that represents the monitor you wish to designate as your primary display. The selected monitor box will highlight, indicating it’s chosen.
2- Find the “Make this my main display” Option: Scroll down within the settings related to the selected monitor. You’ll find the option labeled “Make this my main display.”
3- Check the Box: Simply check the box next to “Make this my main display.” Windows 11 will immediately switch your desktop, taskbar, and most application windows to the chosen monitor.
4- Instant Adjustment: The changes are applied instantly, allowing you to quickly tailor your setup as your needs change. Should you want to switch back, simply repeat the steps and select a different monitor.
Arranging Your Monitors: Creating Your Ideal Workspace
Beyond setting the primary display, Windows 11 allows you to customize how your monitors are positioned relative to each other, which dramatically impacts the ease of navigation:
- Drag and Drop for Arrangement: In the Display settings window, you’ll see the monitor boxes representing your screens. Click and drag these boxes to match the physical layout of your monitors on your desk. For instance, if your second monitor is physically located to the left of your primary, drag its box to the left of the primary monitor’s box in the settings.
- Apply Your New Layout: After arranging the monitor boxes to your liking, click “Apply” to save the new layout.
- Verify Your Setup: Move your mouse pointer between screens to confirm that the arrangement matches your physical setup. This ensures seamless cursor movement and window dragging across monitors, enhancing your workflow.
- Detecting Missing Displays: If one of your connected monitors isn’t appearing, scroll down to the “Multiple displays” section and click “Detect.” This prompts Windows to actively search for any additional connected displays.
Quick Tricks: Keyboard Shortcuts and Display Modes
While Windows 11 doesn’t offer a direct keyboard shortcut to instantly swap primary displays, there are helpful tools to streamline your workflow:
1- Move Windows with Ease: Use the Win + Shift + Left Arrow or Win + Shift + Right Arrow to effortlessly move the currently active window to a different monitor.
2- Project Menu Quick Access: The Win + P shortcut opens the projection menu, giving you immediate control over your display modes. Choose from:
- PC screen only: Uses only your primary monitor.
- Duplicate: Displays the same content on all connected monitors.
- Extend: Extends your desktop across all monitors, allowing you to move windows between them.
- Second screen only: Uses only your secondary monitor.

Beyond the Basics: Troubleshooting and Optimization
Even with these tools, some issues can arise. Here’s how to address common challenges:
- Monitor Numbering Confusion: If your main monitor is labeled “2” and your secondary is “1,” don’t worry! The order of the monitor numbers doesn’t affect how they function. Instead, focus on selecting the correct monitor as your main display using the “Make this my main display” checkbox.
- Wireless Displays and TVs: For wireless displays or TVs, make sure the adapter is connected and properly recognized within the Display settings. If using a TV for gaming, set it as your main display before launching games to ensure they open on the correct screen.
- Customize for Clarity: Further refine your display settings for optimal clarity. Within the Display settings, adjust resolution, orientation, and scaling for each monitor to match your preferences and hardware.
Conclusion:
Managing your primary and secondary monitors in Windows 11 is a gateway to enhanced productivity, gaming immersion, and a more comfortable computing experience. By mastering these simple steps, you can create a workspace that seamlessly adapts to your needs. Experiment with the arrangements, explore the shortcuts, and unlock the true potential of your multi-monitor setup. You’ll be surprised at how much more you can accomplish!
And if you'd like to go a step further in supporting us, you can treat us to a virtual coffee ☕️. Thank you for your support ❤️!

We do not support or promote any form of piracy, copyright infringement, or illegal use of software, video content, or digital resources.
Any mention of third-party sites, tools, or platforms is purely for informational purposes. It is the responsibility of each reader to comply with the laws in their country, as well as the terms of use of the services mentioned.
We strongly encourage the use of legal, open-source, or official solutions in a responsible manner.
Comments