
In today’s technology landscape, many users are looking for ways to optimize their computing experiences. The integration of Windows 11’s polished design and performance with Ubuntu 25.04’s customizability and enhanced security makes for a compelling dual boot setup. By following this detailed guide, you’ll be able to enjoy the benefits of both operating systems on one machine seamlessly.

Prerequisites
Before diving into the installation process, ensure you have the following:
- An 8GB or larger USB drive.
- At least 30GB of free space on your hard drive for the Ubuntu installation.
Step 1: Create a Separate Partition for Ubuntu
To accommodate Ubuntu on your hard drive, you’ll first need to create a dedicated partition by reducing the size of an existing volume.
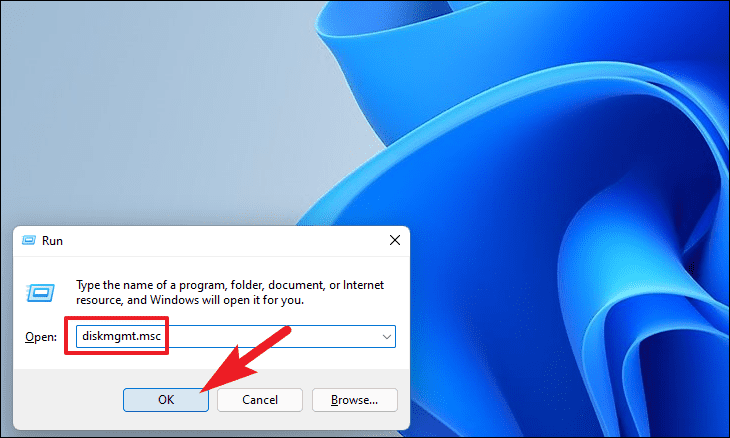
1- Press Windows+R to open the Run dialog. Type diskmgmt.msc and hit Enter to launch the Disk Management tool.
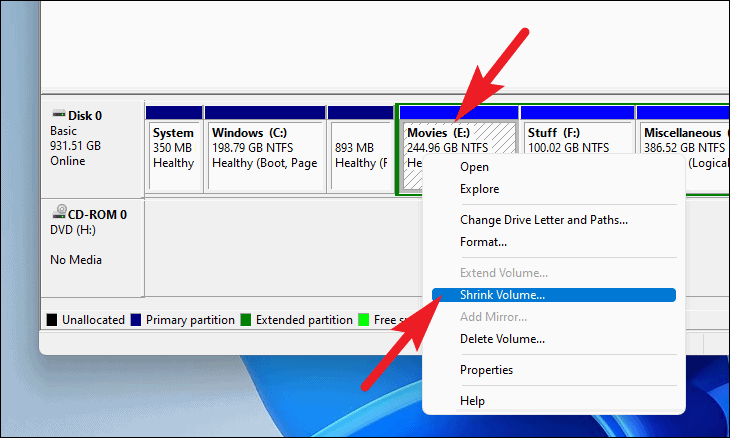
2- In the Disk Management window, locate the drive partition where you intend to install Ubuntu, right-click it, and select Shrink Volume….
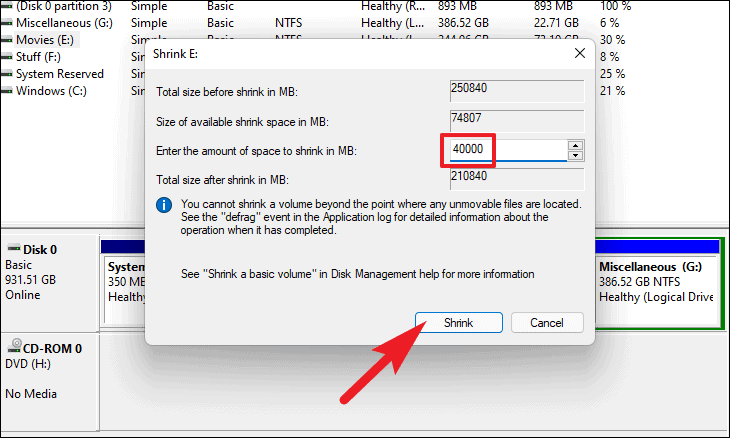
3- In the dialog box that appears, enter 30000 in the field labeled ‘Enter the amount of space to shrink in MB’ to free up 30GB for Ubuntu installation. Click Shrink to proceed.
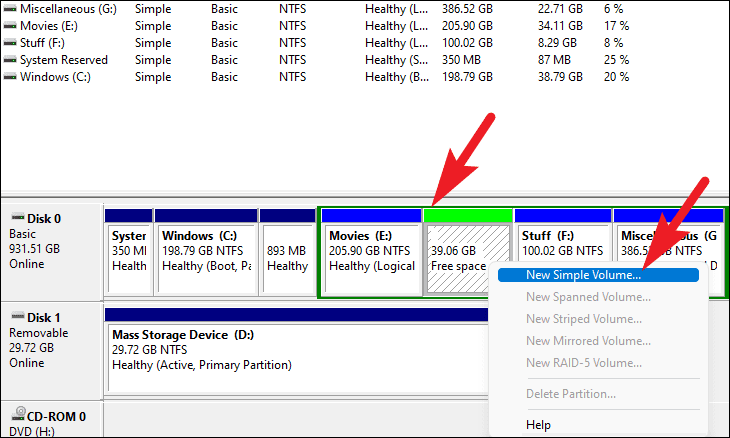
4- After the shrink operation is completed, you’ll see unallocated space. Right-click this unallocated space and choose New Simple Volume… to create a new partition.
Follow the prompts in the New Simple Volume Wizard:
5- Click Next.
6- Specify the volume size if desired and click Next.
7- Assign a drive letter and click Next.
8- Select Format this volume with the following settings; keep the default settings and click Next.
9- Review your settings and click Finish.
Your partition is now ready for the Ubuntu installation!
Step 2: Download Ubuntu and Create a Bootable USB Drive
Next, you need to download the Ubuntu ISO file and create a bootable USB drive.
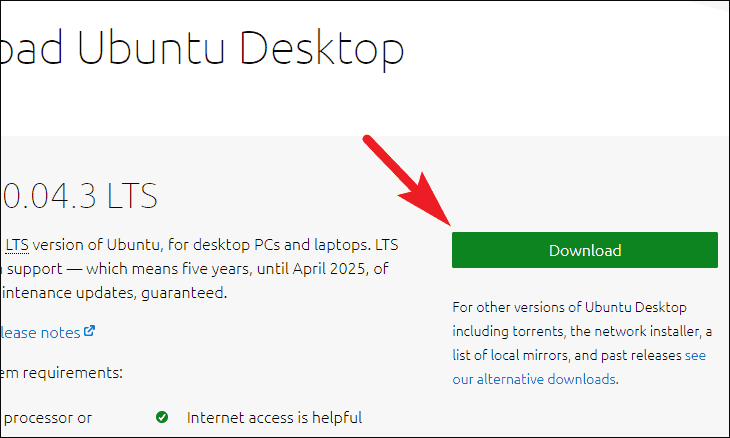
1- Navigate to the official Ubuntu website at ubuntu.com/download and click the Download button next to Ubuntu 25.04 to obtain the ISO file.
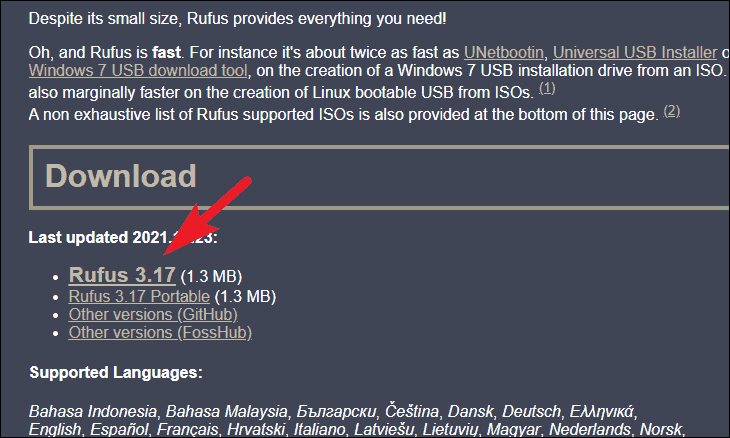
2- Next, head over to the Rufus website, scroll to the Downloads section, and click the latest version to download Rufus. Read our guide “Top 5 Tools for Creating a Bootable USB with Multiple Operating Systems”
Note: Insert your USB drive into the computer prior to continuing.
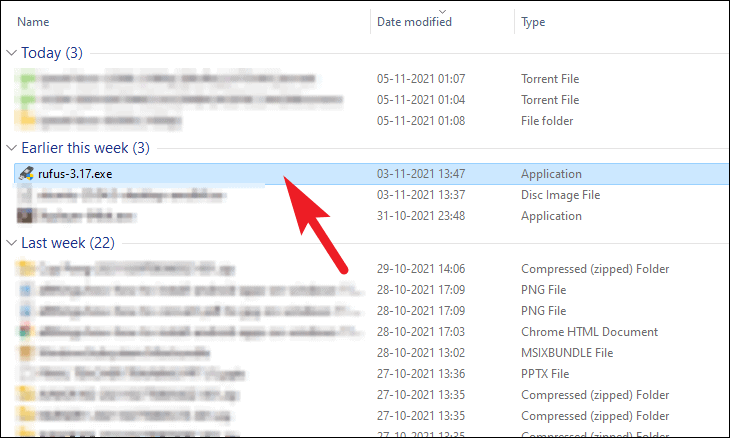
3- Open Rufus by double-clicking the downloaded executable file (no installation required).
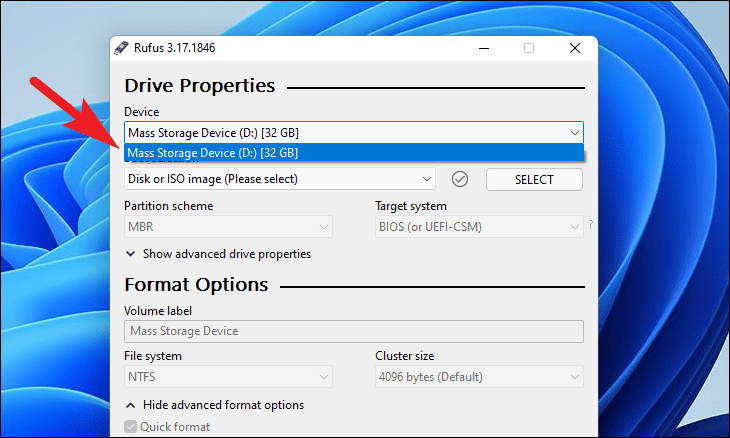
4- In Rufus, select your USB drive from the Device dropdown menu.
5- Click SELECT next to Boot selection and select the Ubuntu ISO file you downloaded.
6- After loading the ISO, click Start to begin creating the bootable USB drive. If prompted with a warning, click OK to proceed.

Step 3: Install Ubuntu Using the Bootable USB
1- Shut down your computer, insert the Ubuntu bootable USB drive, and power the computer back on.
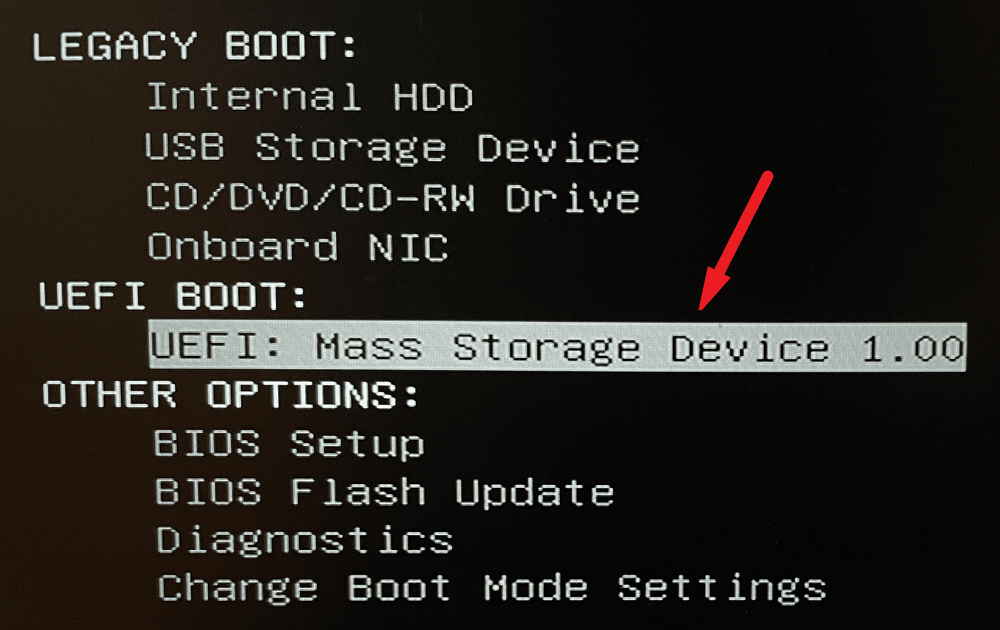
2- Access the boot menu — typically this is done by pressing F2, F10, or F12, depending on your computer manufacturer.
3- From the boot options, select your USB drive and press Enter to boot from it.
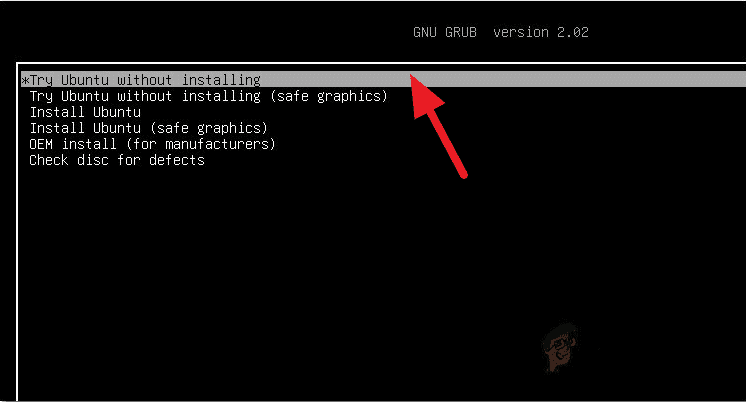
4- When prompted, choose Install Ubuntu and press Enter.
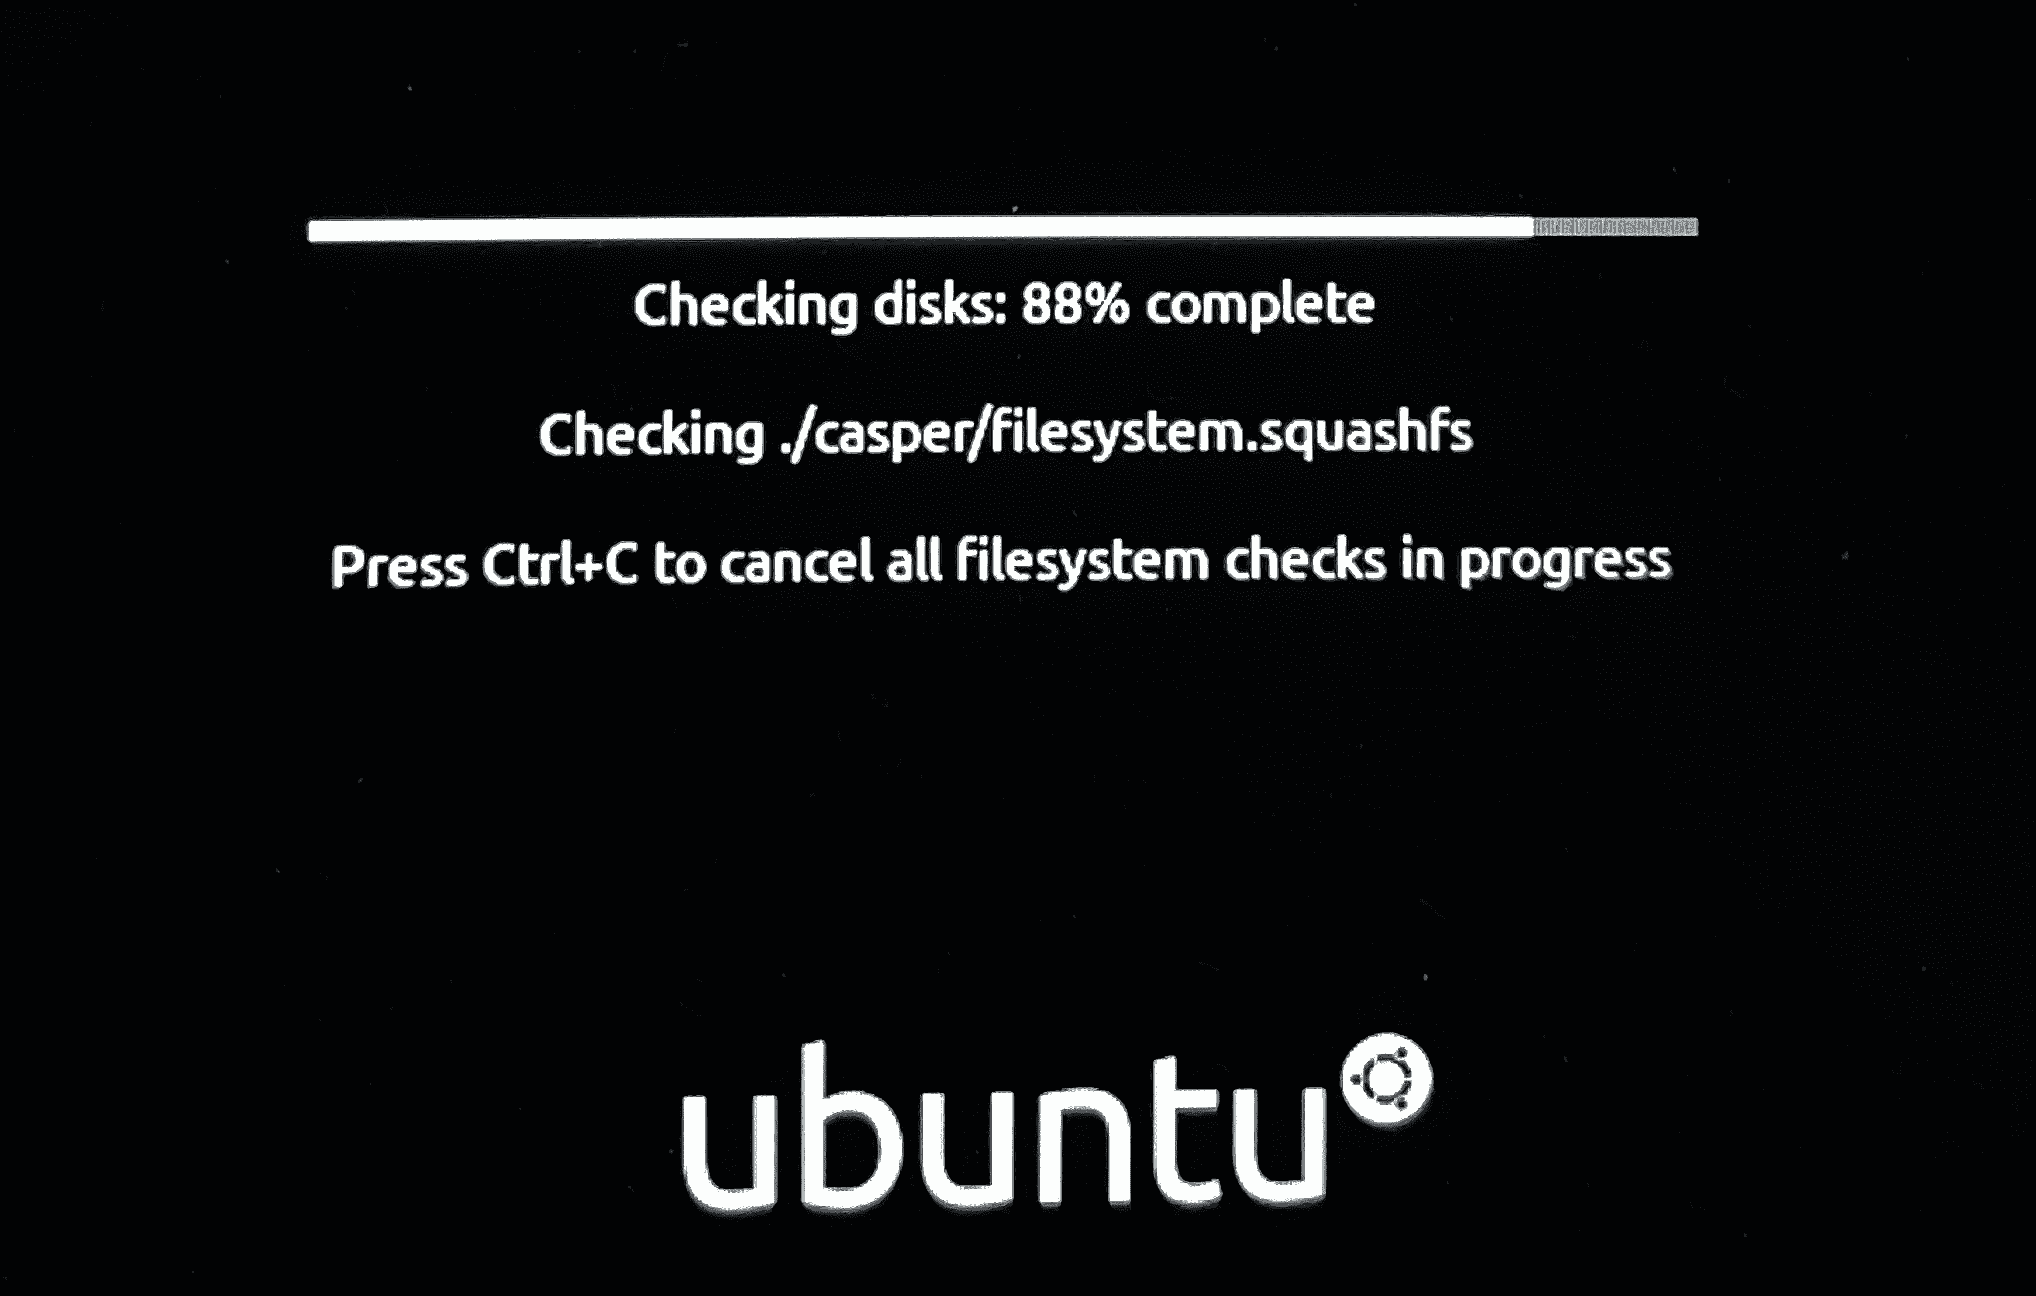
5- Ubuntu will conduct a system check; you can skip this by pressing Ctrl+C.
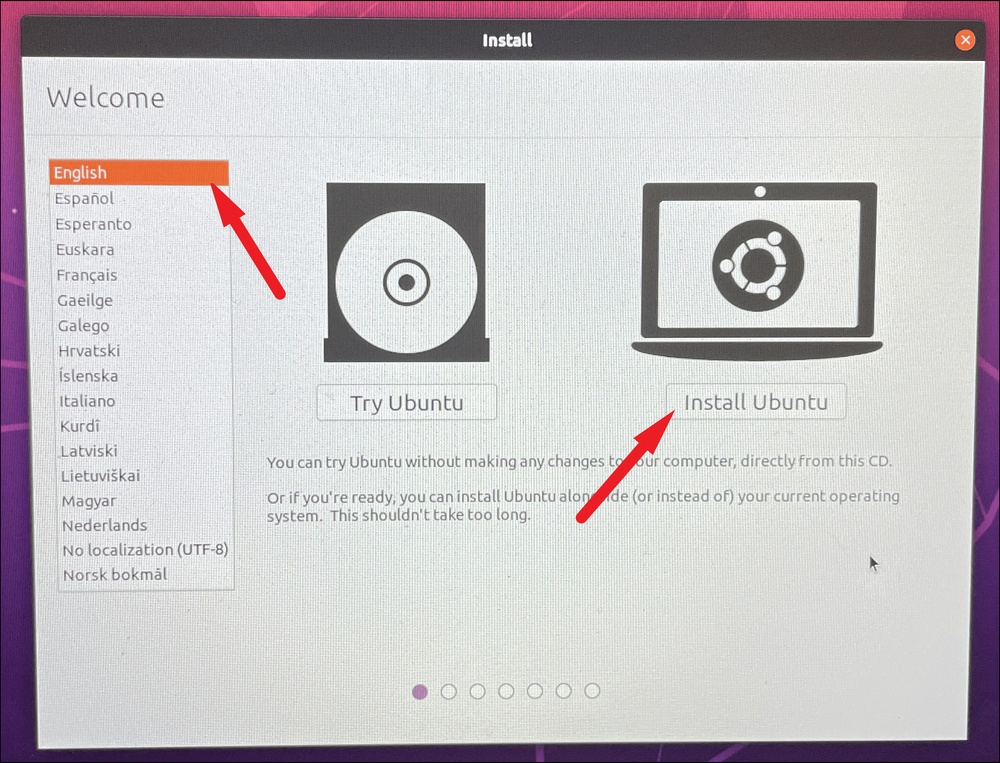
6- Select your language and click Install Ubuntu.
7- Choose your keyboard layout, or let Ubuntu detect it automatically. Click Continue.

8- On the Wireless screen, connect to a network if desired, otherwise, you can continue without connecting. Click Continue.

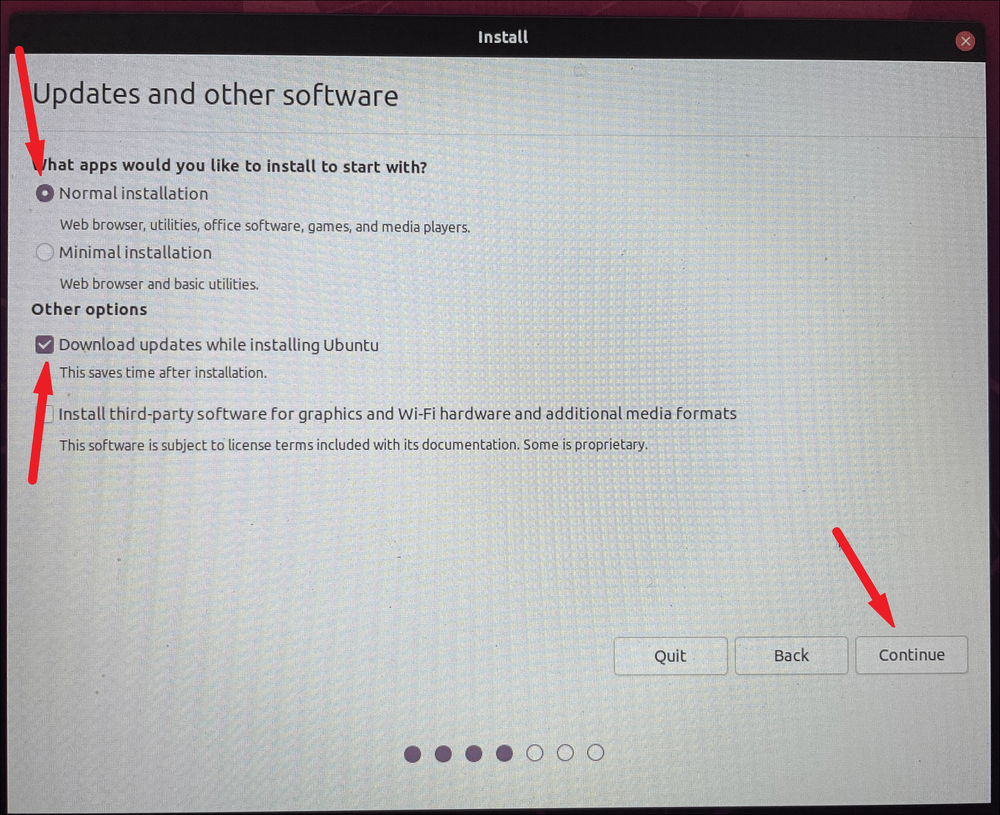
9- In the Updates and other software section, select Normal installation. If you’d like to receive updates during installation, check the box for Download updates while installing Ubuntu. Click Continue.
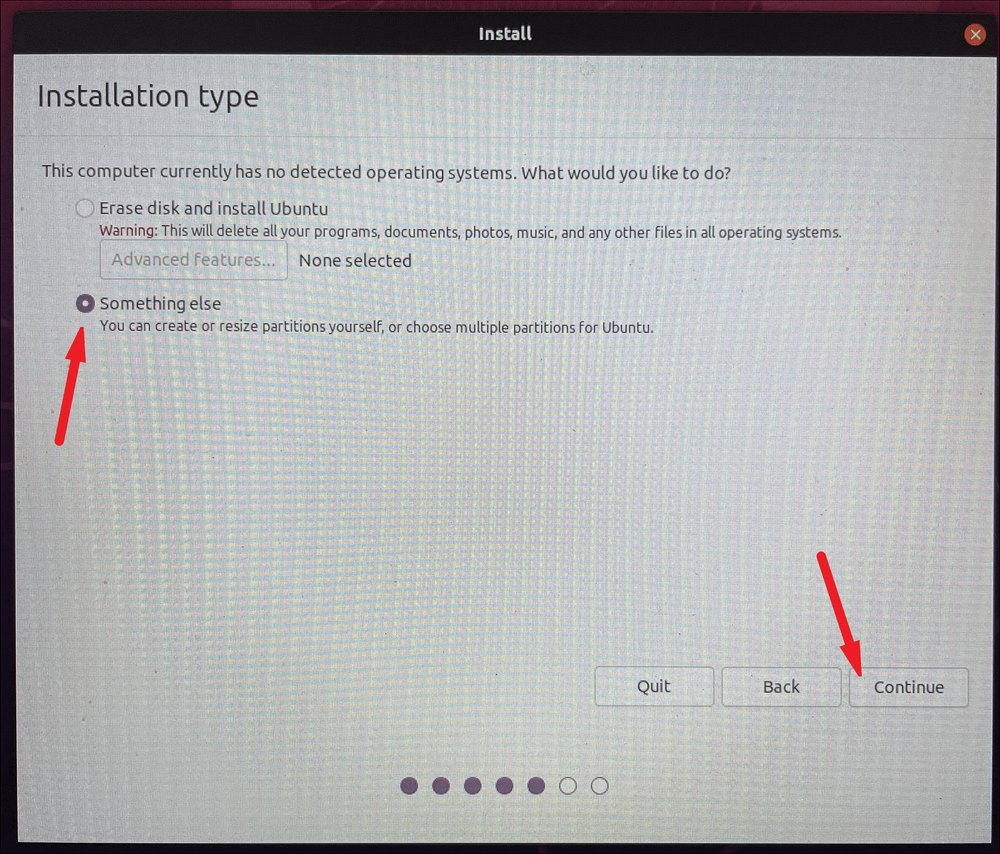
10- Choose Something else for the installation type, then click Continue.
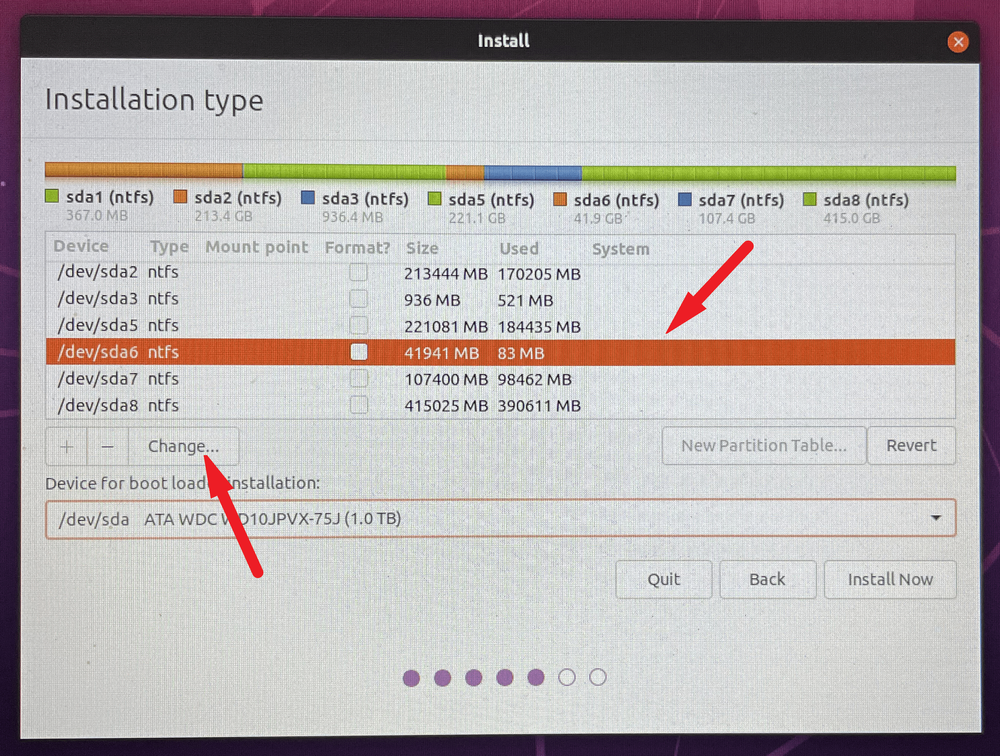
11- Select the partition you created earlier and click Change.
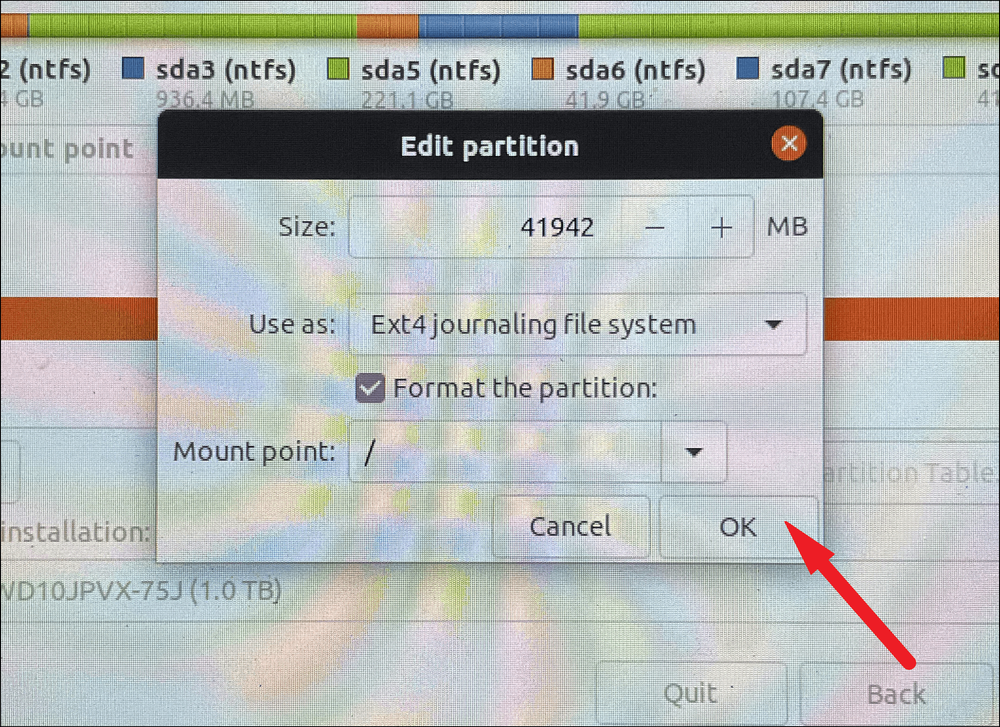
12- Set Use as to Ext4 journaling file system.
13- Check the Format the partition box.
14- Set the Mount point to / and click OK.
15- Click Install Now to initiate the installation process.
15- Follow the on-screen prompts to complete the setup of your user information and preferences.
16- Once installation concludes, click Restart Now when prompted.
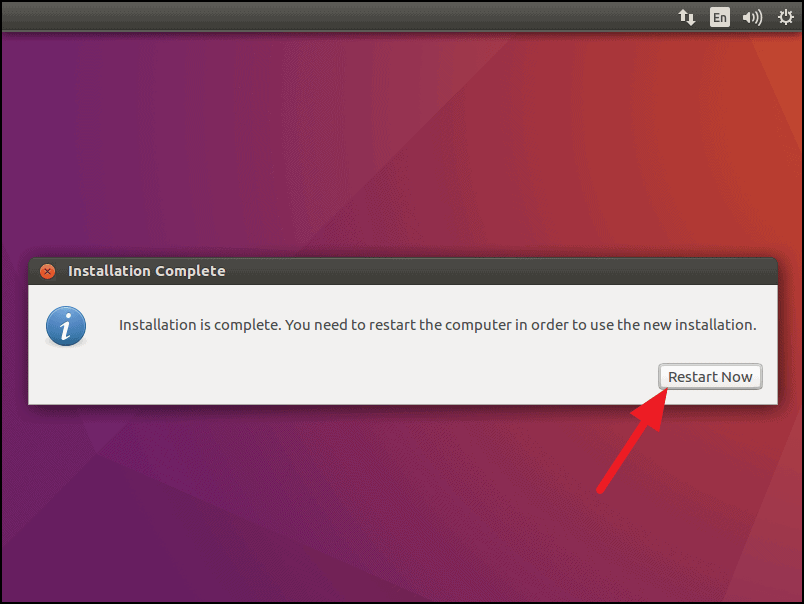
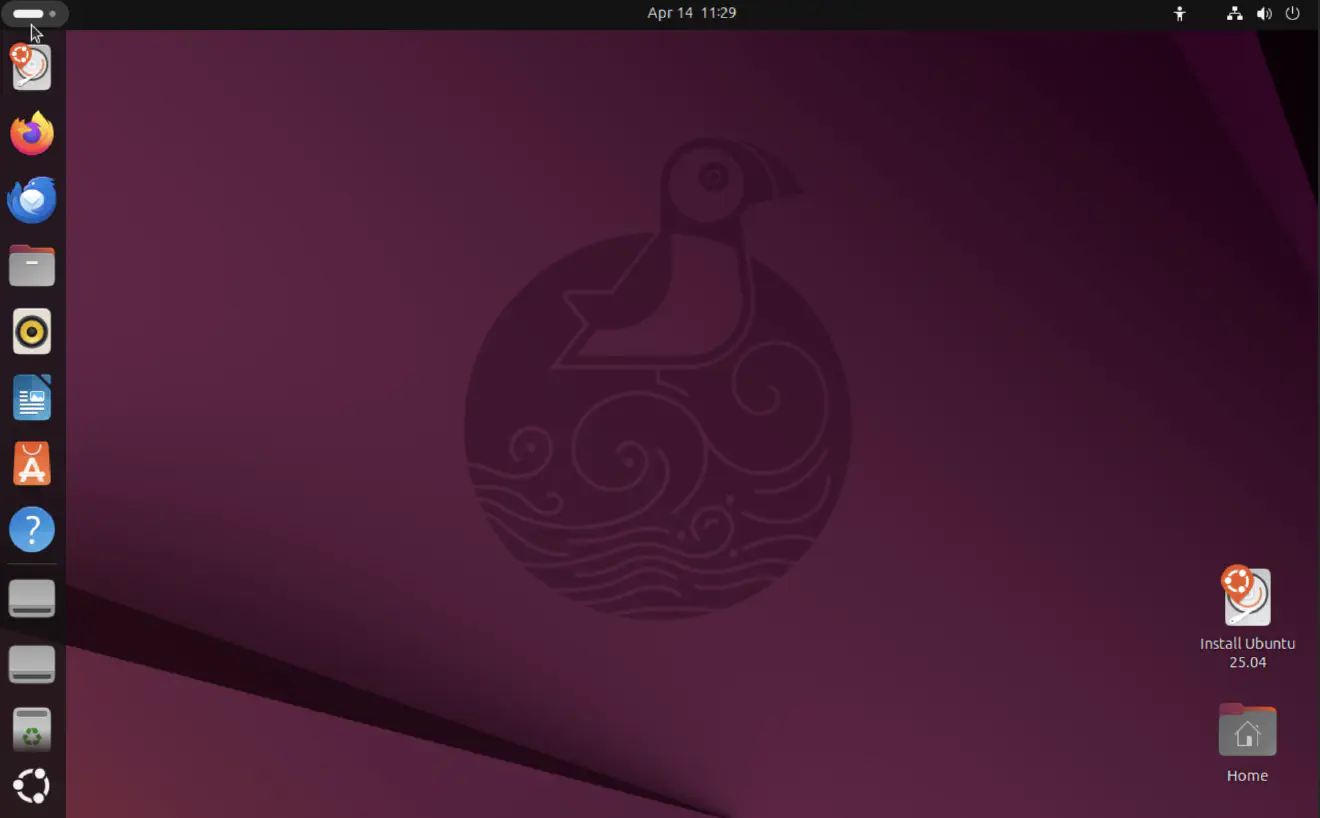
During the restart, select Ubuntu from the boot menu to dive into your freshly installed Ubuntu environment.
Conclusion
By following this straightforward guide, you can effortlessly dual boot Windows 11 and Ubuntu 25.04, achieving the perfect blend of performance and flexibility. With both operating systems at your fingertips, you can enjoy a dynamic computing experience that caters to a variety of needs—from everyday tasks to advanced programming. Embrace the best of both worlds and elevate your workflow today!
And if you'd like to go a step further in supporting us, you can treat us to a virtual coffee ☕️. Thank you for your support ❤️!

We do not support or promote any form of piracy, copyright infringement, or illegal use of software, video content, or digital resources.
Any mention of third-party sites, tools, or platforms is purely for informational purposes. It is the responsibility of each reader to comply with the laws in their country, as well as the terms of use of the services mentioned.
We strongly encourage the use of legal, open-source, or official solutions in a responsible manner.
Comments