Over time, your Windows 11 PC can accumulate countless duplicate photos, documents, videos, and downloads. These unnecessary copies take up valuable storage space and make organizing files harder than it needs to be.
Whether you’re cleaning up a cluttered Downloads folder or freeing up space on your SSD, removing duplicates can make your system faster and more organized.
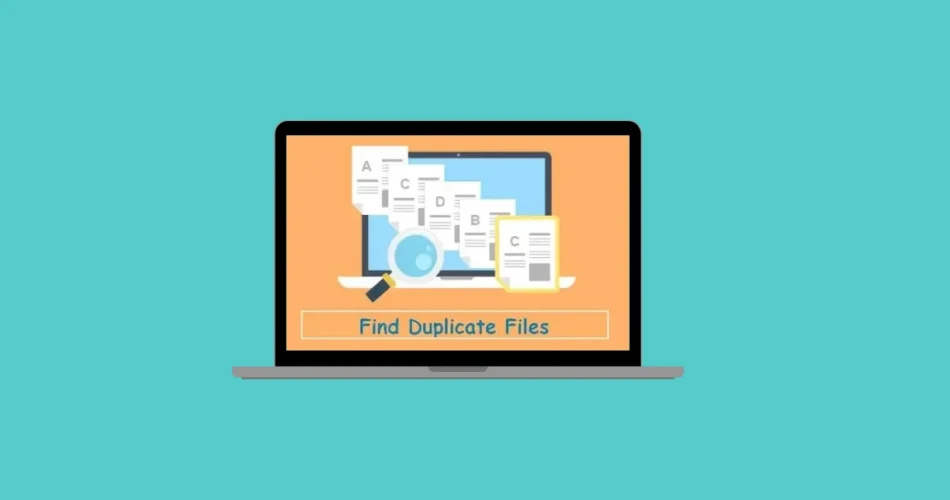
In this updated 2025 guide, we’ll explore three reliable methods to find and delete duplicate files — using third-party software, File Explorer, and Command Prompt.
1. Use a Third-Party App (Recommended Method)
If you prefer a quick, automated solution, a dedicated duplicate finder tool is your best choice. One of the most efficient and trustworthy options is Auslogics Duplicate File Finder — a free utility that scans your system for duplicate files and helps you remove them safely.
How to Use Auslogics Duplicate File Finder
Step 1: Download the tool from the official website: www.auslogics.com/duplicate-file-finder. Click “Download Now” to begin.

Step 2: Once downloaded, open your Downloads folder and double-click the .exe file to launch the installer.

Step 3: If a User Account Control (UAC) prompt appears, click Yes to allow installation.

Step 4: In the setup window, click “Agree & Install.” (Optional: click the ellipsis button ... to change the installation directory.)

Step 5: Click ‘Next‘ to proceed. The software will now install on your system, which may take a few minutes.

Step 6: Follow the on-screen instructions until installation completes, then click “Finish” to launch the app.

Step 7: In the main window, select the drives or folders you want to scan. You can also limit the scan to specific file types (like images, audio, or documents). Click Next when ready.

Step 8: Adjust the file size filter if desired — by default, the program skips files smaller than 1 MB. Click Next to continue.

Step 9: In the Search Criteria section, you can choose to skip hidden or system files, or to ignore file names/dates for broader matching. Options like ‘Ignore File Names‘ and ‘Ignore File Dates‘ allow you to broaden or narrow your search scope. After adjusting the settings, click ‘Next‘.

Step 10: If you’re searching for duplicates of a specific file, you can enter the file name or part of it in the text box after selecting ‘File name contains the following‘. Otherwise, you can leave this option and proceed by clicking ‘Next‘.

Step 11: Choose what you want to do with the duplicate files found. You can select options like sending them to the Recycle Bin, deleting permanently, or moving them to a specified folder. After making your choice, click ‘Search‘ to begin scanning.

Step 12: Once the scan is complete, the results will be displayed. You can preview files by clicking on them and select the duplicates you wish to delete by checking the boxes next to them. To select all duplicates in each group, click on the ‘Select‘ button, then choose ‘Select All Duplicates in Each Group‘ from the dropdown menu.

Step 13: Finally, click on the ‘Delete Selected Files‘ button to remove the duplicates. If you wish to change the deletion method, click on the dropdown arrow next to the button and select your preferred option.

By following these steps, you can efficiently identify and eliminate duplicate files using a third-party application. Auslogics Duplicate File Finder is free to use and doesn’t impose any limitations on file deletion, making it a practical choice for managing duplicates.
✅ Pro tip: Auslogics Duplicate File Finder is free, lightweight, and doesn’t restrict deletions — perfect for monthly cleanup.
2. Find Duplicates Using File Explorer Search
Prefer not to install extra software? You can manually locate duplicates using Windows 11 File Explorer’s built-in search, though this approach is slower and less automated.
How to Use File Explorer to Locate Duplicates
Step 1: Open File Explorer by pressing Windows + E or clicking This PC on your desktop.

Step 2: To search your entire storage, type the name or part of the name of the file you suspect has duplicates into the search bar at the top-right corner of the window. File Explorer will display all matching results.

Step 3: To view more details about the files, such as date modified or size, click on the ‘View‘ tab and select ‘Details‘. This will help you compare files and identify duplicates.

Step 4: If you notice that some folders or drives are not included in the search results, they might not be indexed. To include them, click on ‘Search Options‘ and select ‘Change indexed location‘.

Step 5: In the Indexing Options window, click ‘Modify‘. A list of folders will appear. Check the boxes next to the drives or folders you want to include in the search index. Click ‘OK‘ to save your changes.

Note: Indexing additional locations may slow down your PC, especially during the initial indexing process. If you experience performance issues, consider narrowing your search to specific folders rather than indexing your entire system.

Step 6: For faster results, you can perform a targeted search by navigating to a specific folder and repeating the search process. This reduces the number of files the system needs to sift through.

Step 7: Once you’ve identified duplicate files, right-click on the file you wish to remove and select ‘Delete‘ from the context menu.

3. Using the Command Prompt
3. Delete Duplicates Using Command Prompt (Advanced)
If you’re comfortable using command-line tools, Command Prompt can help you quickly remove duplicate files — ideal for batch deletions or automation.
Steps to Delete Duplicates via Command Prompt
Step 1:
Open File Explorer, navigate to the target folder, then right-click it and select Copy as path.

Step 2:
Open Windows Terminal as Administrator (search “Terminal” in Start, right-click → Run as Administrator).

Step 3:
If prompted by UAC, click Yes.

Step 4:
In Terminal, click the dropdown arrow and choose Command Prompt to open a new tab.

Step 5:
Type the following command and press Enter (replace <copied folder path> with your actual path):
cd /d "<copied folder path>"

Step 6:
Use the del command to remove duplicates based on a pattern. Examples:
del "* - Copy.*"
del "IMG (1).*"
del "*_duplicate.*"

Replace the pattern with whatever matches your file naming convention.
Step 7:
If prompted for confirmation, type Y and press Enter.
⚙️ Tip: You can also use PowerShell or Windows Terminal scripts for more advanced deduplication with checksum comparison — great for developers or system admins.
Conclusion
Duplicate files sneak up over time — especially if you frequently download media, edit documents, or back up data. Whether you prefer automation (Auslogics), manual review (File Explorer), or command-line control, cleaning duplicates is a quick way to free up space and tidy your storage.
Keeping your system organized not only boosts performance but also reduces backup sizes and makes future searches faster.
And if you'd like to go a step further in supporting us, you can treat us to a virtual coffee ☕️. Thank you for your support ❤️!

We do not support or promote any form of piracy, copyright infringement, or illegal use of software, video content, or digital resources.
Any mention of third-party sites, tools, or platforms is purely for informational purposes. It is the responsibility of each reader to comply with the laws in their country, as well as the terms of use of the services mentioned.
We strongly encourage the use of legal, open-source, or official solutions in a responsible manner.
Comments