
Have you ever been left staring at a blank screen after disconnecting from your VPN on Windows 11, desperately trying to access the internet? It’s a frustrating experience, but thankfully, it’s often fixable. This guide provides a comprehensive walkthrough of proven solutions to get your internet connection back up and running quickly. From simple resets to more advanced troubleshooting, we’ll cover everything you need to know to banish those connectivity woes.
Reset Your Network Adapter and TCP/IP Stack
Sometimes, remnants of the VPN session linger in your network configuration, preventing your computer from reconnecting properly. Resetting your network adapter and TCP/IP stack is a powerful first step.
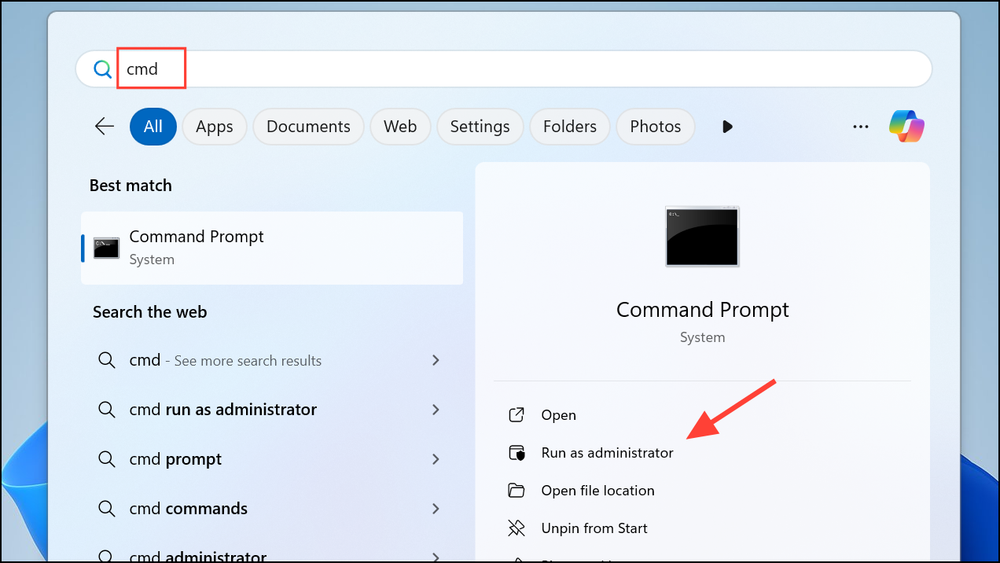
1- Open Command Prompt as Administrator: Search for “cmd” in the Windows search bar. Right-click “Command Prompt” and select “Run as administrator.”
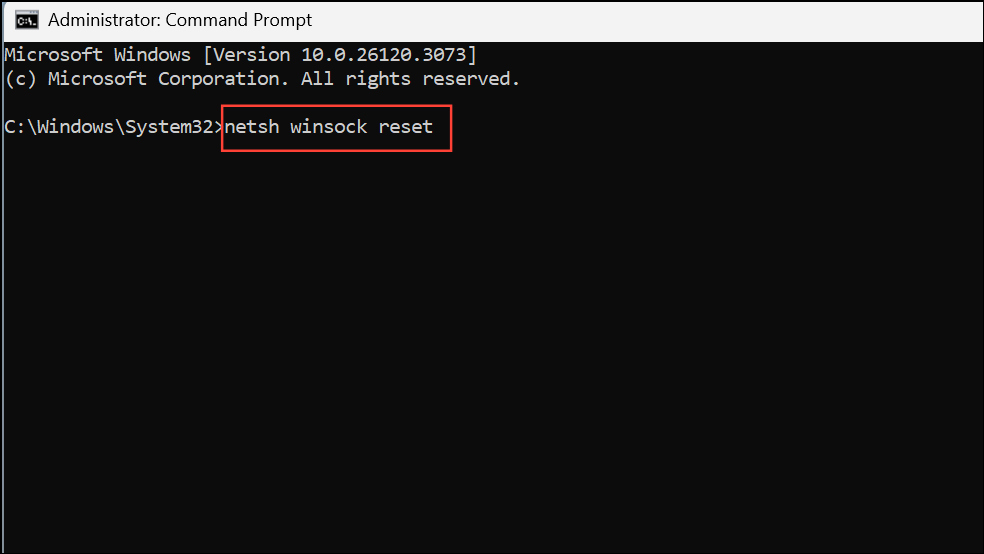
2- Execute the Following Commands: In the Command Prompt window, type and enter these commands one by one:
netsh winsock resetnetsh int ip resetipconfig /releaseipconfig /renewipconfig /flushdns
These commands effectively reset your network stack, release your current IP address, renew it, and clear your DNS cache, removing any conflicting VPN configurations.
3- Restart Your Computer: Once the commands are complete, restart your Windows 11 PC to apply the changes and check your internet connection.
Disable “Use Default Gateway on Remote Network” in VPN Settings
A common culprit is a VPN setting that directs all your internet traffic through the VPN, even after disconnection. You can disable this to restore normal connectivity.
1- Open Control Panel: Search for “Control Panel” in the Windows search bar and open it.
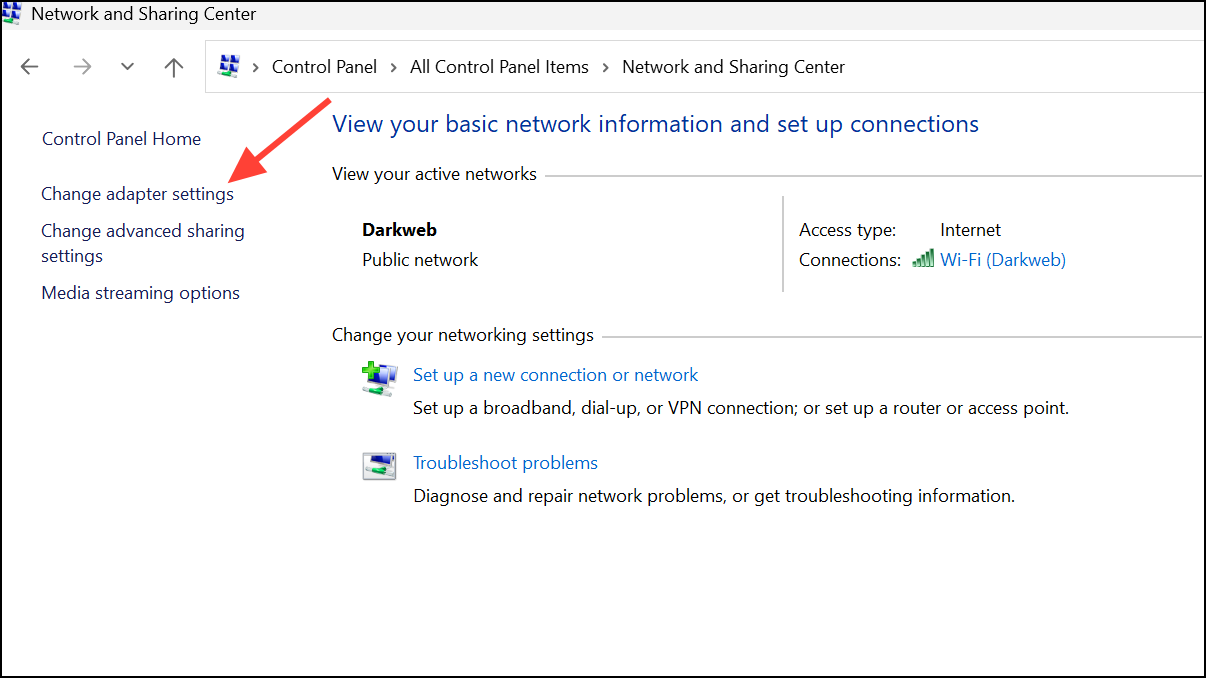
2- Navigate to Network Settings: Go to “Network and Internet” > “Network and Sharing Center” > “Change adapter settings.”
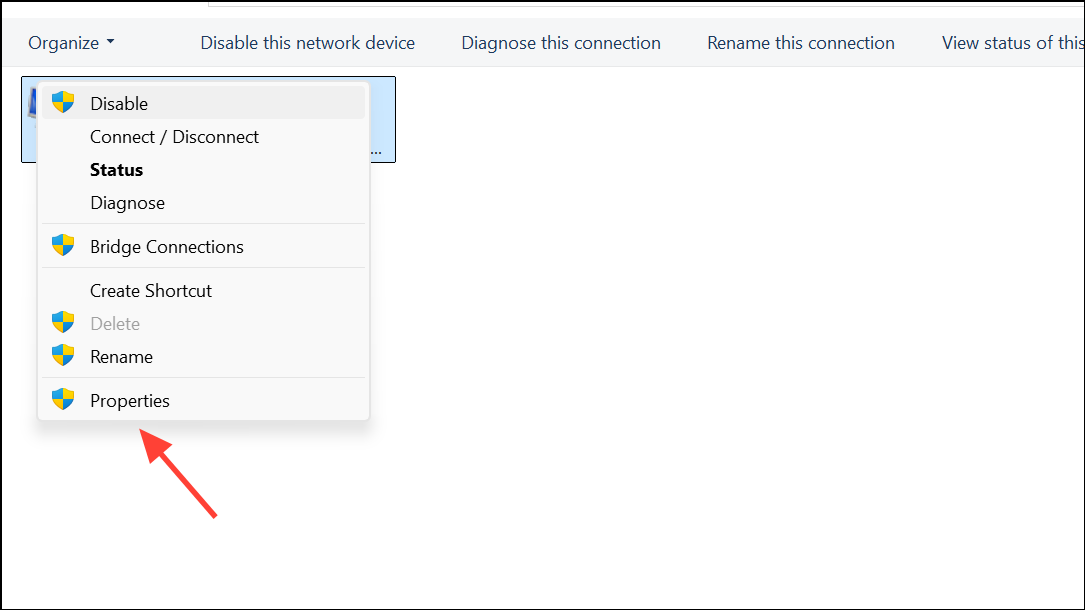
3- Access VPN Properties: Locate your VPN adapter in the list, right-click it, and select “Properties.”
4- Adjust TCP/IPv4 Settings: On the “Networking” tab, double-click “Internet Protocol Version 4 (TCP/IPv4),” then click “Advanced.”

5- Disable the Default Gateway: In the Advanced TCP/IP Settings, uncheck “Use default gateway on remote network” and click “OK” to save the changes. This ensures your device uses its regular internet connection when the VPN is off.
Reboot Your Network Hardware and Reconnect
Your router and modem might retain outdated routing information that blocks a new connection. Restarting them clears this data.
- Power Down: Unplug your modem and router from their power outlets. Wait for at least 30 seconds to allow them to fully discharge.
- Power Up in Order: Plug the modem back in first and wait for its lights to stabilize. Then, plug in your router and wait for it to fully boot up.
- Reconnect and Test: Once both devices are back online, reconnect your Windows 11 PC to the network and test your internet access.
Disable Receive Segment Coalescing (RSC) on Your Wi-Fi Adapter
Certain Windows updates or driver issues may cause compatibility problems with your Wi-Fi adapter and VPN software, particularly when Receive Segment Coalescing (RSC) is enabled. Disabling RSC can resolve this conflict.
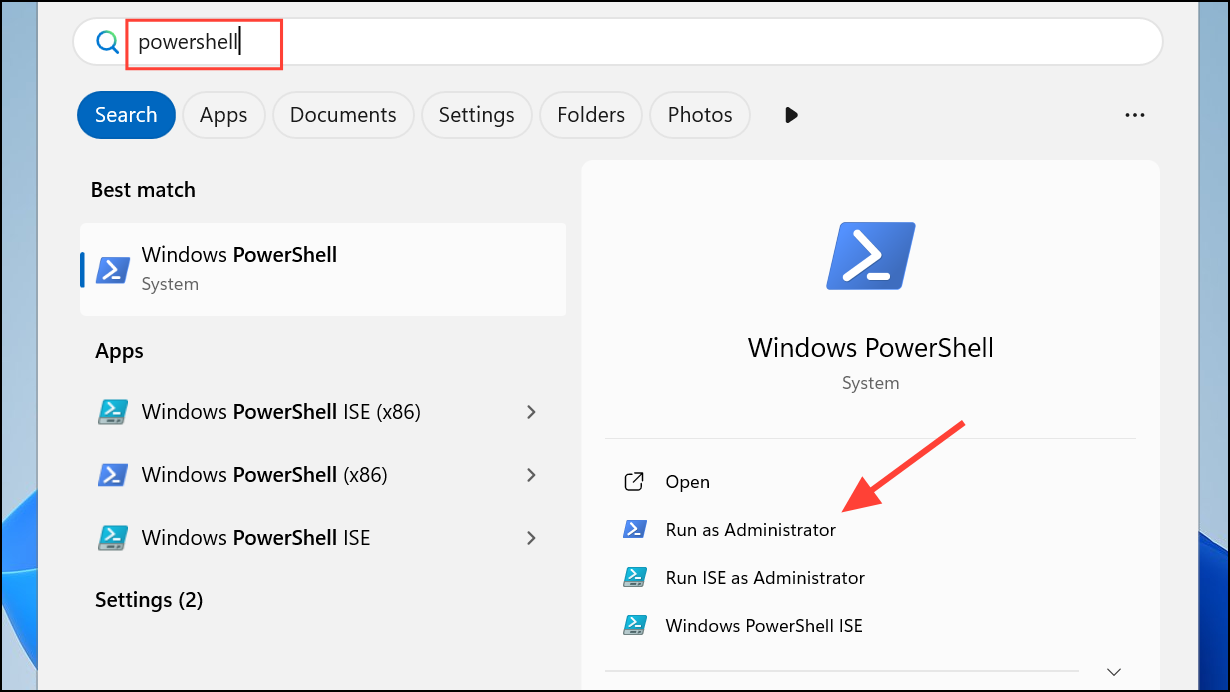
1- Open PowerShell as Administrator: Search for “PowerShell” in the Windows search bar. Right-click “Windows PowerShell” and select “Run as administrator.”
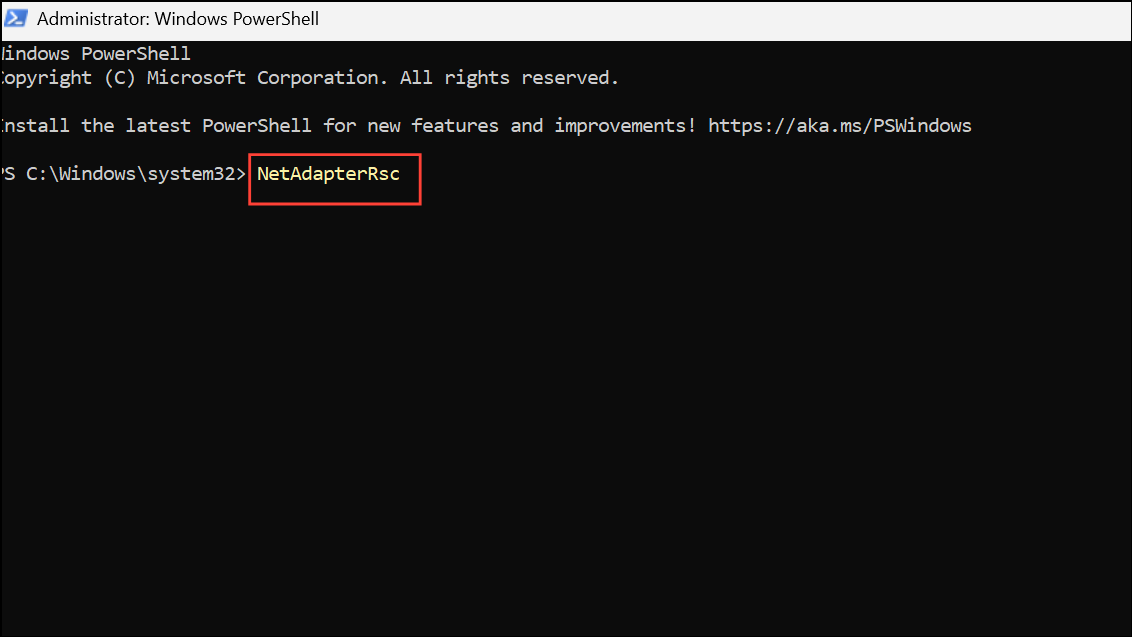
2- View RSC Settings: Run the command Get-NetAdapterRsc to view your current RSC settings.
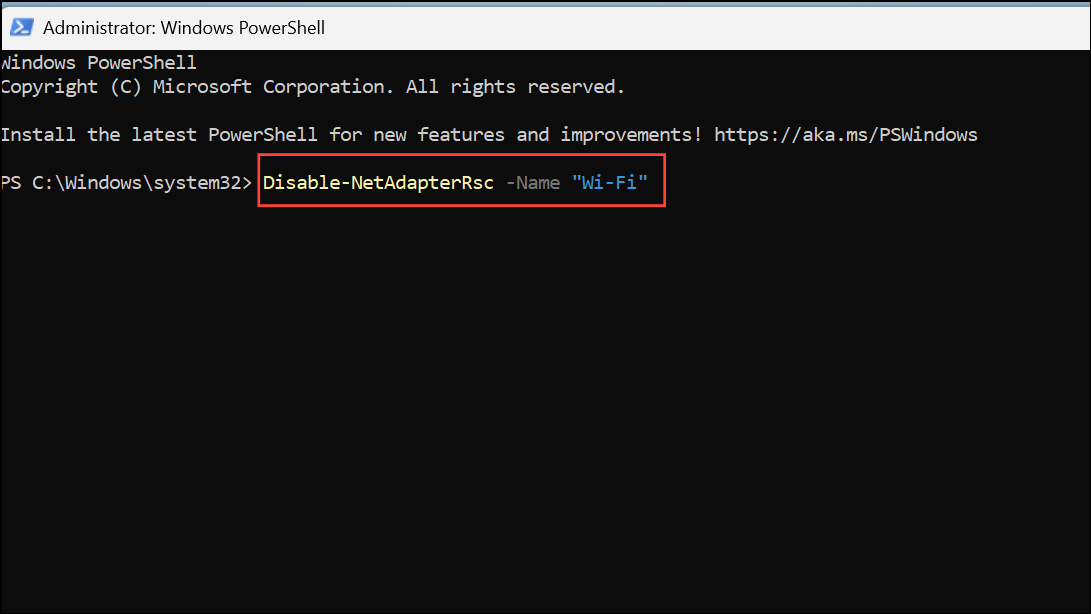
3- Disable RSC: To disable RSC on your Wi-Fi adapter, use the command Disable-NetAdapterRsc -Name "Wi-Fi". Replace “Wi-Fi” with the actual name of your wireless adapter if it’s different.
4- Restart Your PC: Restart your computer and verify that both your internet and VPN connections are working as expected.
Check and Disable Conflicting Network Adapters
Multiple virtual or unused network adapters can interfere with proper routing.
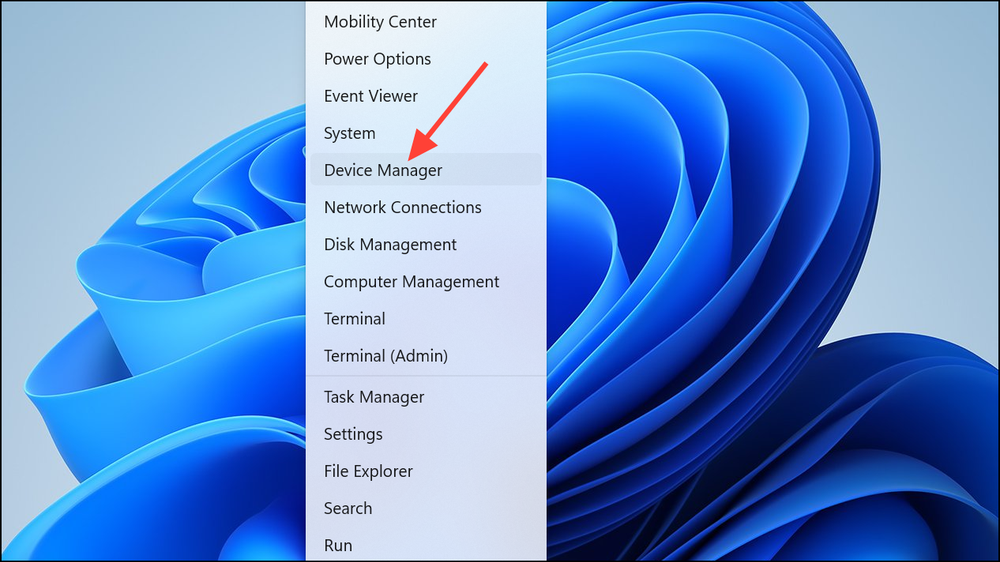
1- Open Device Manager: Right-click the Start button and select “Device Manager” from the menu.
2- Locate Network Adapters: Expand the “Network adapters” section. Identify any adapters labeled as “virtual,” “VPN,” or those that aren’t actively in use.
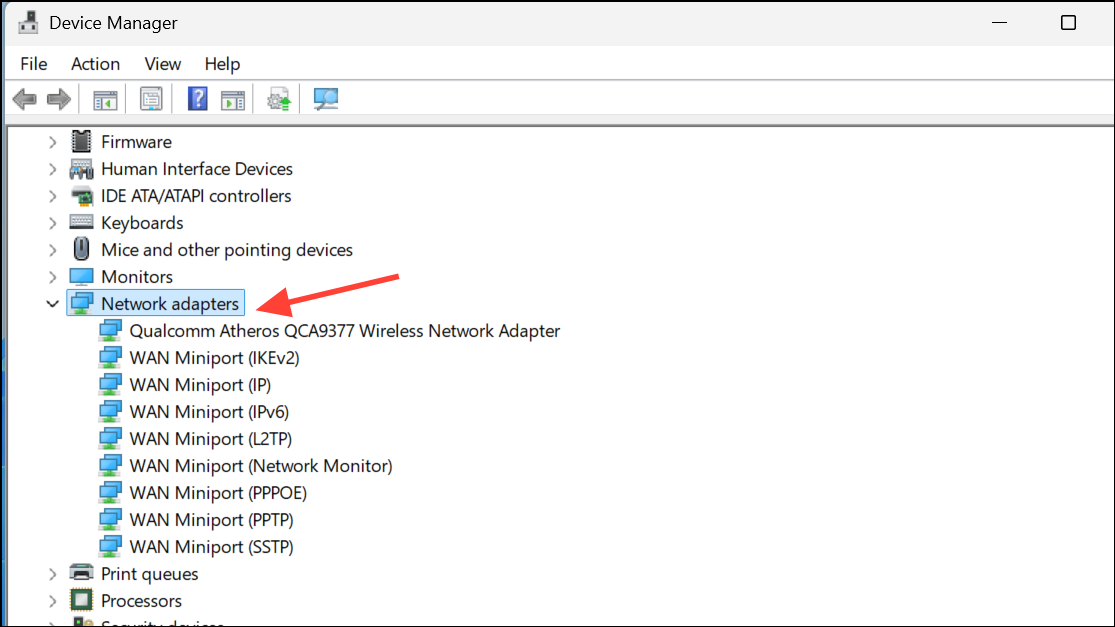
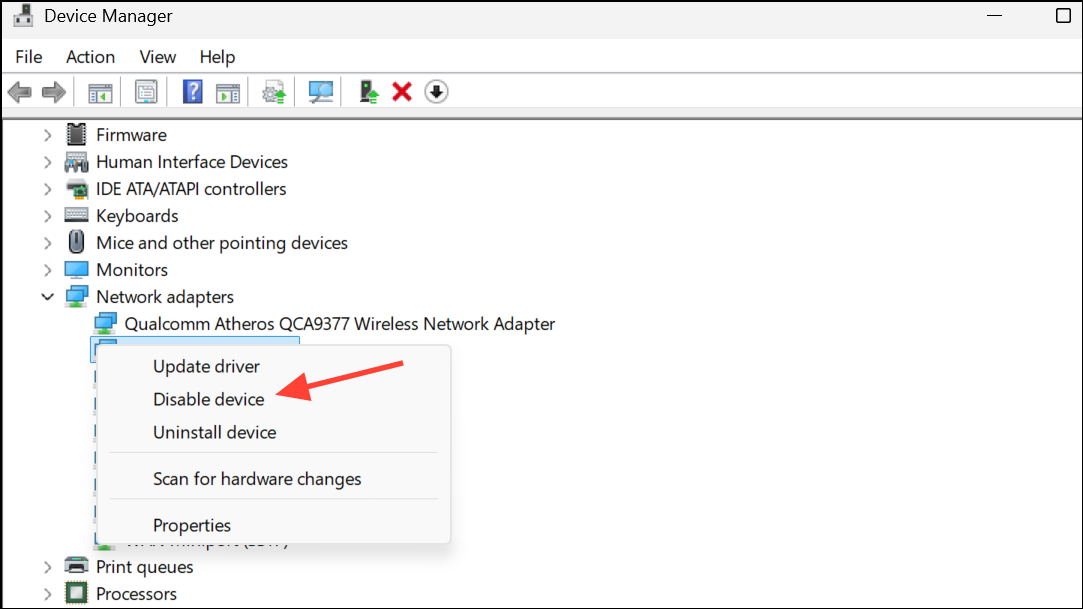
3- Disable Unused Adapters: Right-click each unused adapter and select “Disable device.” Be cautious not to disable your primary Ethernet or Wi-Fi adapter.
Update or Reinstall Network and VPN Drivers
Outdated or corrupted drivers can contribute to connectivity issues. Updating or reinstalling them ensures your system has the latest configurations.
1- Get Updated Drivers: If possible, use another device to visit your PC or network adapter manufacturer’s website to download the latest network adapter drivers.
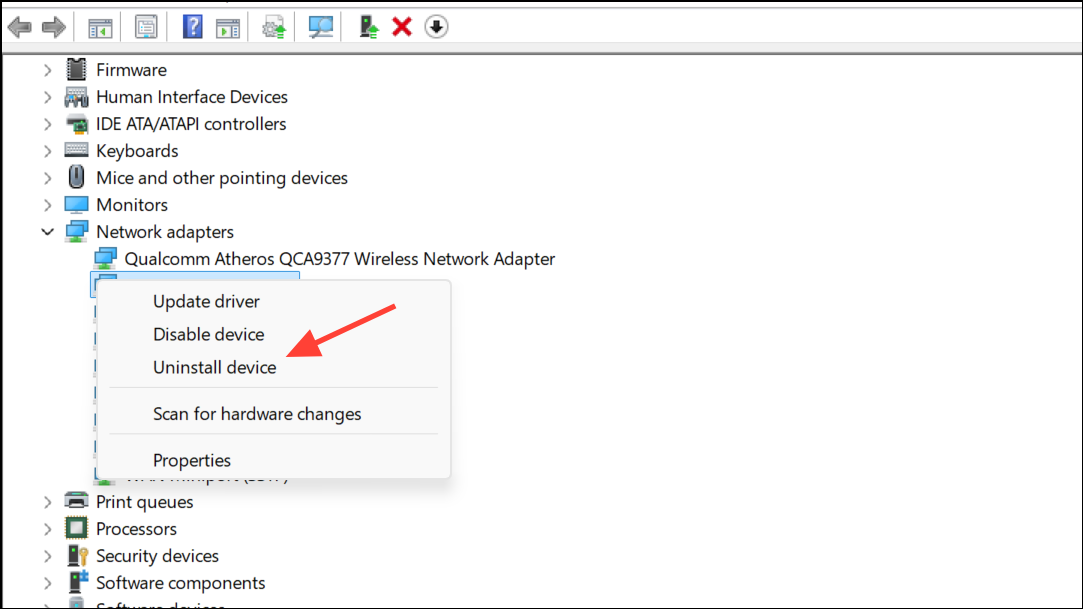
2- Uninstall Old Driver: In Device Manager, right-click your network adapter and select “Uninstall device.” If available, check the box to attempt to remove the driver software.
3- Restart and Reinstall (If Needed): Restart your computer. Windows will try to reinstall the driver automatically. If it doesn’t, manually install the driver you downloaded earlier.
4- Reinstall VPN Client: Uninstall and reinstall your VPN client software from the official website to ensure you have the newest version and that any old settings are removed.
Additional Troubleshooting Tips
- Disable Proxy Settings: Check that proxy settings are disabled. Go to Settings > Network & Internet > Proxy and make sure all proxy settings are turned off unless your network requires them.
- Check for Windows Updates: Ensure that you have installed the latest Windows updates to address known issues that can affect network connectivity. Go to Settings > Windows Update and install any pending updates.
- Perform a Network Reset: As a last resort, you can perform a network reset, which will remove and reinstall all network adapters and return settings to their default. Go to Settings > Network & Internet > Advanced network settings > Network reset and click “Reset now.”
In conclusion, experiencing internet connection drops after disconnecting from a VPN on Windows 11 can be incredibly frustrating. By following these troubleshooting steps, you can systematically address the common causes of this problem and restore your online access. From simple commands to more advanced settings adjustments, this guide has provided a comprehensive toolkit to diagnose and resolve the issue. If one solution doesn’t work, move on to the next, and you’ll be back online in no time!
And if you'd like to go a step further in supporting us, you can treat us to a virtual coffee ☕️. Thank you for your support ❤️!

We do not support or promote any form of piracy, copyright infringement, or illegal use of software, video content, or digital resources.
Any mention of third-party sites, tools, or platforms is purely for informational purposes. It is the responsibility of each reader to comply with the laws in their country, as well as the terms of use of the services mentioned.
We strongly encourage the use of legal, open-source, or official solutions in a responsible manner.
Comments