
When trying to install or activate Windows 11, you may encounter Error 0x803F8001, which can be frustrating and prevent you from accessing important features. This error typically occurs due to activation issues, system misconfigurations, or problems with your Microsoft account.
In this complete troubleshooting guide, we’ll walk you through the causes behind this error and provide simple, step-by-step solutions to resolve it. Whether you’re a beginner or an experienced user, our tips will help you fix the issue quickly and get your Windows 11 system running smoothly again. Let’s get started and resolve this problem together!
Method 1: Sign Out and Back Into Your Microsoft Account
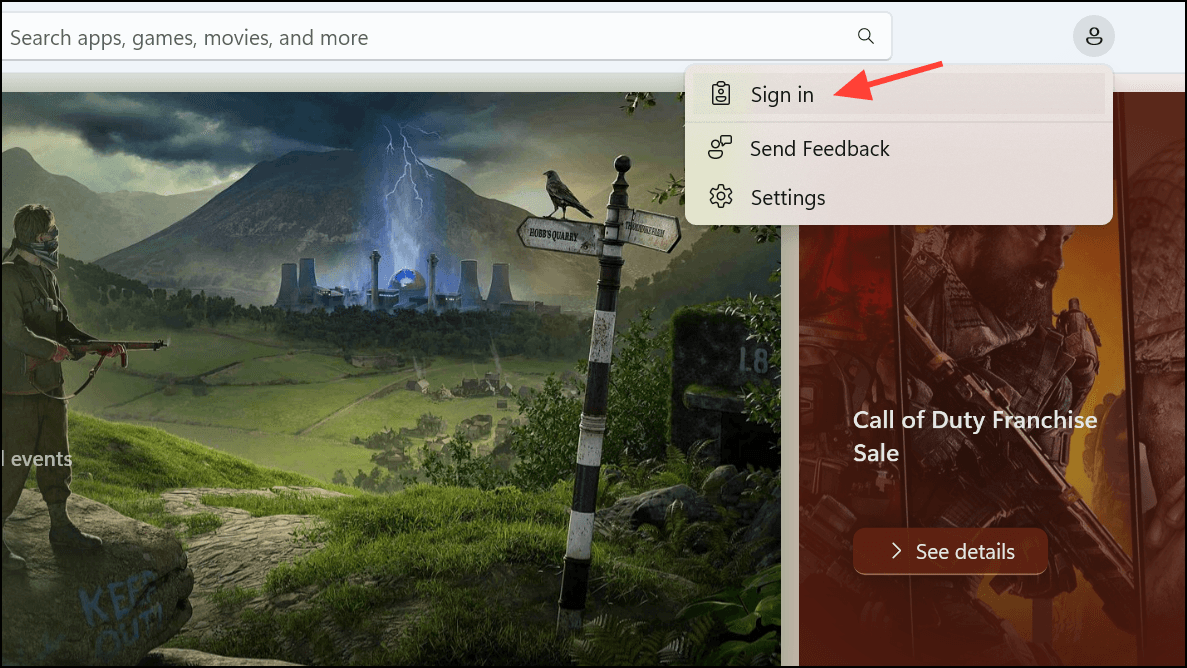
Step 1: Open the Microsoft Store app on your Windows 11 computer. Click on your profile icon located at the top-right corner of the window. From the dropdown menu, select “Sign out” to disconnect your Microsoft account temporarily.

Step 2: Restart your computer to ensure all temporary settings are cleared. After your computer restarts, open the Microsoft Store again, click the profile icon, and select “Sign in”. Enter your Microsoft account credentials to log back in. This process often resolves synchronization issues causing the 0x803F8001 error.
Method 2: Run the Windows Store Troubleshooter
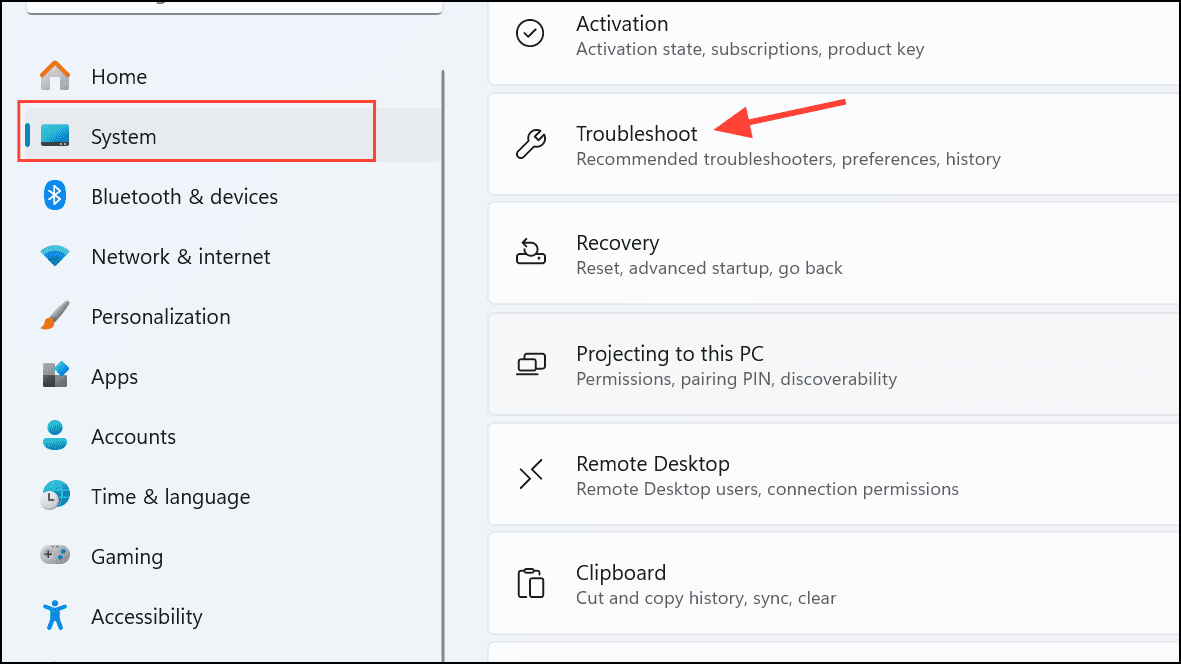
Step 1: Press Windows key + I to open the Settings app. Navigate to “System” and then select “Troubleshoot” from the right pane.
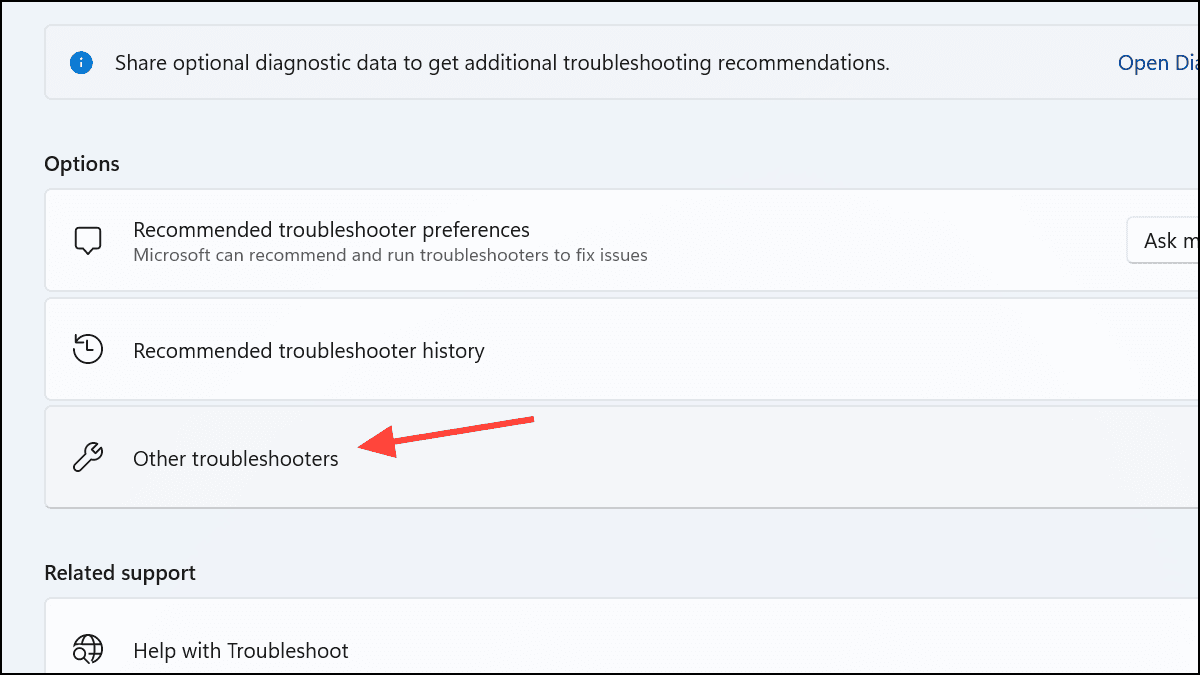
Step 2: Click on “Other troubleshooters”, scroll down, and locate “Windows Store Apps”. Click “Run” to initiate the troubleshooter.
Step 3: Follow the on-screen prompts provided by the troubleshooter. If it identifies any problems, select “Apply this fix”. Once complete, restart your computer and verify if the error persists.
Method 3: Repair or Reset the Microsoft Store App
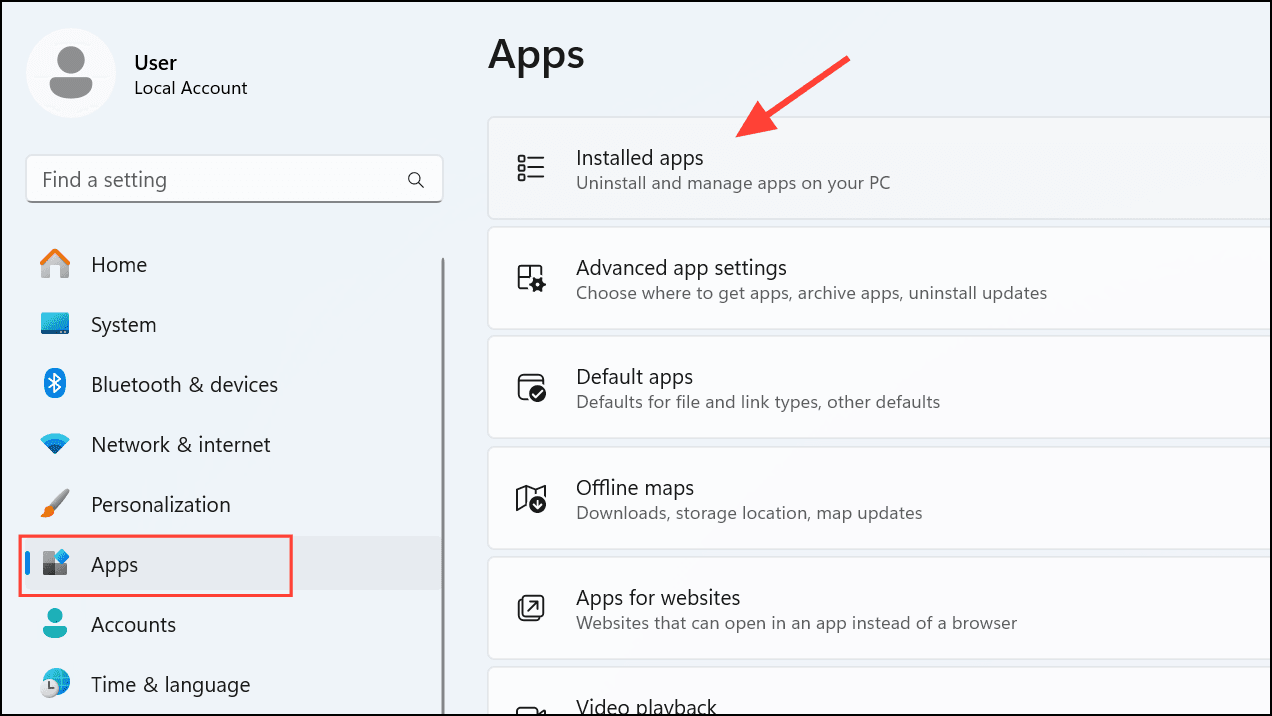
Step 1: Open the Settings app by pressing Windows key + I. Navigate to “Apps” and select “Installed apps”.
Step 2: Use the search bar to find “Microsoft Store”, click the three-dot menu next to it, and choose “Advanced options”.
Step 3: Scroll down to the “Reset” section. First, click on “Repair”. This action scans and fixes any corrupted files or dependencies. If repairing doesn’t resolve the issue, click on “Reset”. This will clear temporary data without affecting your installed apps. After resetting, restart your computer and check if the error is resolved.
Method 4: Clear Microsoft Store Cache
Step 1: Press Windows key + R to open the Run dialog box. Type wsreset.exe and press Enter.

Step 2: A blank Command Prompt window will appear briefly, indicating the cache is being cleared. After approximately 30 seconds, the window will close automatically, and the Microsoft Store will open. Try downloading or updating the app again to see if the error is resolved.
Method 5: Reinstall the Microsoft Store via PowerShell
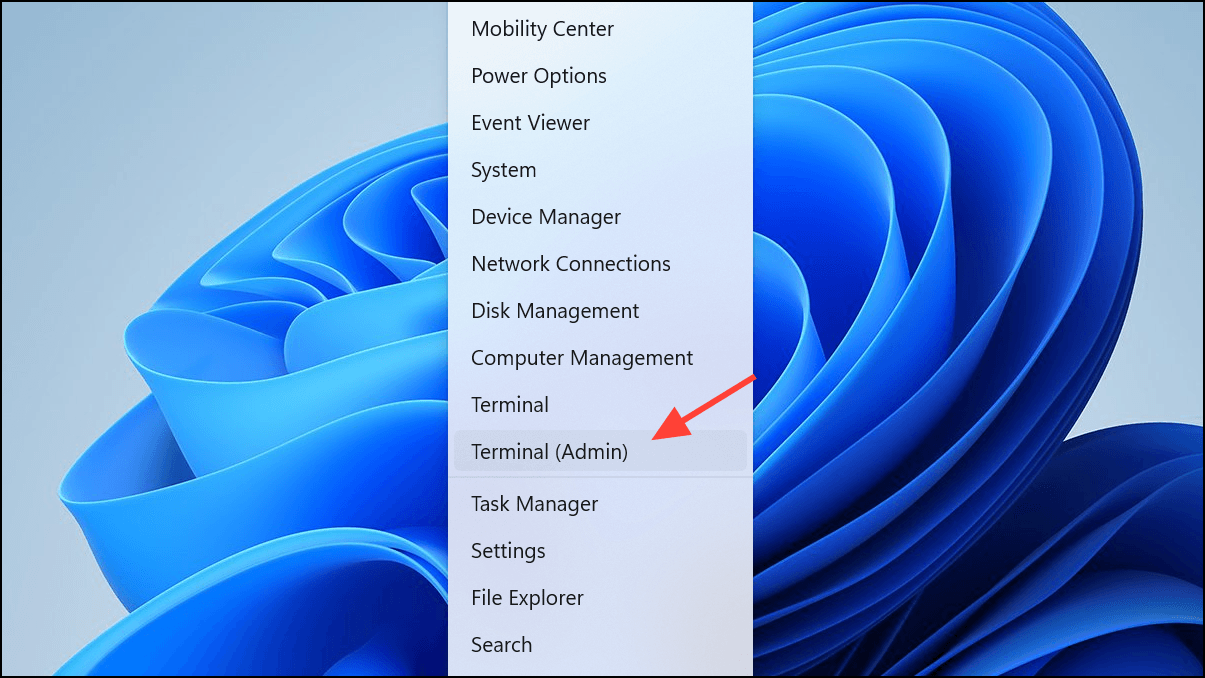
Step 1: Right-click the Start button and select “Terminal (Admin)” to open Windows Terminal with administrative privileges.
Step 2: In the PowerShell window, enter the following command to uninstall the Microsoft Store temporarily:
Get-AppxPackage -allusers *WindowsStore* | Remove-AppxPackage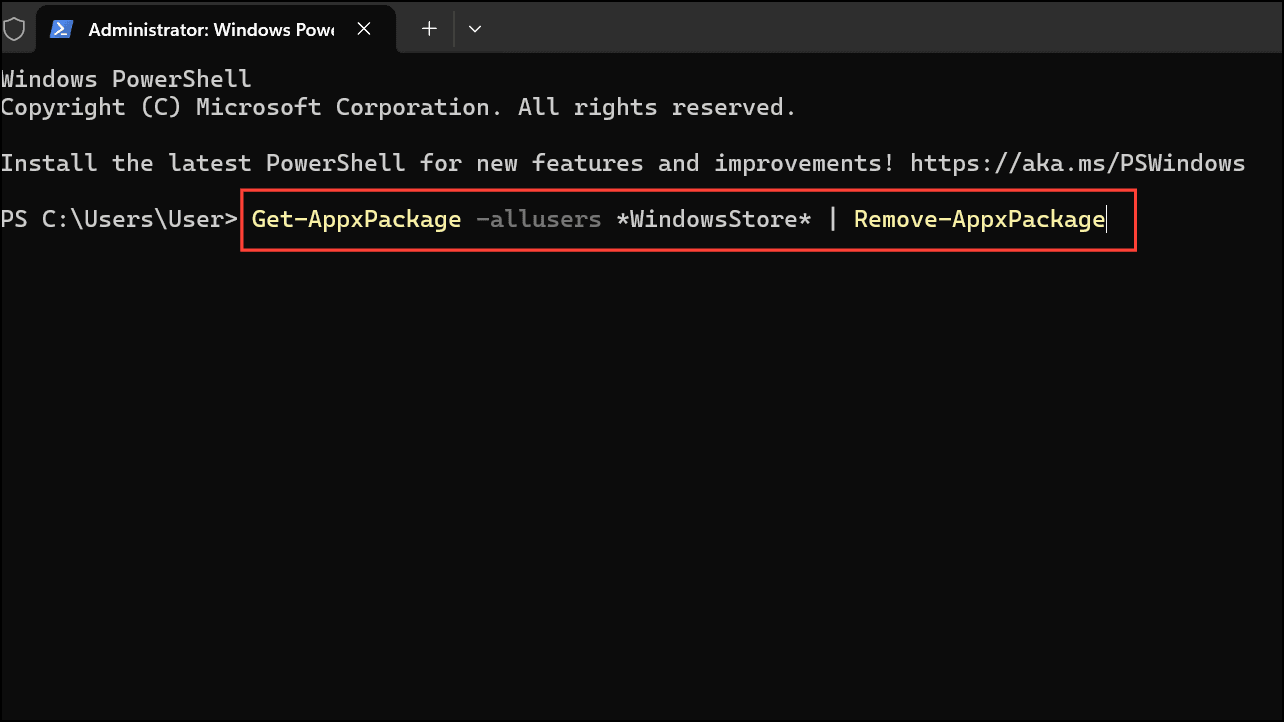
Step 3: Restart your computer. After the system restarts, open Windows Terminal (Admin) again and reinstall the Microsoft Store using the following command:
Get-AppxPackage -allusers *WindowsStore* | Foreach {Add-AppxPackage -DisableDevelopmentMode -Register "$($_.InstallLocation)\AppXManifest.xml"}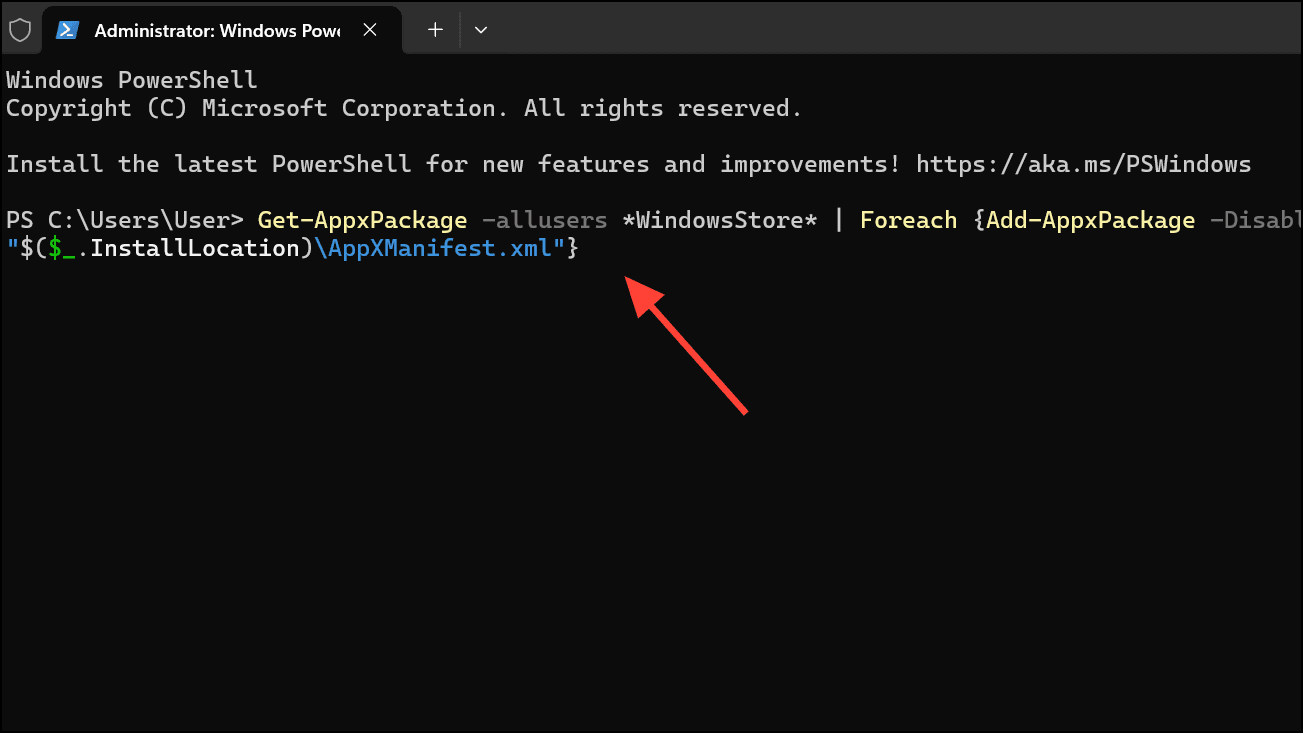
Step 4: Once complete, restart your computer again and check if the error is resolved.
Method 6: Run SFC and DISM Scans to Repair System Files
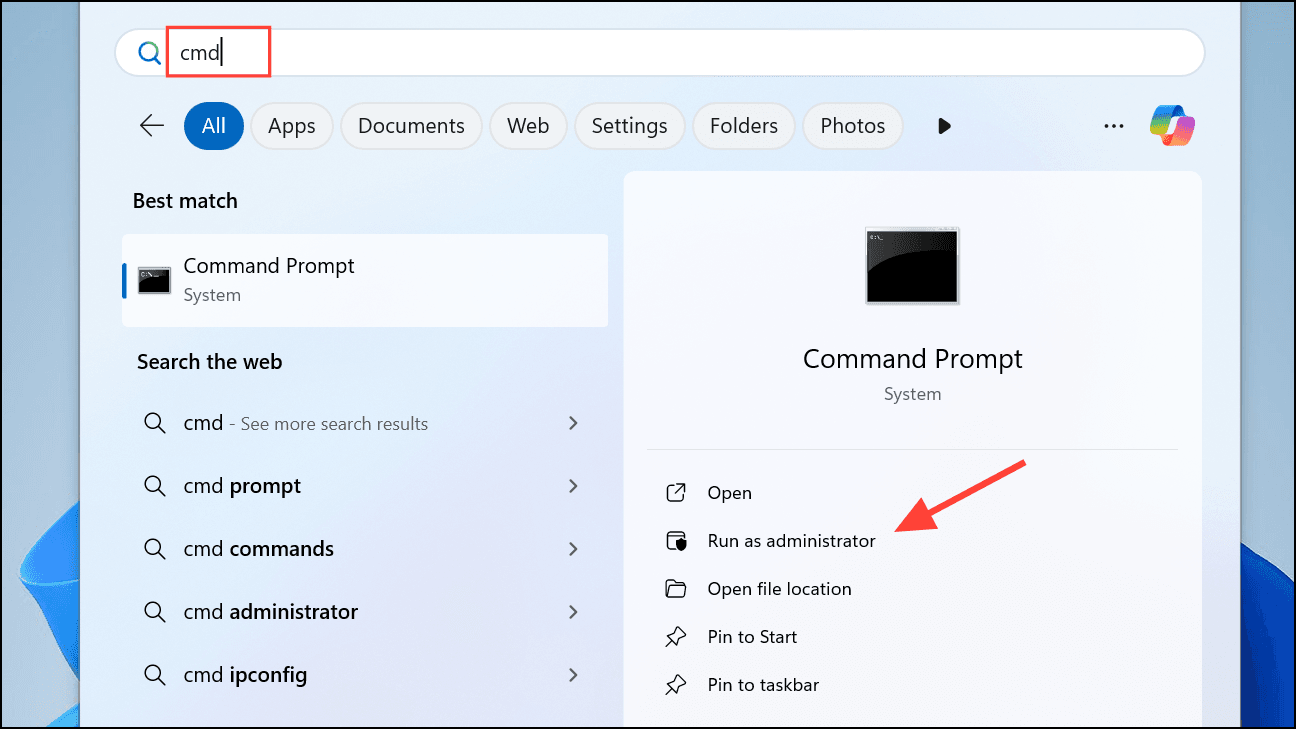
Step 1: Open Command Prompt as an administrator by searching for “cmd” in the Start menu, right-clicking on “Command Prompt”, and selecting “Run as administrator”.
Step 2: Enter the following command and press Enter to run the System File Checker (SFC) scan:
sfc /scannow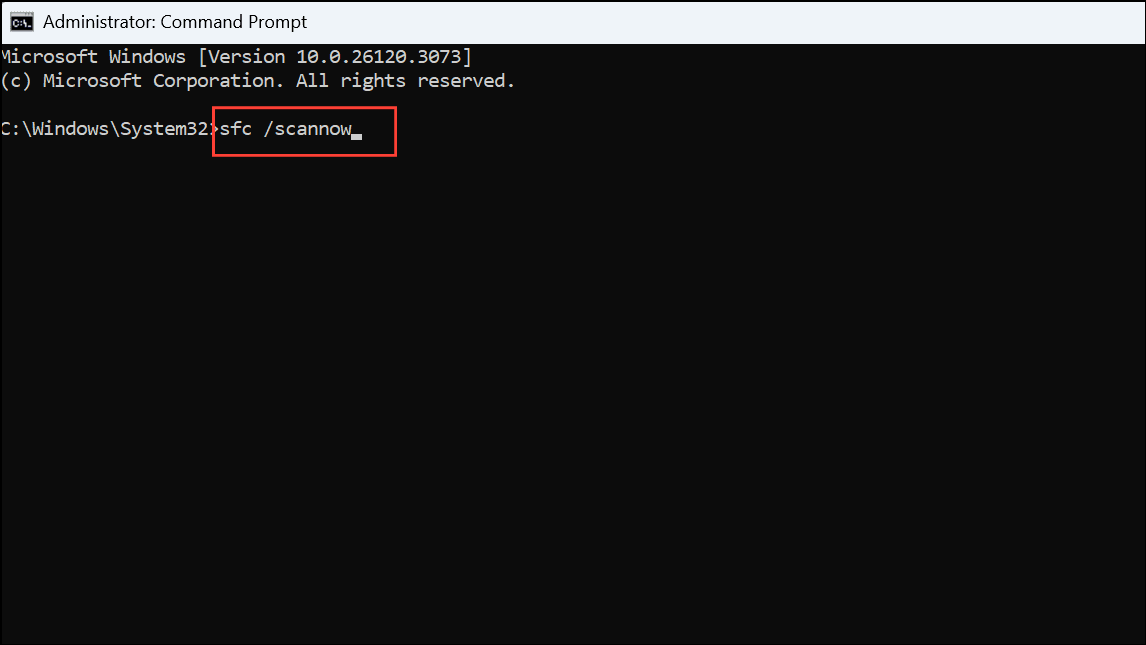
Allow this scan to complete. It will identify and repair corrupted system files.
Step 3: After the SFC scan completes, run a Deployment Image Servicing and Management (DISM) scan by entering the following command:
DISM.exe /Online /Cleanup-image /Restorehealth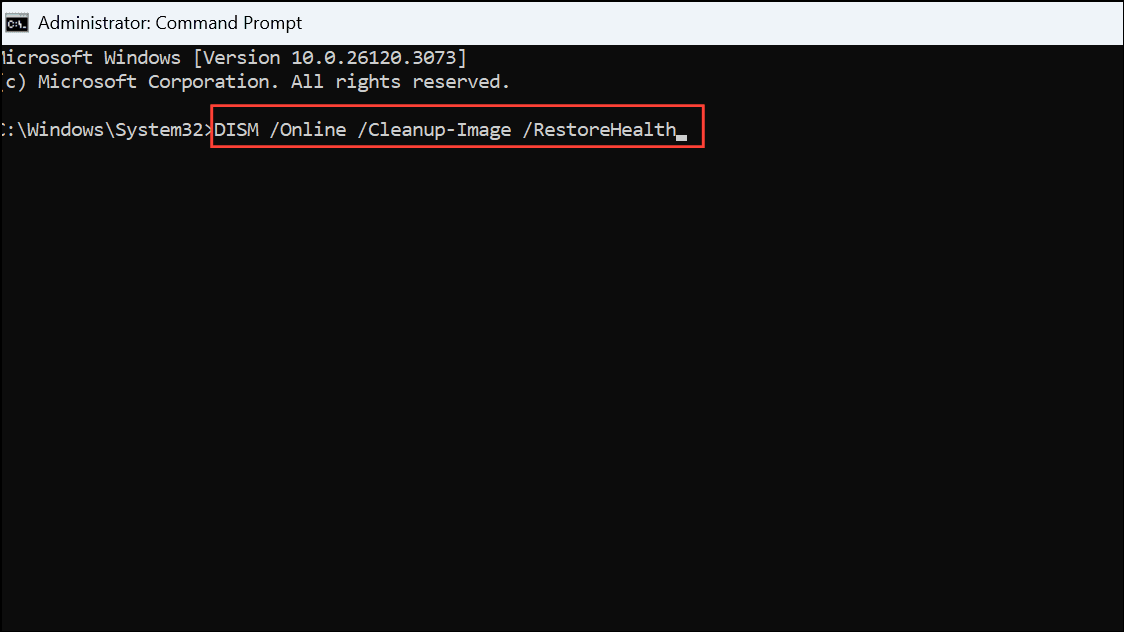
This scan repairs deeper system image issues. After the DISM scan finishes, reboot your computer and verify if the error persists.
Conclusion
Encountering Error 0x803F8001 on Windows 11 can be a hassle, but with the right troubleshooting steps, you can quickly resolve the issue and get your system back on track. Whether it’s adjusting activation settings, checking your Microsoft account, or performing a clean reinstall, the solutions provided in this guide should help you fix the problem effectively.
If you’ve followed all the steps and are still facing issues, consider reaching out to Microsoft Support for more advanced assistance. Keeping your system error-free is crucial for a smooth Windows experience.
We hope this guide helped you solve the problem. If you have any questions or additional solutions to share, feel free to leave a comment below!
And if you'd like to go a step further in supporting us, you can treat us to a virtual coffee ☕️. Thank you for your support ❤️!

We do not support or promote any form of piracy, copyright infringement, or illegal use of software, video content, or digital resources.
Any mention of third-party sites, tools, or platforms is purely for informational purposes. It is the responsibility of each reader to comply with the laws in their country, as well as the terms of use of the services mentioned.
We strongly encourage the use of legal, open-source, or official solutions in a responsible manner.
Comments