
The “SmartScreen can’t be reached right now” message indicates that Windows Defender SmartScreen is unable to communicate with Microsoft’s servers. This prevents SmartScreen from checking the safety of apps and files, which leaves your device vulnerable. This issue often arises from network problems, incorrect security settings, or policy misconfigurations. Here’s a breakdown of how to fix it:
I. Initial Checks: Internet and Network Configuration
SmartScreen needs a working internet connection to function. Start by ensuring your network is stable:
Test Your Connection: Open your web browser and go to a site like Speedtest.net to check your internet speed. Slow or failed connections are a common cause.
Restart Your Network Hardware: Unplug your modem and router for at least 30 seconds, then plug them back in. Wait for all the lights to return to normal before proceeding.
Check Wired Connections: For wired connections, make sure the Ethernet cable is securely plugged in.
Check Wi-Fi Connections: For Wi-Fi, disconnect and then reconnect to your wireless network.
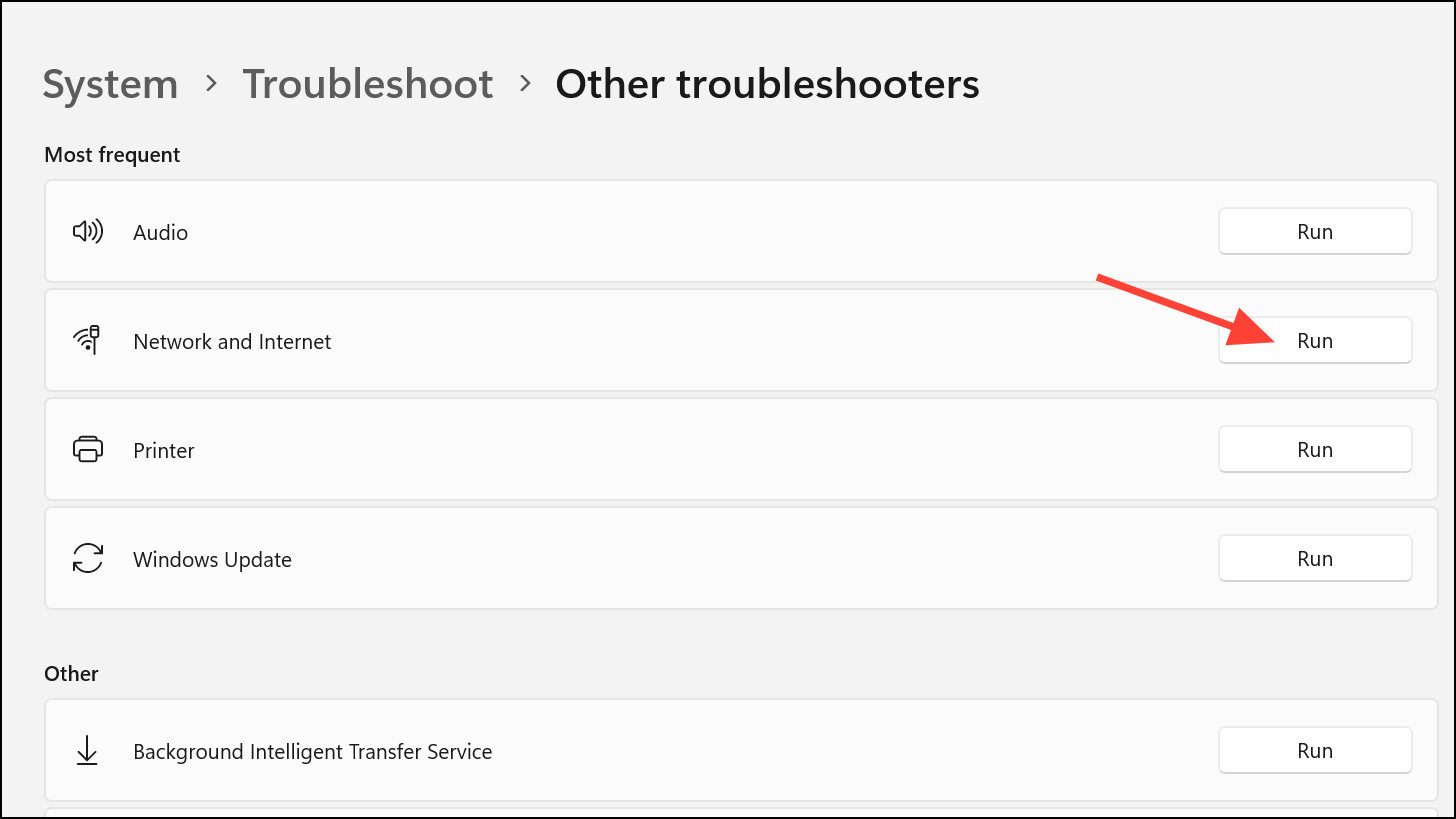
Run the Network Troubleshooter: Go to Settings > System > Troubleshoot > Other troubleshooters and select Network and Internet troubleshooter. Let Windows automatically detect and fix any network issues.
VPN Consideration: If you are using a VPN, temporarily disconnect it. VPNs can sometimes interfere with SmartScreen. Try running the installer again after disconnecting from the VPN.
II. Verify and Adjust SmartScreen Settings
Incorrect SmartScreen settings can trigger this error. Make sure all SmartScreen protections are enabled:
Open Settings: Click the Start button, then select Settings.
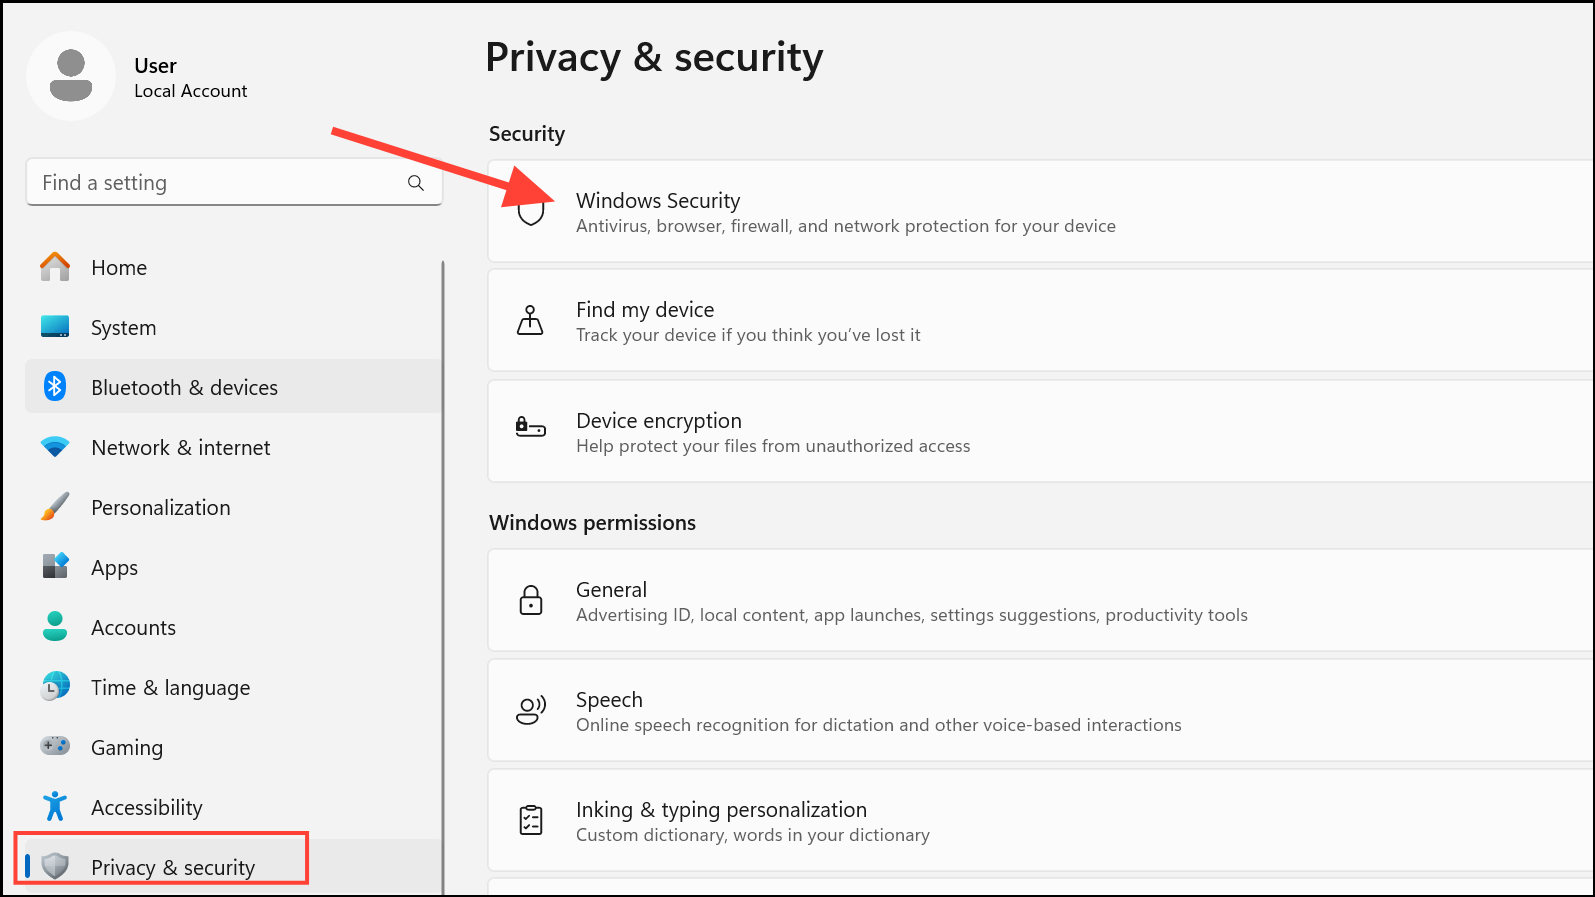
Go to Privacy & Security: In the left sidebar, select Privacy & security, and then click Windows Security on the right.
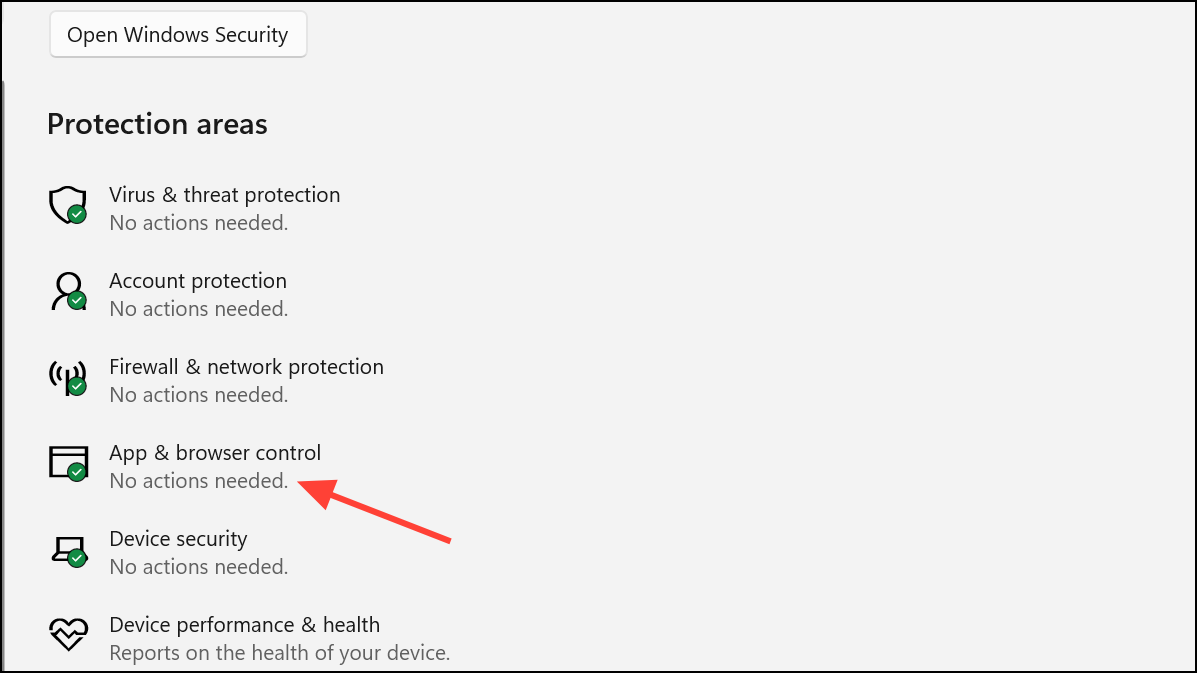
App & Browser Control: Click App & browser control.
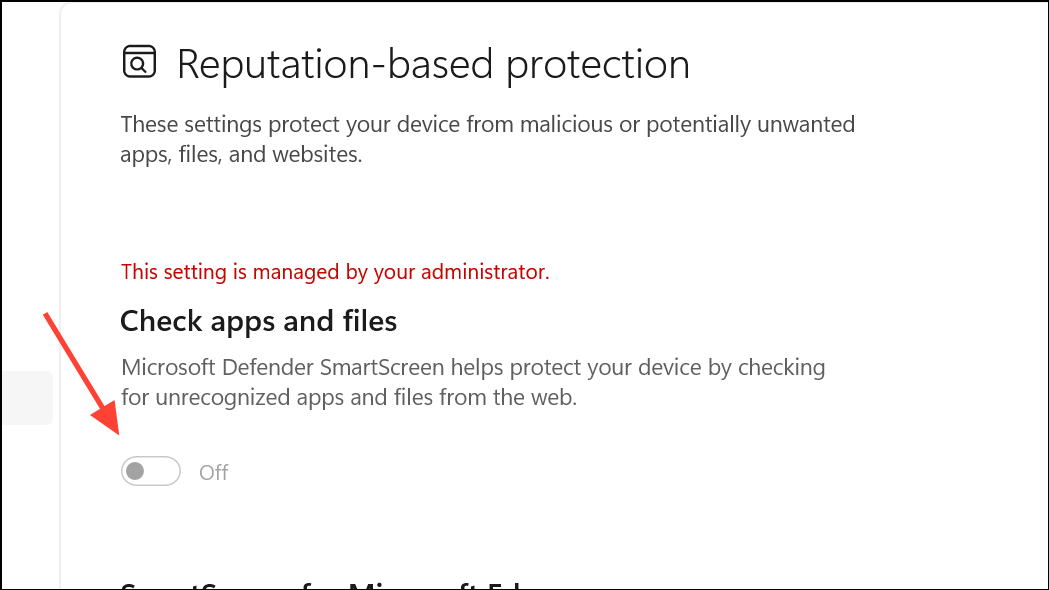
Reputation-Based Protection Settings: Select Reputation-based protection settings.
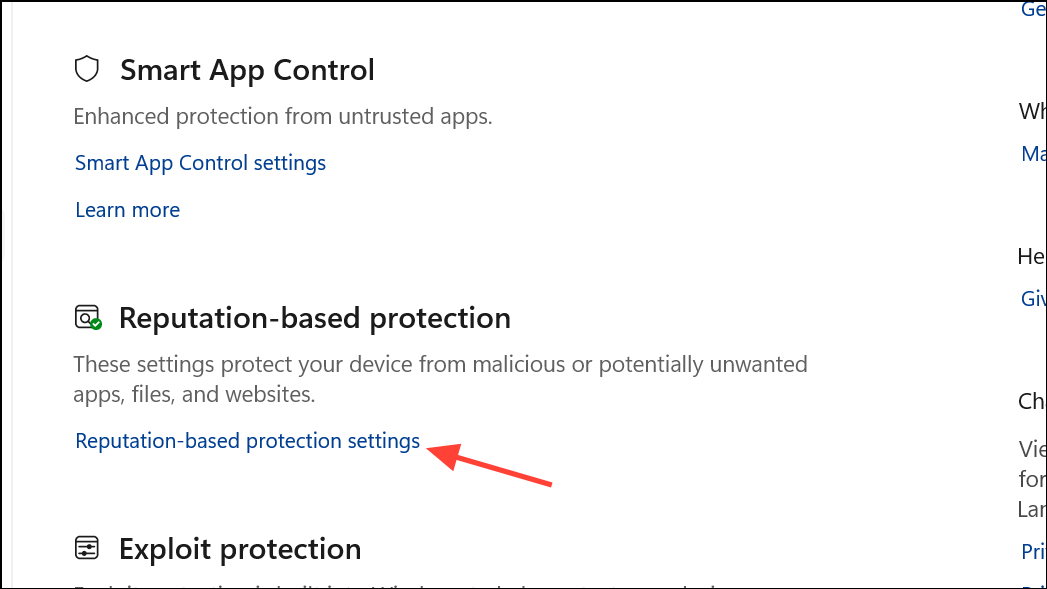
Ensure Settings are “On”: Make sure the following toggles are turned On:
- Check apps and files.
- SmartScreen for Microsoft Edge.
- Potentially unwanted app blocking.
- SmartScreen for Microsoft Store apps.
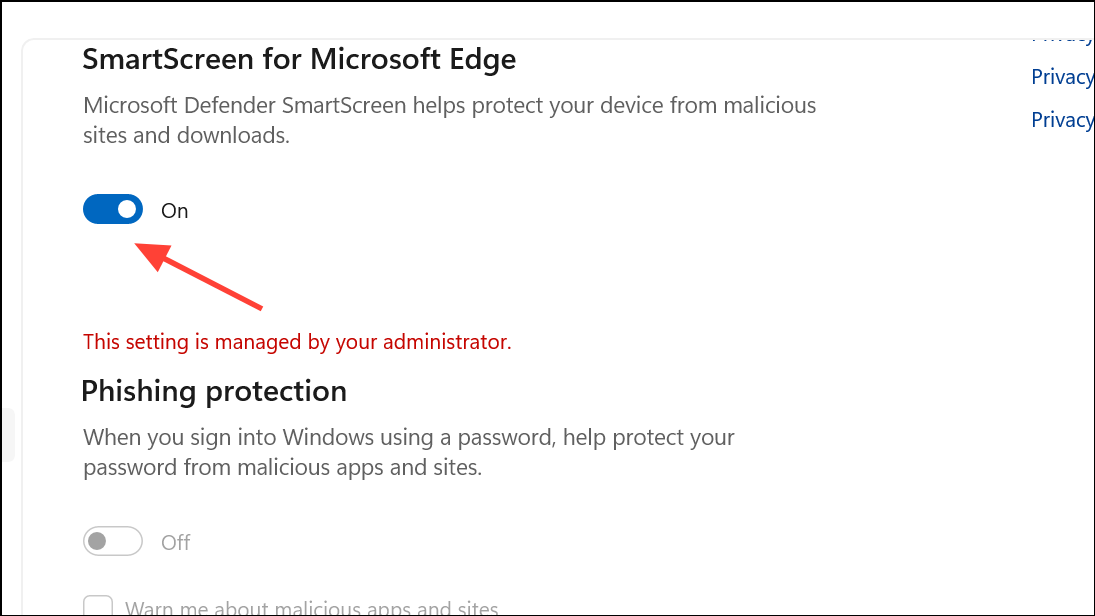
Temporary Override (Use with Caution): If you need to run a specific app, you can temporarily turn Check apps and files to Off, install or run the app, and then turn it back On. Only do this for trusted files, as disabling SmartScreen reduces your security.
III. Enabling SmartScreen via Local Group Policy Editor (Windows 11 Pro/Enterprise)
On Windows 11 Pro or Enterprise, group policy settings might override your user controls. If SmartScreen is disabled by policy, you can re-enable it:
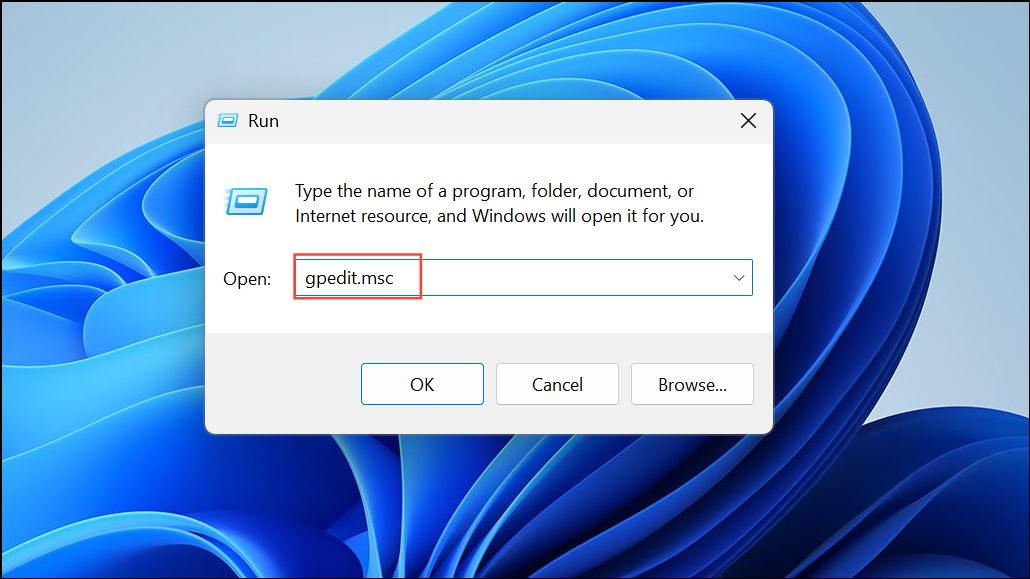
Open Run: Press WIN+R, type gpedit.msc, and click OK to open the Local Group Policy Editor.
Navigate to the Correct Setting: In the left pane, go to:
Computer Configuration > Administrative Templates > Windows Components > File Explorer
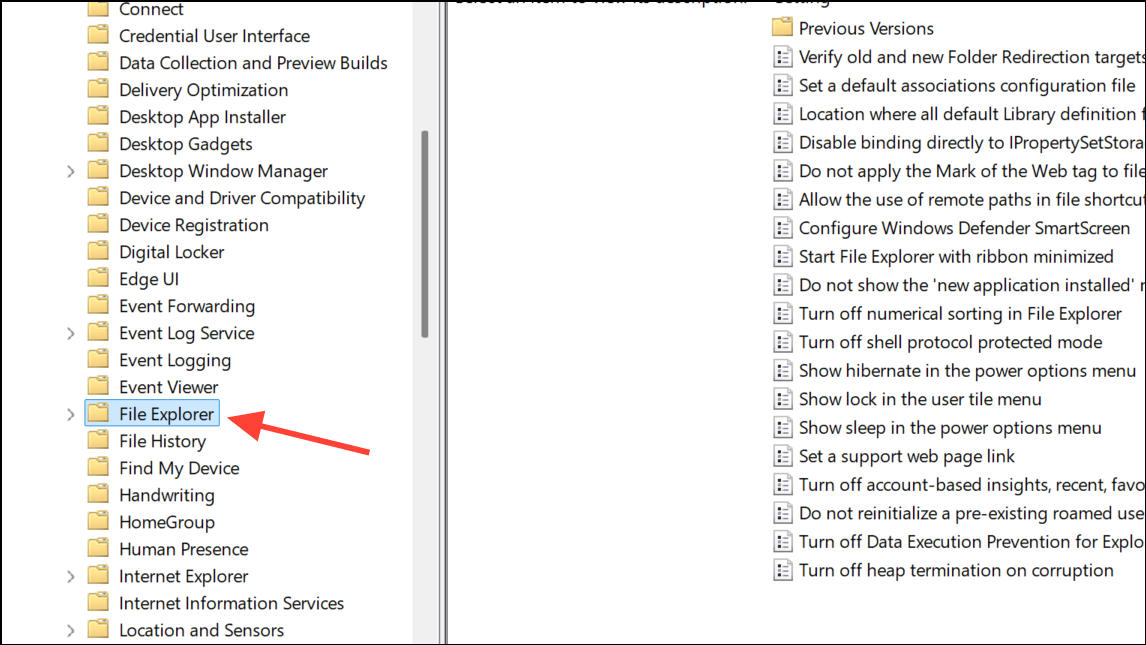
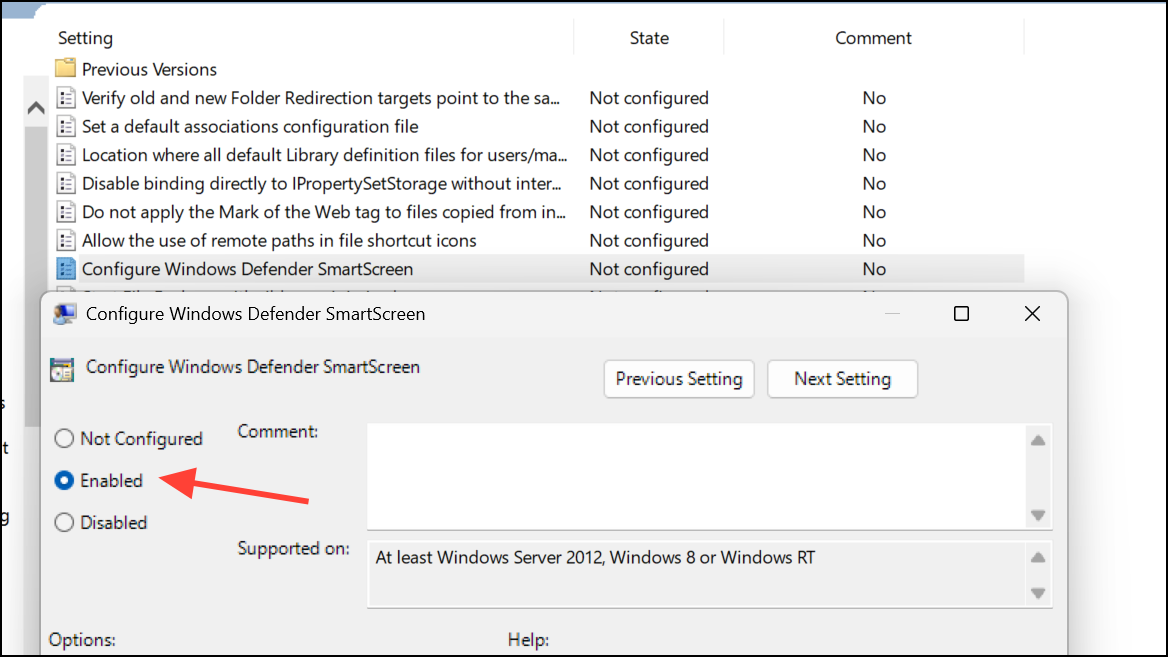
Configure SmartScreen: In the right pane, double-click Configure Windows Defender SmartScreen.

Enable the Policy: Set the policy to Enabled. Click Apply and OK to save the changes.
Restart Your Computer: Restart your computer to apply the new policy. After rebooting, check if SmartScreen is working correctly. Note: The Local Group Policy Editor is unavailable in Windows 11 Home. For Home editions, use the Windows Security app method (section II).
IV. Scan for Malware and System Corruption
Malware or corrupted system files can interfere with SmartScreen. Perform a thorough scan:
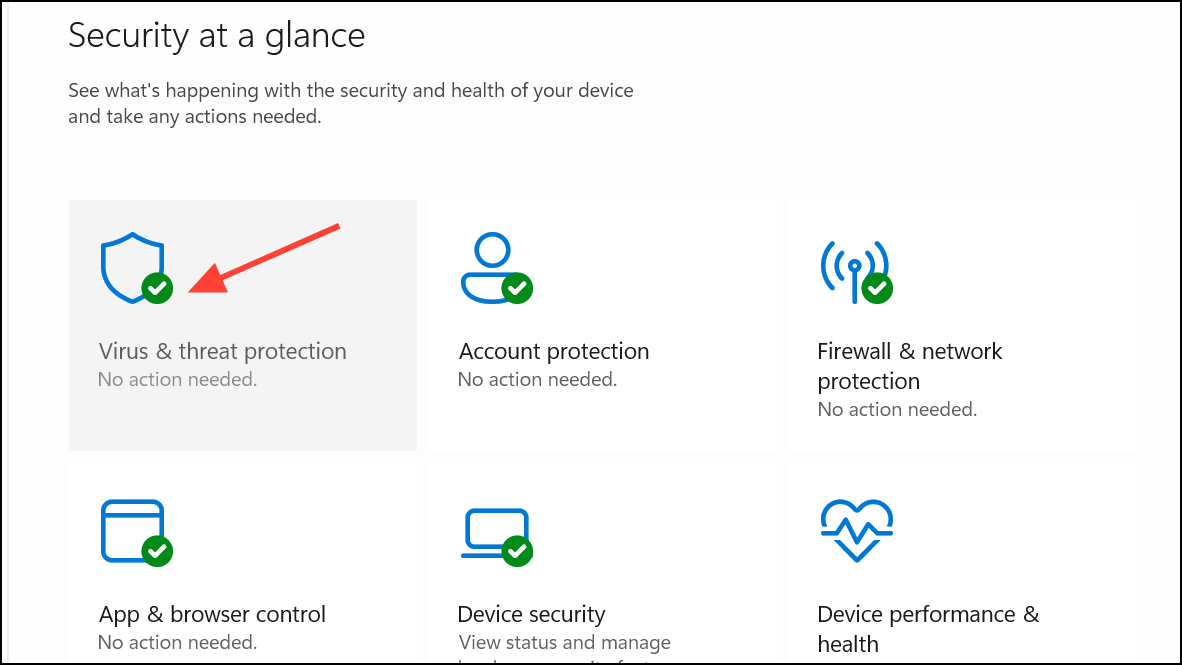
Open Windows Security: From the Start menu, open Windows Security.

Virus & Threat Protection: Select Virus & threat protection, then click Scan options.
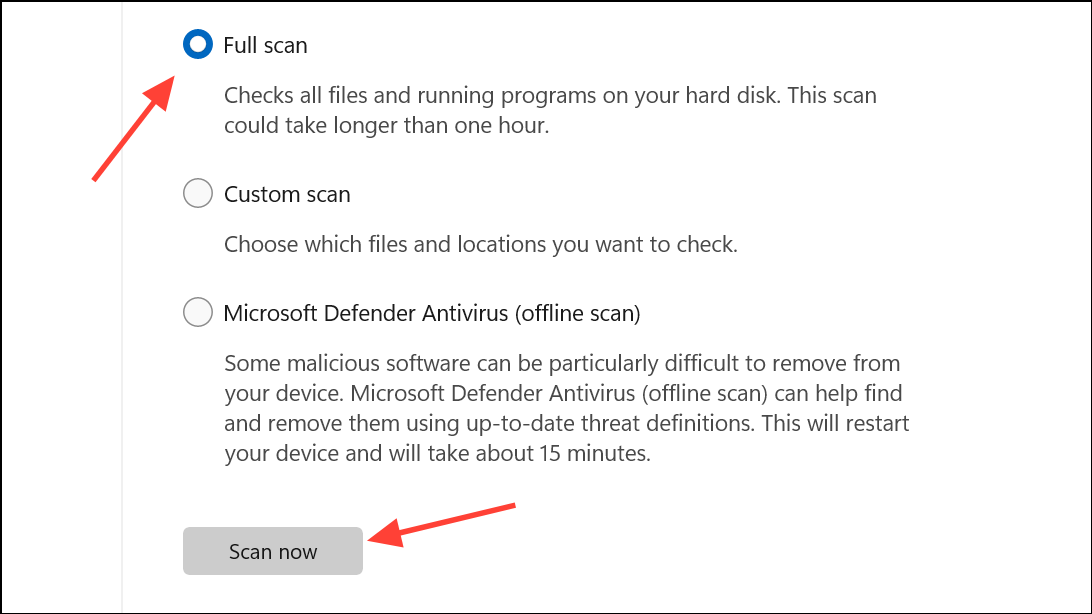
Run a Full Scan: Choose Full scan and click Scan now. Let the scan finish and follow any prompts to remove threats.
Consider a Second Opinion: Use a reputable third-party malware scanner like Malwarebytes. Download it from their official website, install it, and run a full scan with rootkit scanning enabled.
V. Additional Troubleshooting Steps
If the problem continues, try these additional steps:
- Proxy Settings: Check for proxy settings in Settings > Network & Internet > Proxy and disable any active proxy, as it can block SmartScreen communication.
- New User Profile: Create a new local administrator account, log in, and see if SmartScreen works in that account. User profile corruption can sometimes cause this issue.
- Third-Party Security Software: Temporarily disable any third-party antivirus or firewall software. Some security suites may block SmartScreen connections. Re-enable them after testing.
- Check for Windows Updates: Go to Settings > Windows Update and install any pending updates.
- Microsoft Support: If the issue persists after trying all these steps, check Microsoft’s support forums for any known server issues or report your case for further assistance.
And if you'd like to go a step further in supporting us, you can treat us to a virtual coffee ☕️. Thank you for your support ❤️!

We do not support or promote any form of piracy, copyright infringement, or illegal use of software, video content, or digital resources.
Any mention of third-party sites, tools, or platforms is purely for informational purposes. It is the responsibility of each reader to comply with the laws in their country, as well as the terms of use of the services mentioned.
We strongly encourage the use of legal, open-source, or official solutions in a responsible manner.
Comments