Tired of choosing between the flexibility of Linux and the familiarity of Windows? You no longer have to! Windows Subsystem for Linux (WSL) on Windows 11 offers a game-changing solution, allowing you to run your favorite Linux distributions and applications directly on your Windows system. This guide will walk you through the seamless process of setting up WSL, empowering you to harness the power of Linux without the hassle of dual-booting or virtual machines.
Method 1: Effortless WSL Installation with the Command Line (Recommended)
This method is the quickest and most efficient way to get started with WSL. Follow these simple steps:
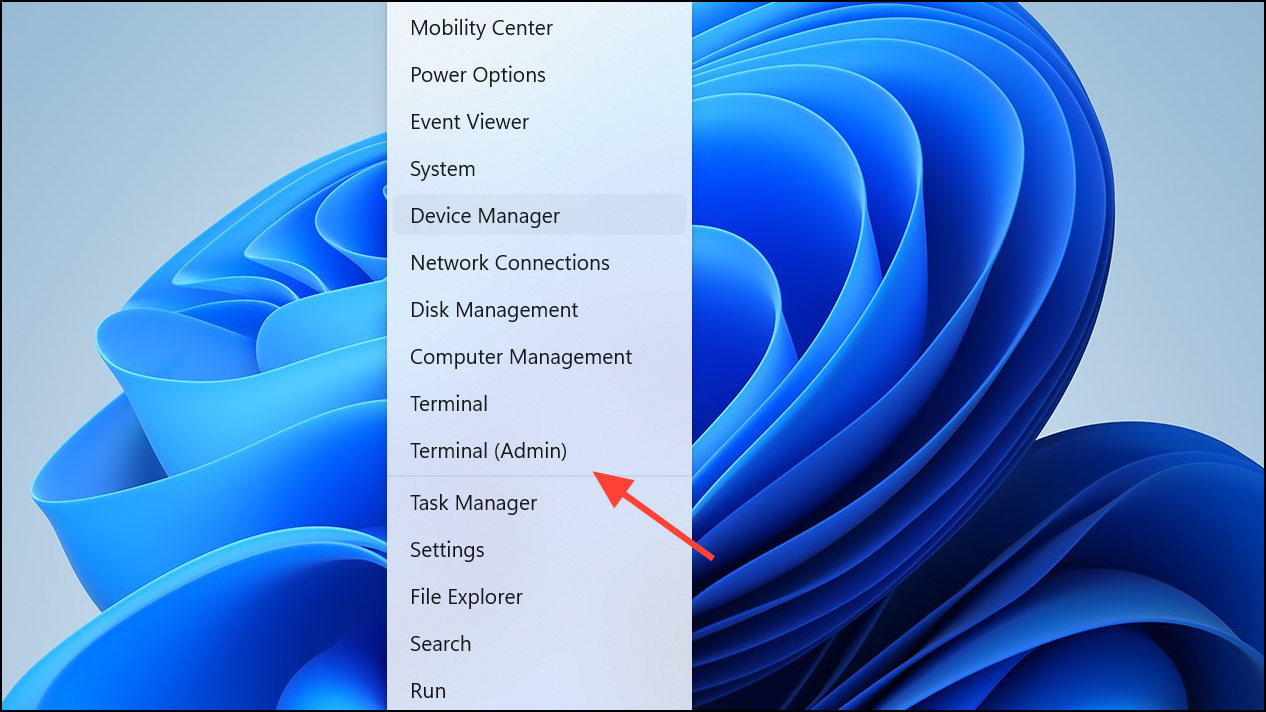
Step 1: Open an Elevated Command Prompt or Windows Terminal.
Right-click the Start button or press Windows + X and select “Terminal (Admin)” or “Command Prompt (Admin)”. This is crucial for granting the necessary permissions for WSL installation.
Step 2: Initiate WSL Installation
Type the following command into the command prompt or Windows Terminal and press Enter:
wsl --install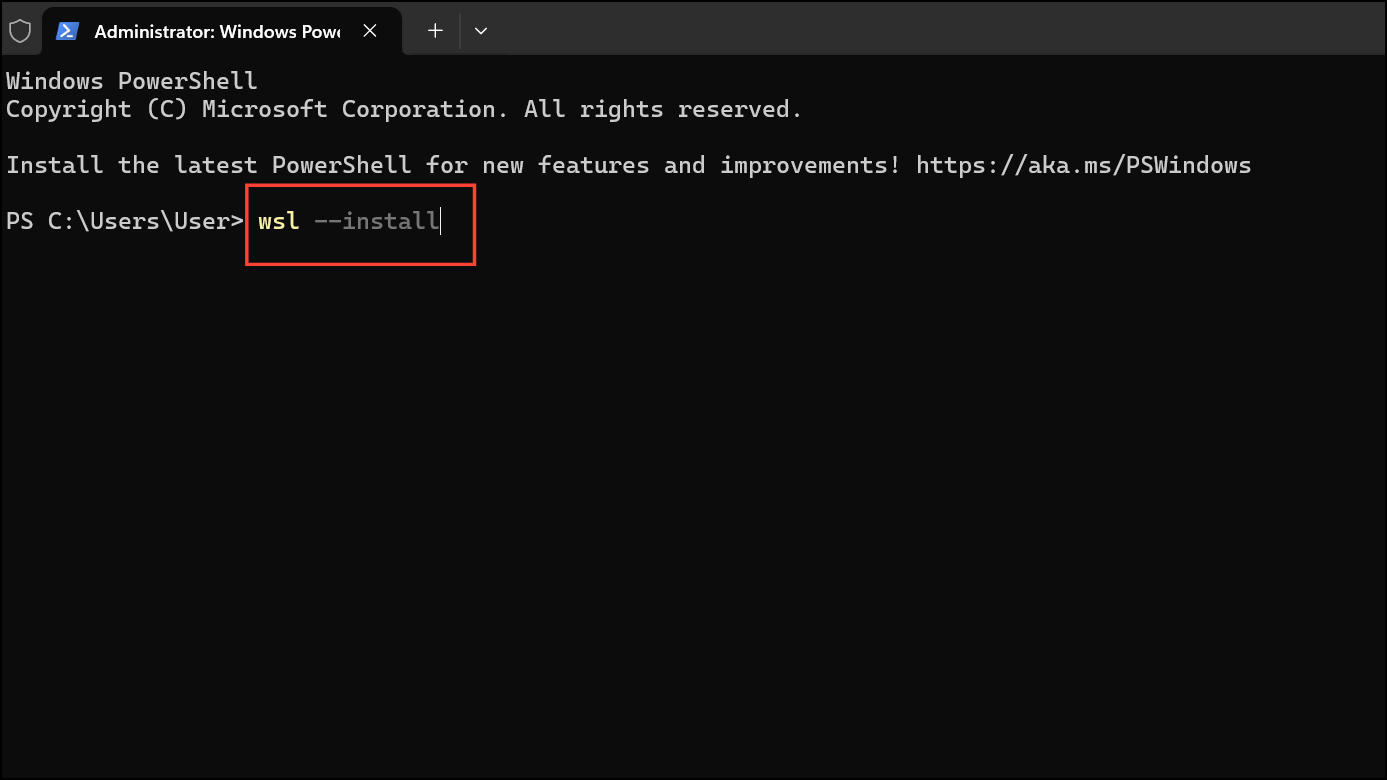
This single command automates the process of enabling the necessary Windows features, downloading the latest WSL components, and installing the default Linux distribution, which is typically Ubuntu.
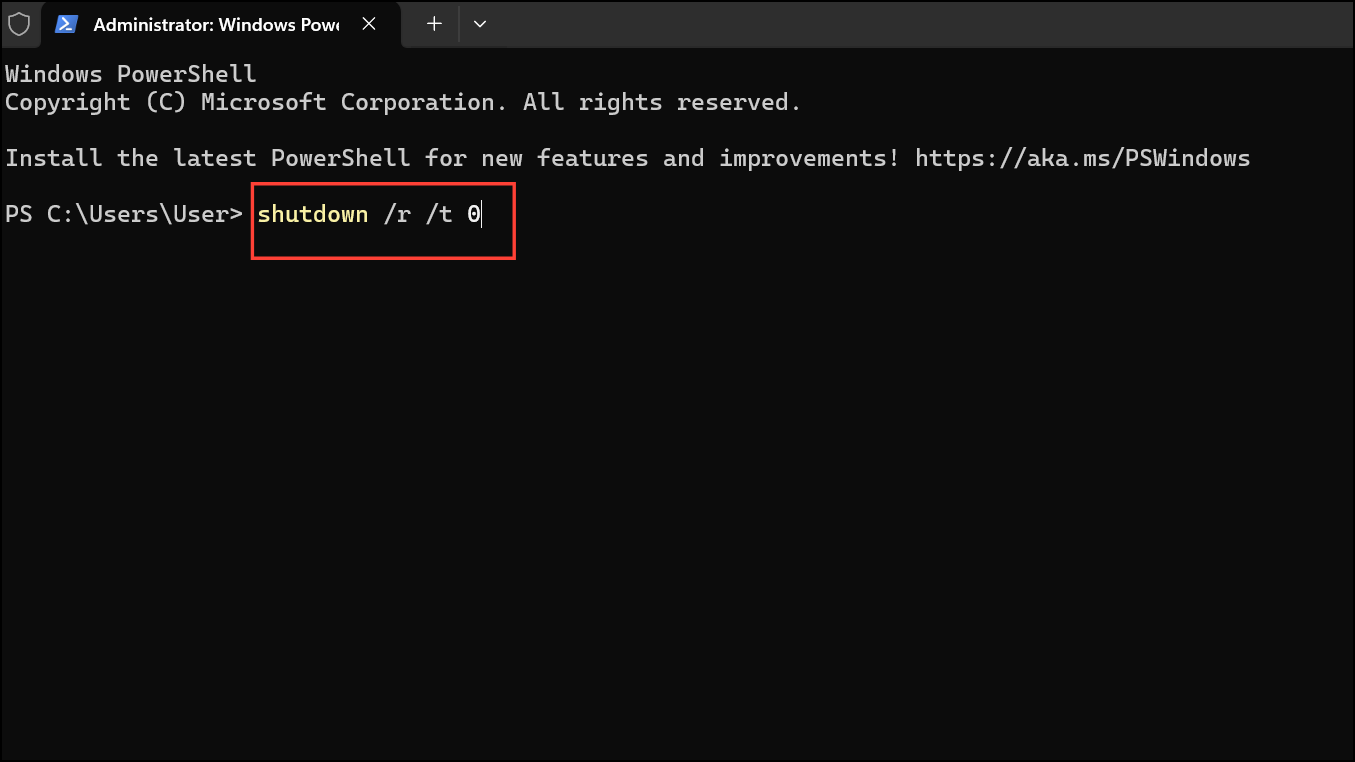
Step 3: Restart Your Computer
You will be prompted to restart your computer. This is essential to finalize the WSL installation. You can use the command shutdown /r /t 0 in the command prompt for an immediate restart.
Step 4: First-Time Linux Distribution Setup
After restarting, launch the installed Linux distribution from the Start menu. You’ll be prompted to create a new username and password specifically for your Linux environment. This account is separate from your Windows user account and is required to interact with the Linux system.
Step 5: Update Your Linux Packages
To ensure you have access to the latest software and security updates, update your Linux distribution’s package list. Open the Linux terminal and run the following command, which varies slightly depending on your chosen distribution. For Debian/Ubuntu:
sudo apt updateEnter your Linux user password when prompted.
Step 6: Install Your Desired Linux Applications
With your system updated, install your favorite Linux applications using your distribution’s package manager. For example, to install the GNOME Text Editor and VLC media player on Ubuntu, use:
sudo apt install gnome-text-editor vlc -yOnce installed, you can launch Linux GUI apps directly from the Start menu or by typing their names in the Linux terminal.
Method 2: Installing WSL Through Windows Features and the Microsoft Store
This approach provides a more visual method for enabling WSL.
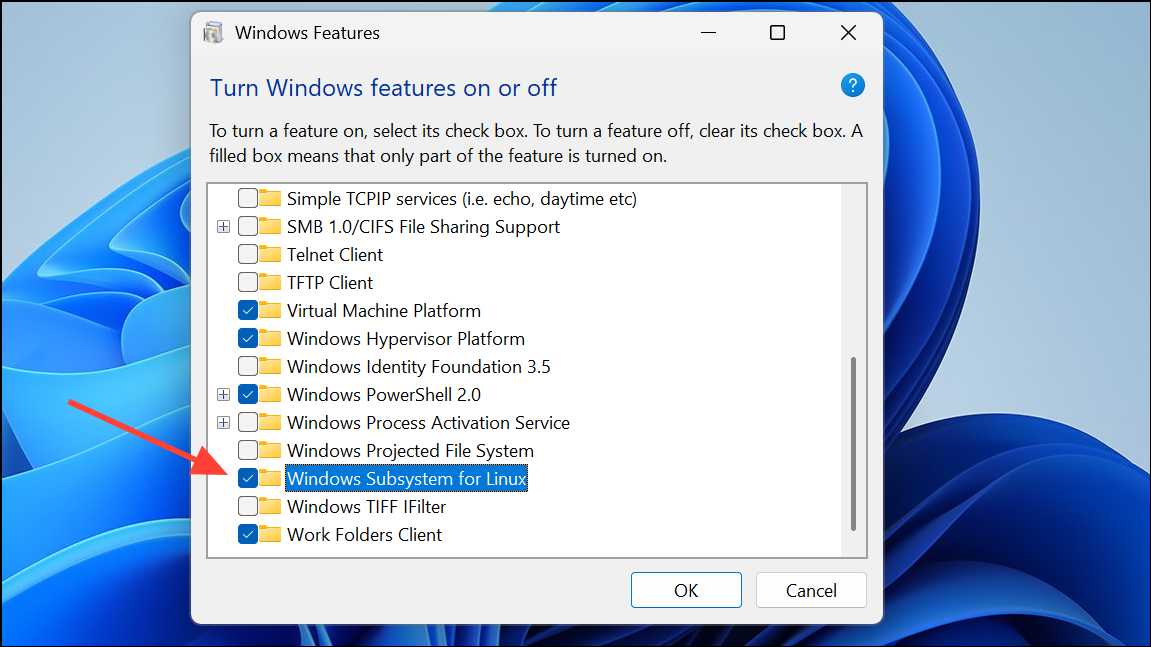
Step 1: Access Windows Features
Open the Start menu and search for “Windows Features.” Select “Turn Windows features on or off” from the results.

Step 2: Enable Windows Subsystem for Linux
In the Windows Features dialog, scroll down, locate “Windows Subsystem for Linux” and check the box next to it. Click “OK” and allow Windows to apply the changes. You will be prompted to restart your computer.
Step 3: Download Your Preferred Linux Distribution
After restarting, open the Microsoft Store and search for your desired Linux distribution (e.g., “Ubuntu,” “Debian,” “Kali Linux”). Click “Get” to download and install your chosen distribution.
Step 4: Complete the Initial Setup
Launch the installed Linux distribution from the Start menu. Create a Linux user account and update the package list, following the steps described in Method 1.
Running Linux GUI Applications with WSLg
Windows 11 and recent builds of Windows 10 introduce WSLg (WSL with GUI support), enabling you to run graphical Linux applications seamlessly within Windows.
Step 1: System Requirements
Ensure your system is running Windows 11 or Windows 10 build 19044 or newer. For optimal performance, update your GPU drivers (Intel, AMD, or NVIDIA) to the latest versions.
Step 2: Update WSL
If WSL is already installed, update it to the latest version by running the following commands in an elevated command prompt or Windows Terminal:
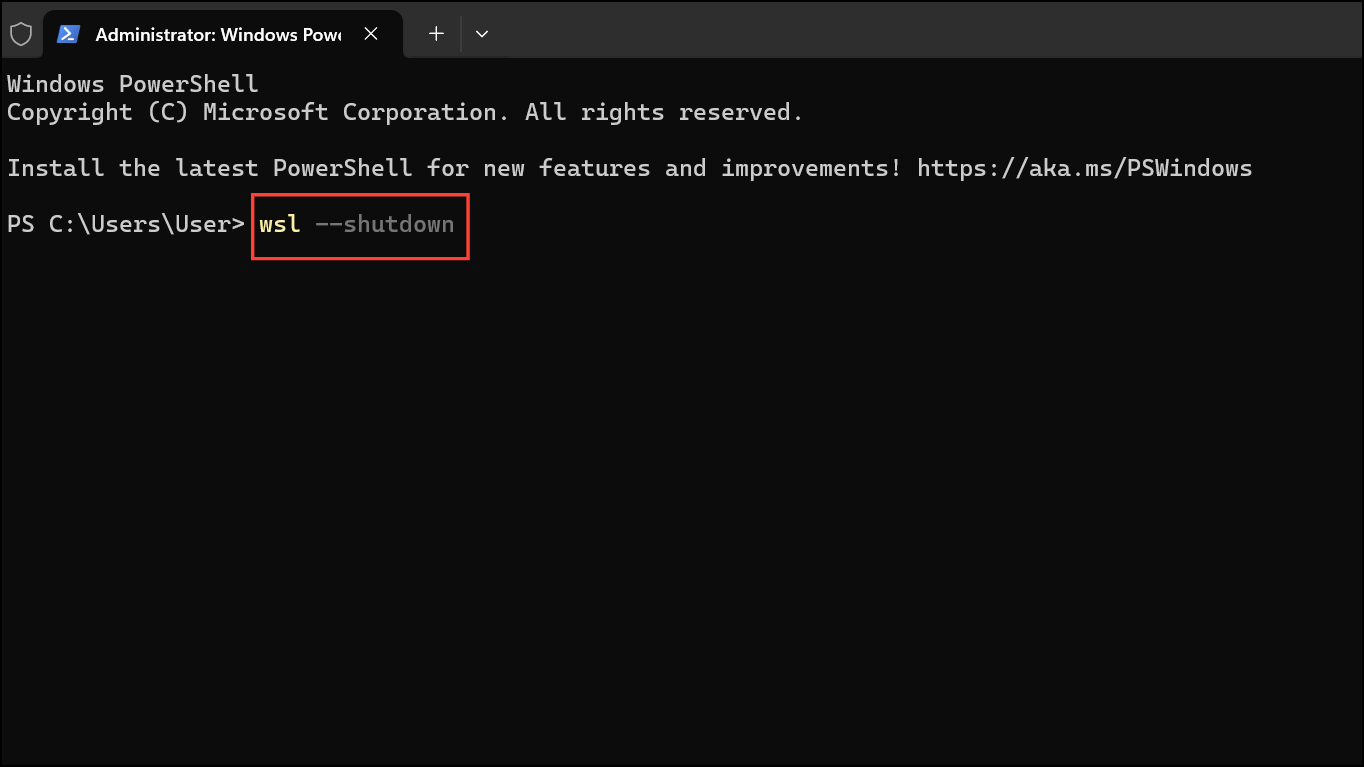
wsl --update
wsl --shutdown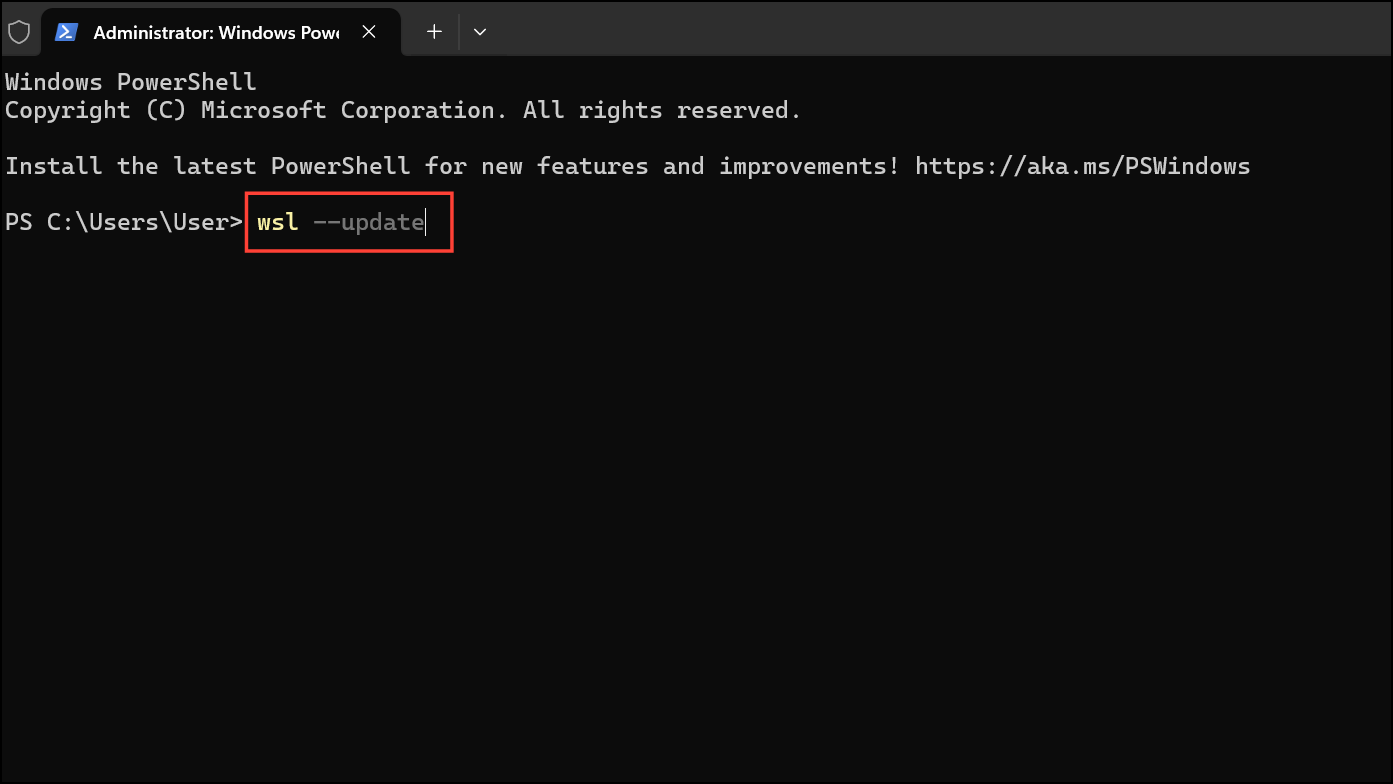
Step 3: Install Linux GUI Applications
Install your favorite GUI applications using your distribution’s package manager. For example, to install GIMP and Nautilus on Ubuntu, use:
sudo apt install gimp nautilus -yThese applications will appear in your Windows Start menu, allowing you to launch them like any other Windows program.
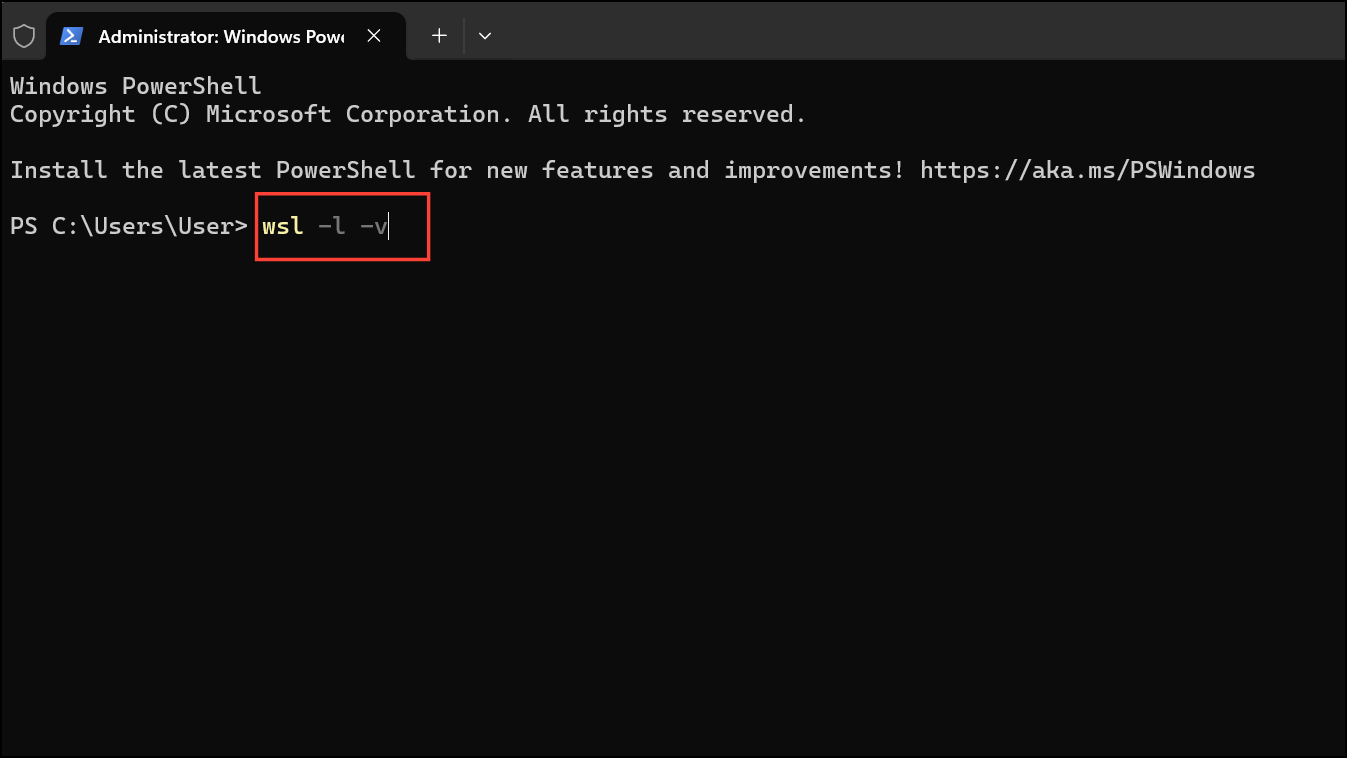
Step 4: Troubleshooting
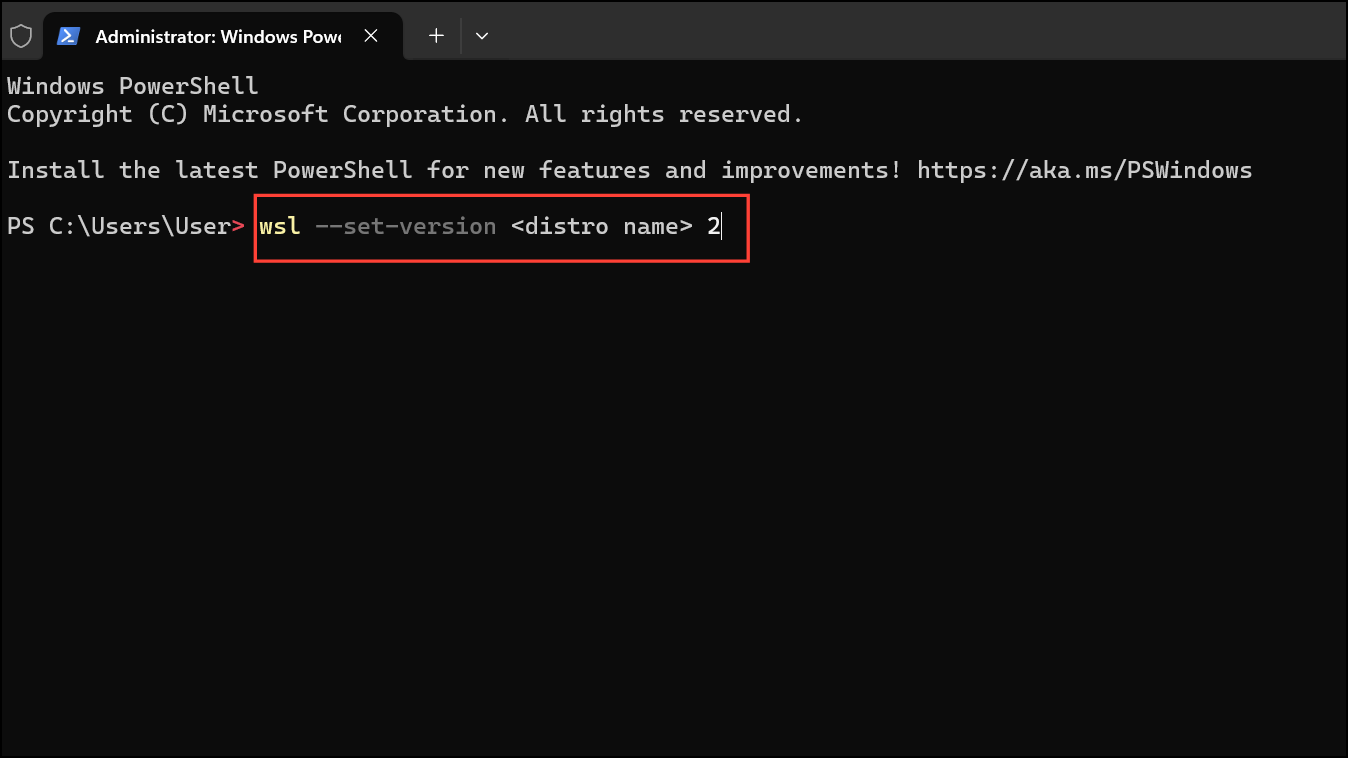
If you experience display issues, review the WSLg diagnostic guide, or ensure your distribution is set to WSL 2. GUI support is not available with WSL 1. Check your WSL version with wsl -l -v and switch to WSL 2 with wsl --set-version <distro name> 2.
Managing Multiple Linux Distributions
WSL supports the installation and operation of multiple Linux distributions concurrently.
- List Available Distributions:
wsl --list --online - Install a Specific Distribution:
wsl --install -d <DistributionName> - Set the Default Distribution:
wsl --set-default <DistributionName> - Run a Specific Distribution:
wsl -d <DistributionName>
Unleash Your Potential
WSL empowers you to combine the user-friendliness of Windows with the flexibility and power of Linux. By following these steps, you can easily install, configure, and use Linux applications directly on your Windows 11 system. Embrace the possibilities and enhance your workflow with the best of both worlds!
And if you'd like to go a step further in supporting us, you can treat us to a virtual coffee ☕️. Thank you for your support ❤️!

We do not support or promote any form of piracy, copyright infringement, or illegal use of software, video content, or digital resources.
Any mention of third-party sites, tools, or platforms is purely for informational purposes. It is the responsibility of each reader to comply with the laws in their country, as well as the terms of use of the services mentioned.
We strongly encourage the use of legal, open-source, or official solutions in a responsible manner.
Comments