If you’re new to the world of free and open-source software (FOSS), here’s an important name to know: Zorin OS. This Linux distribution is built specifically for Windows and macOS users who want a smooth, low-friction way out of proprietary operating systems.
Zorin OS looks familiar, runs faster on most hardware, avoids intrusive ads and telemetry, and—most importantly—is completely free.
Zorin OS 18, the latest release, is based on Ubuntu 24.04 LTS, uses the Linux 6.14 kernel, features a customized GNOME 46 desktop, and comes with five years of long-term support until 2029.

In this guide, you’ll learn exactly how to install Zorin OS 18, whether you want to:
- Test it safely in VirtualBox, or
- Install it directly on your physical computer
Both methods are explained step by step.
Step 1: Download the Zorin OS 18 ISO
To begin, you’ll need the official Zorin OS 18 installation ISO.
- Visit zorin.com
- Click the blue Download button
- You’ll be taken to the Zorin OS downloads page, where four editions are available:
Zorin OS Editions Explained
- Zorin OS Pro – Paid ($48), includes extra layouts, apps, and premium support
- Zorin OS Core – Free, best for most users (recommended)
- Zorin OS Education – Designed for schools and students
- Zorin OS Lite – For older or low-spec computers
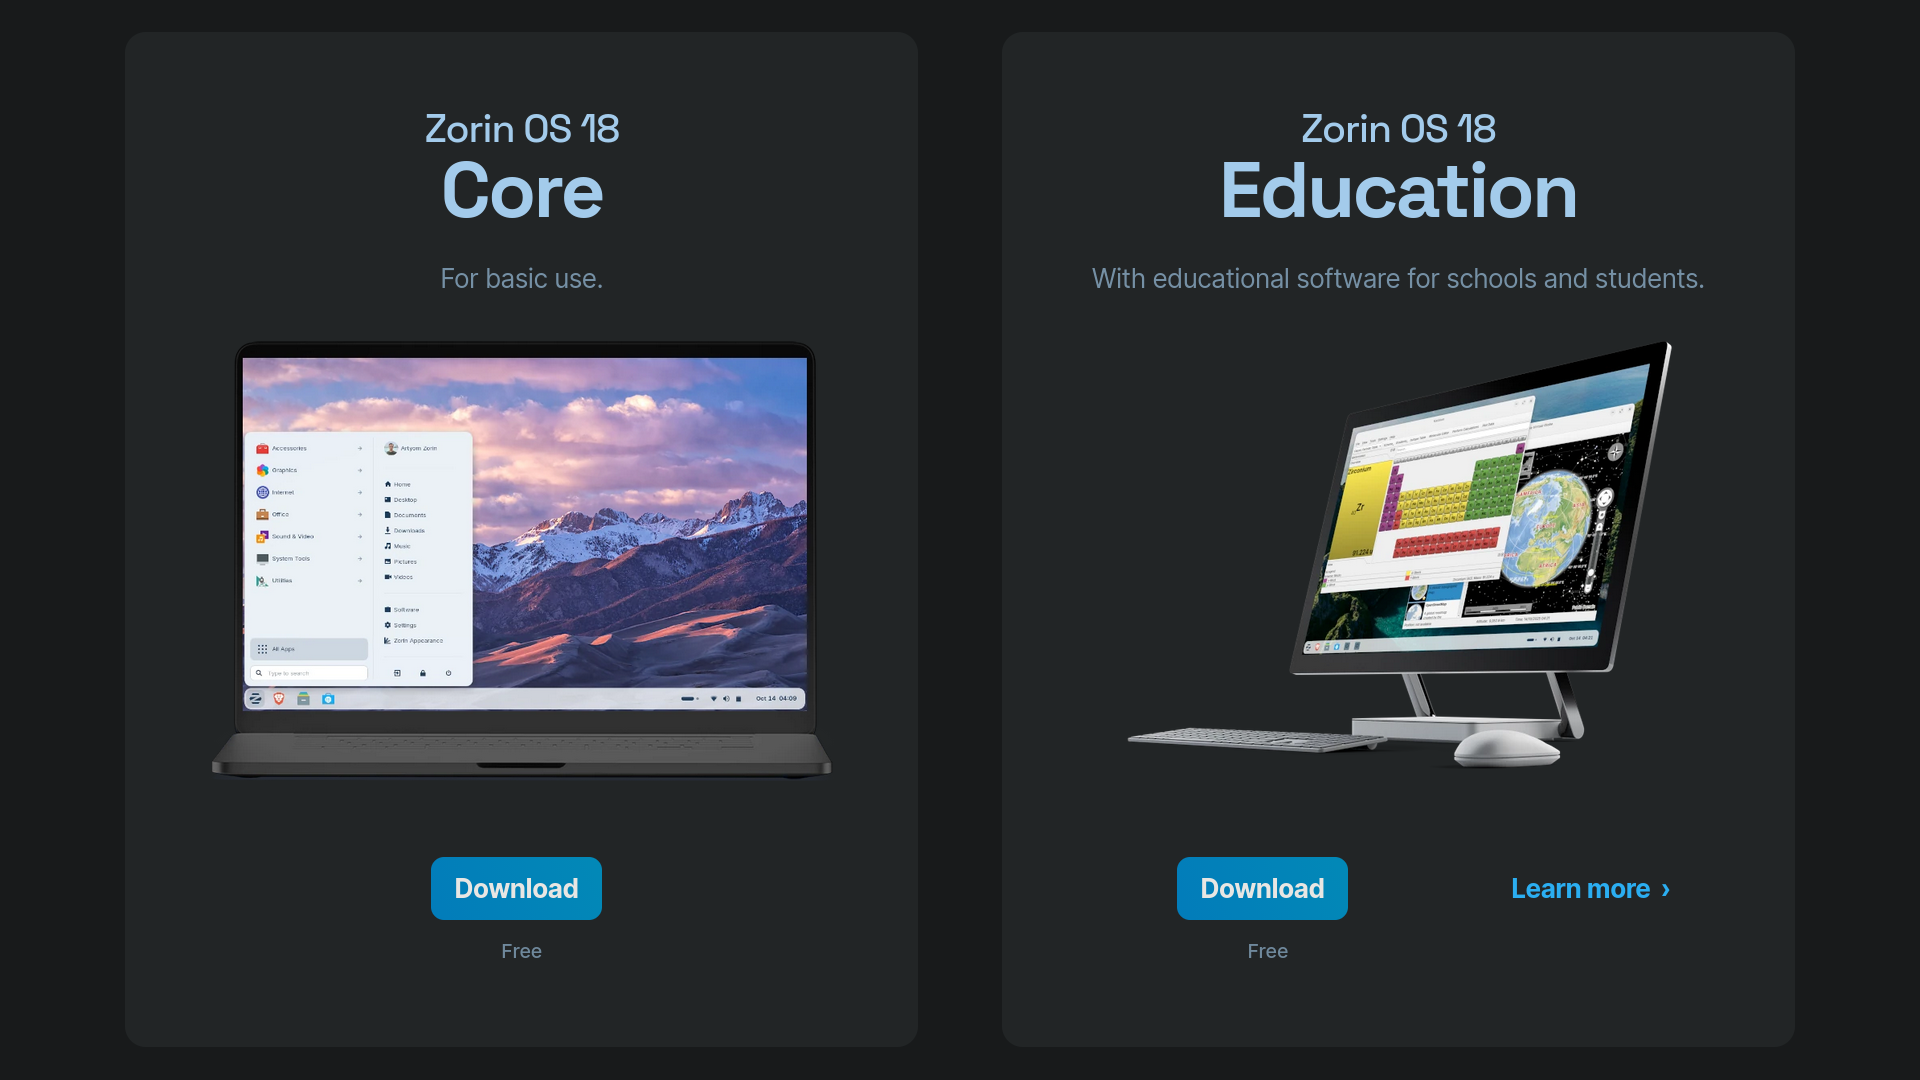
Select Zorin OS 18 Core Edition and click Download.
You’ll be asked for an email address, but this step is optional and can be skipped.
📦 File size: ~3 GB
⏱️ Download time: A few minutes on a typical connection
Step 2: Choose Your Installation Method
You now have two options:
- VirtualBox (safe testing, no system changes)
- Bootable USB (install on real hardware)
Choose the one that fits your goal.
Step 2.1: Install Zorin OS 18 in VirtualBox (Safe Testing)
This method is ideal if you want to try Zorin OS without touching your current system.
Create the Virtual Machine
- Open VirtualBox
- Click New
- Name your VM (e.g., ZorinOS18)
- Leave the VM folder as default
- Select the downloaded Zorin OS ISO

Allocate Virtual Hardware
- Assign half of your system resources for best performance
- Example: 4 GB RAM on an 8 GB system
- 2 CPU cores if available

Create the Virtual Disk
- Keep default settings
- Increase disk size to at least 50 GB if you plan to install apps or games
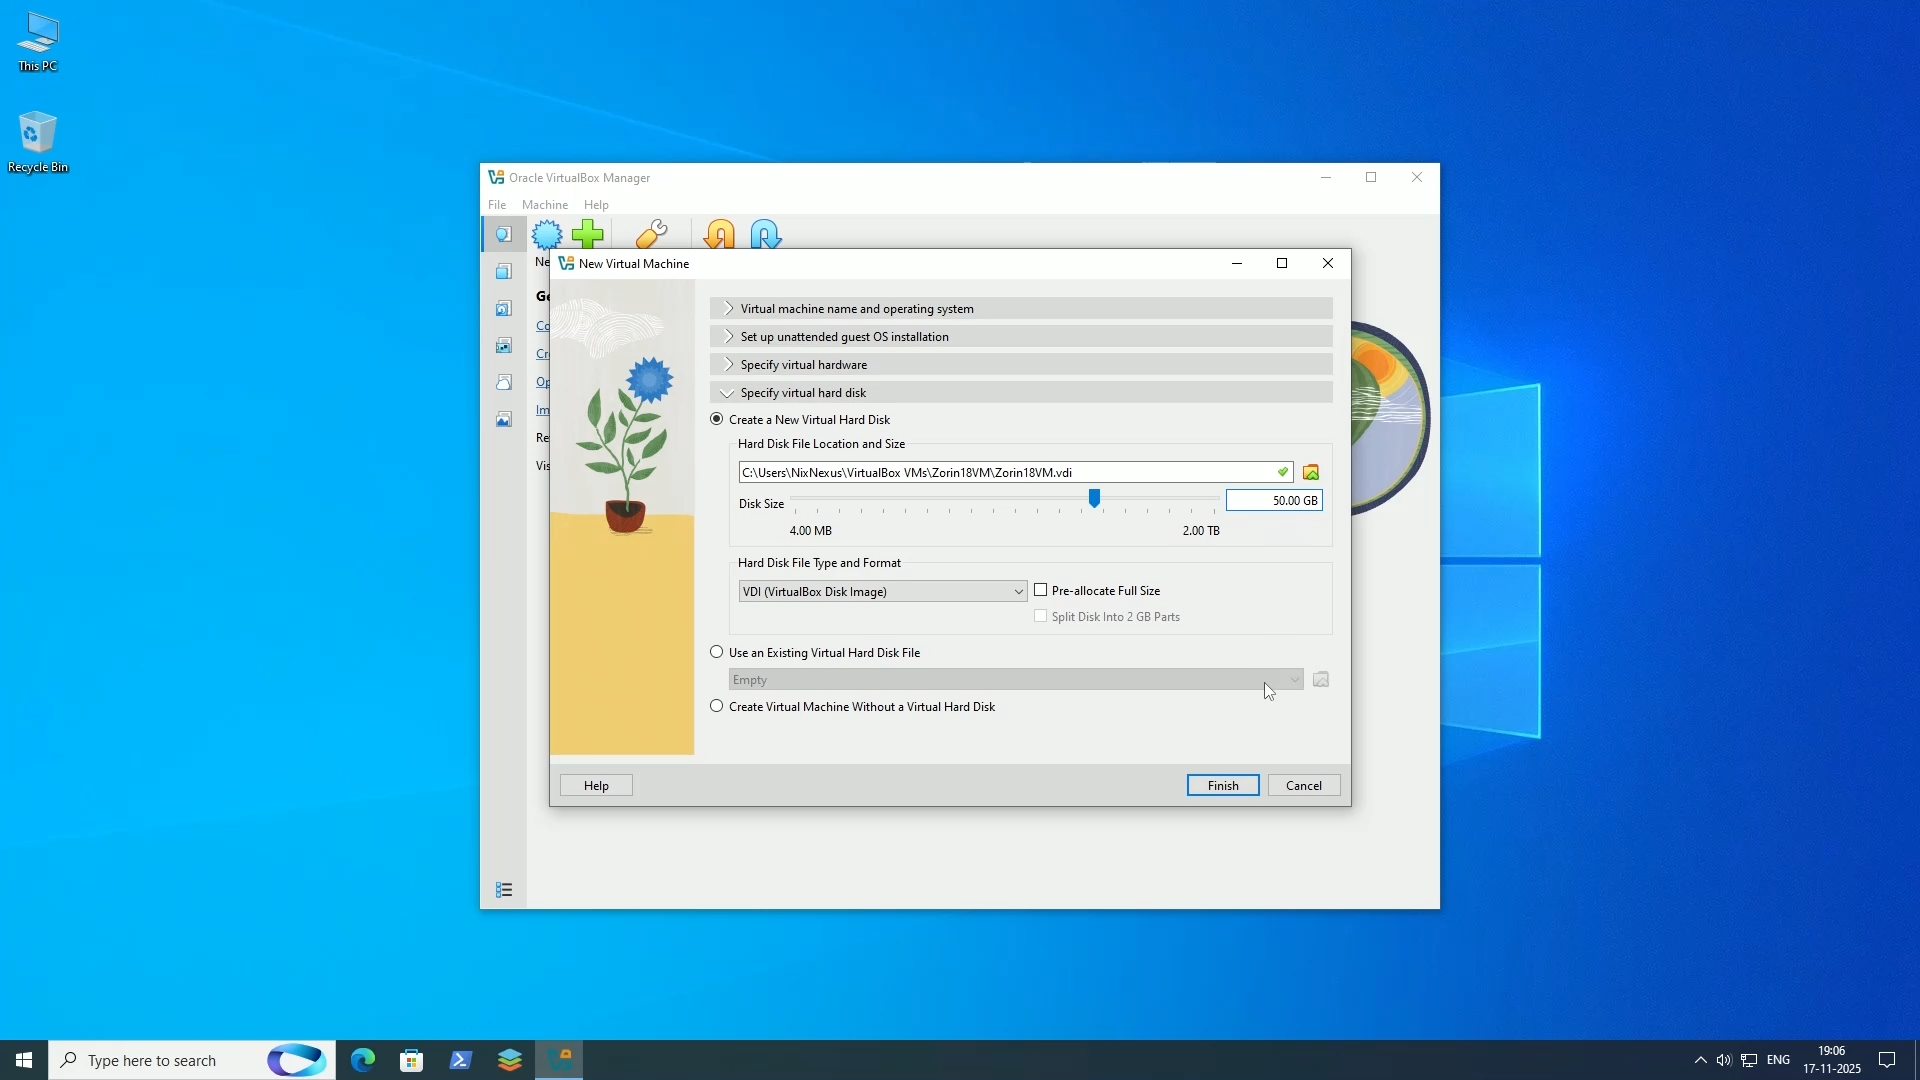
Click Finish, then Start to boot the VM.
Step 2.2: Create a Bootable USB (Physical Installation)
If you’re ready to install Zorin OS 18 on a real computer, you’ll need a bootable USB drive.
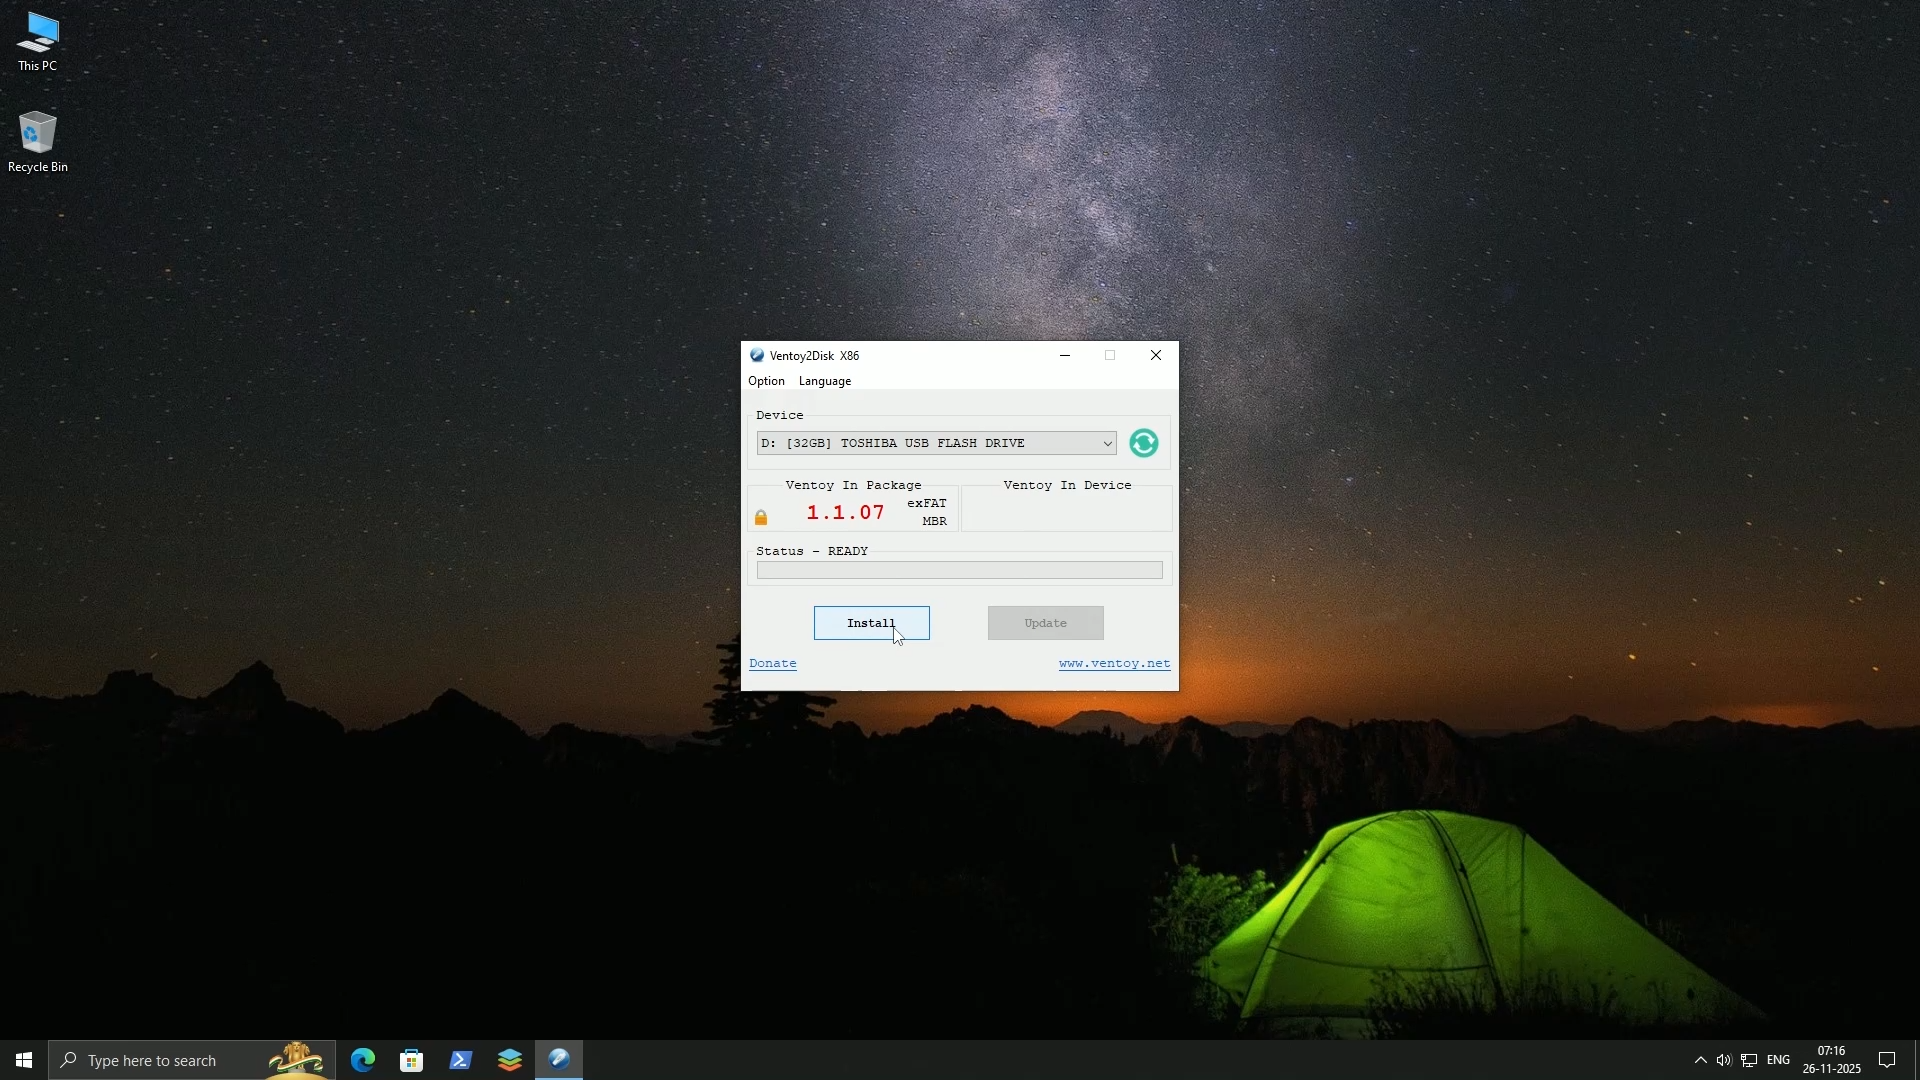
Recommended Tool: Ventoy
Ventoy is simple, fast, and reusable.
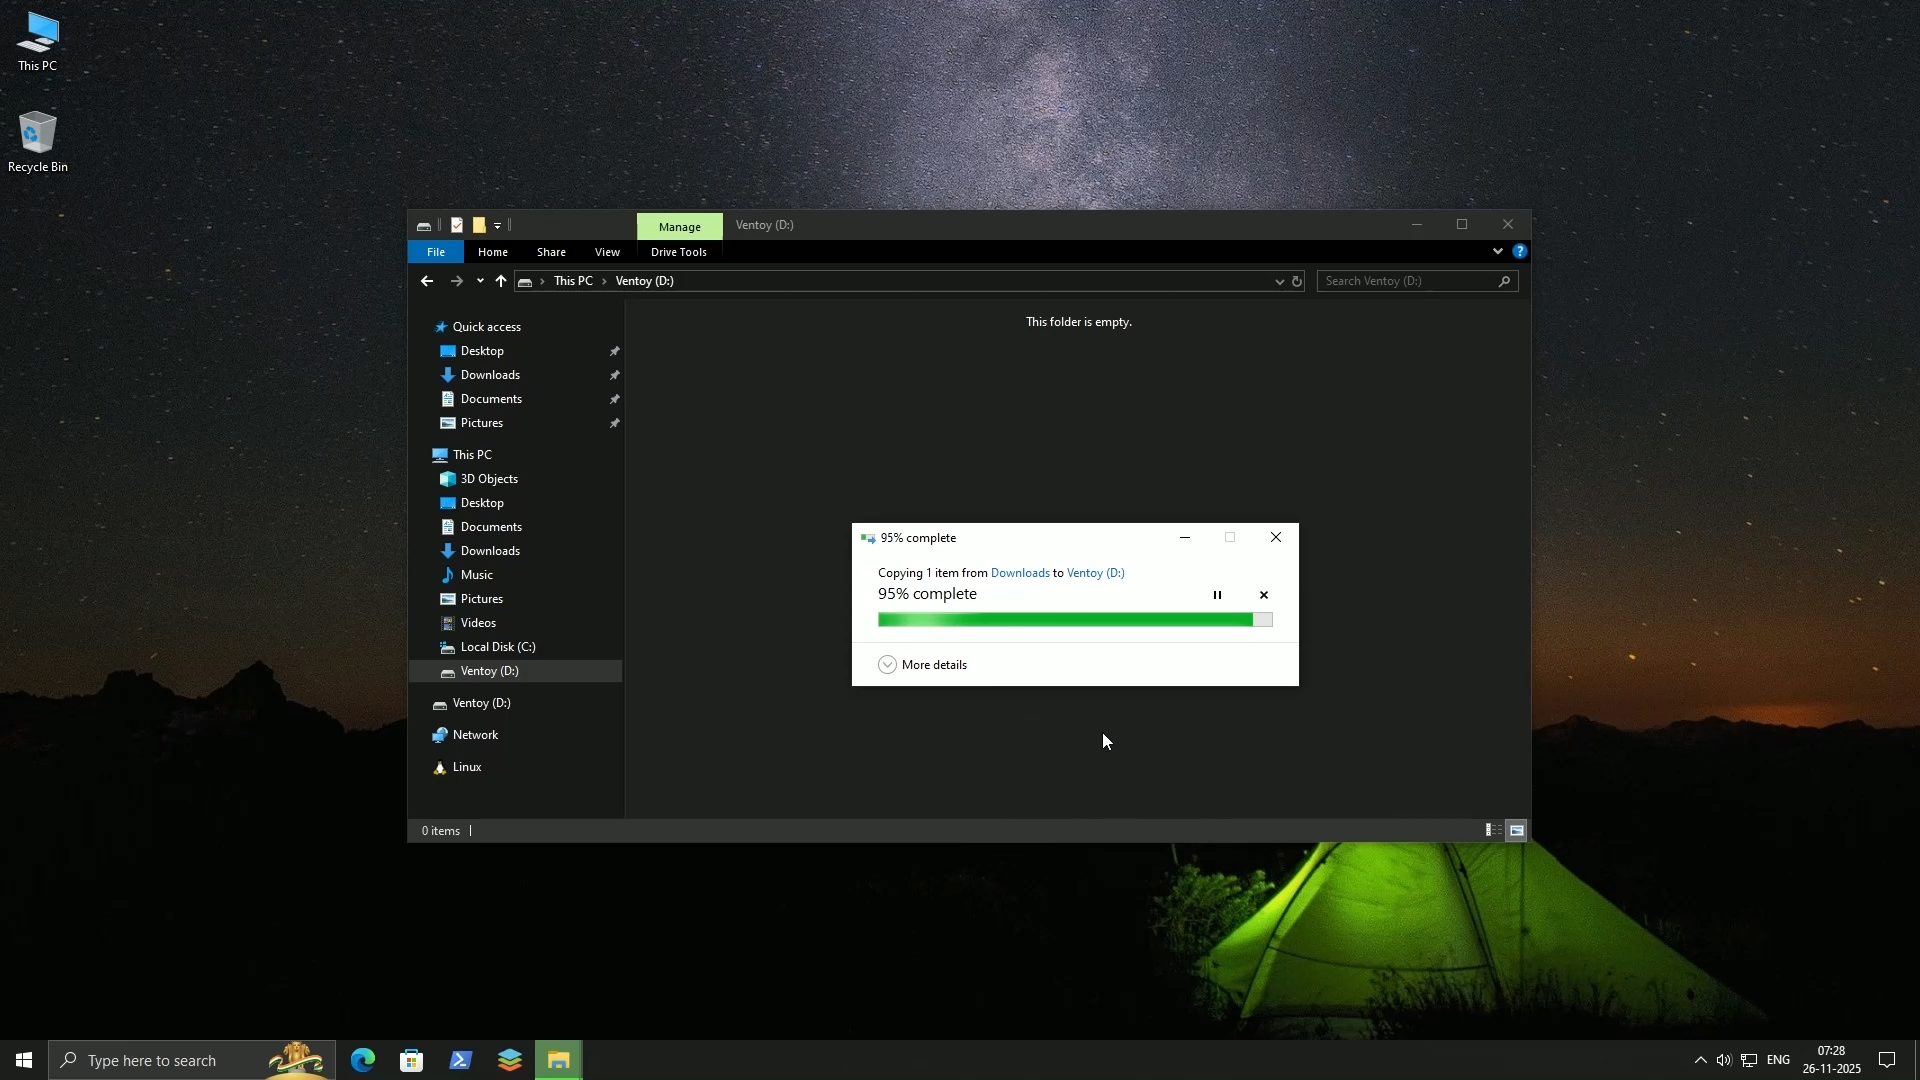
- Open Ventoy
- Select your USB drive (double-check!)
- Click Install
- Once finished, copy-paste the Zorin OS ISO onto the USB drive
That’s it—no flashing required.
Restart your PC and boot from the USB using your BIOS boot menu
(commonly F12, F2, or Delete).
Step 3: Start the Installation Process
After booting:
- VirtualBox users will see the Zorin boot menu immediately
- USB users may need to select the OS and choose Boot in normal mode
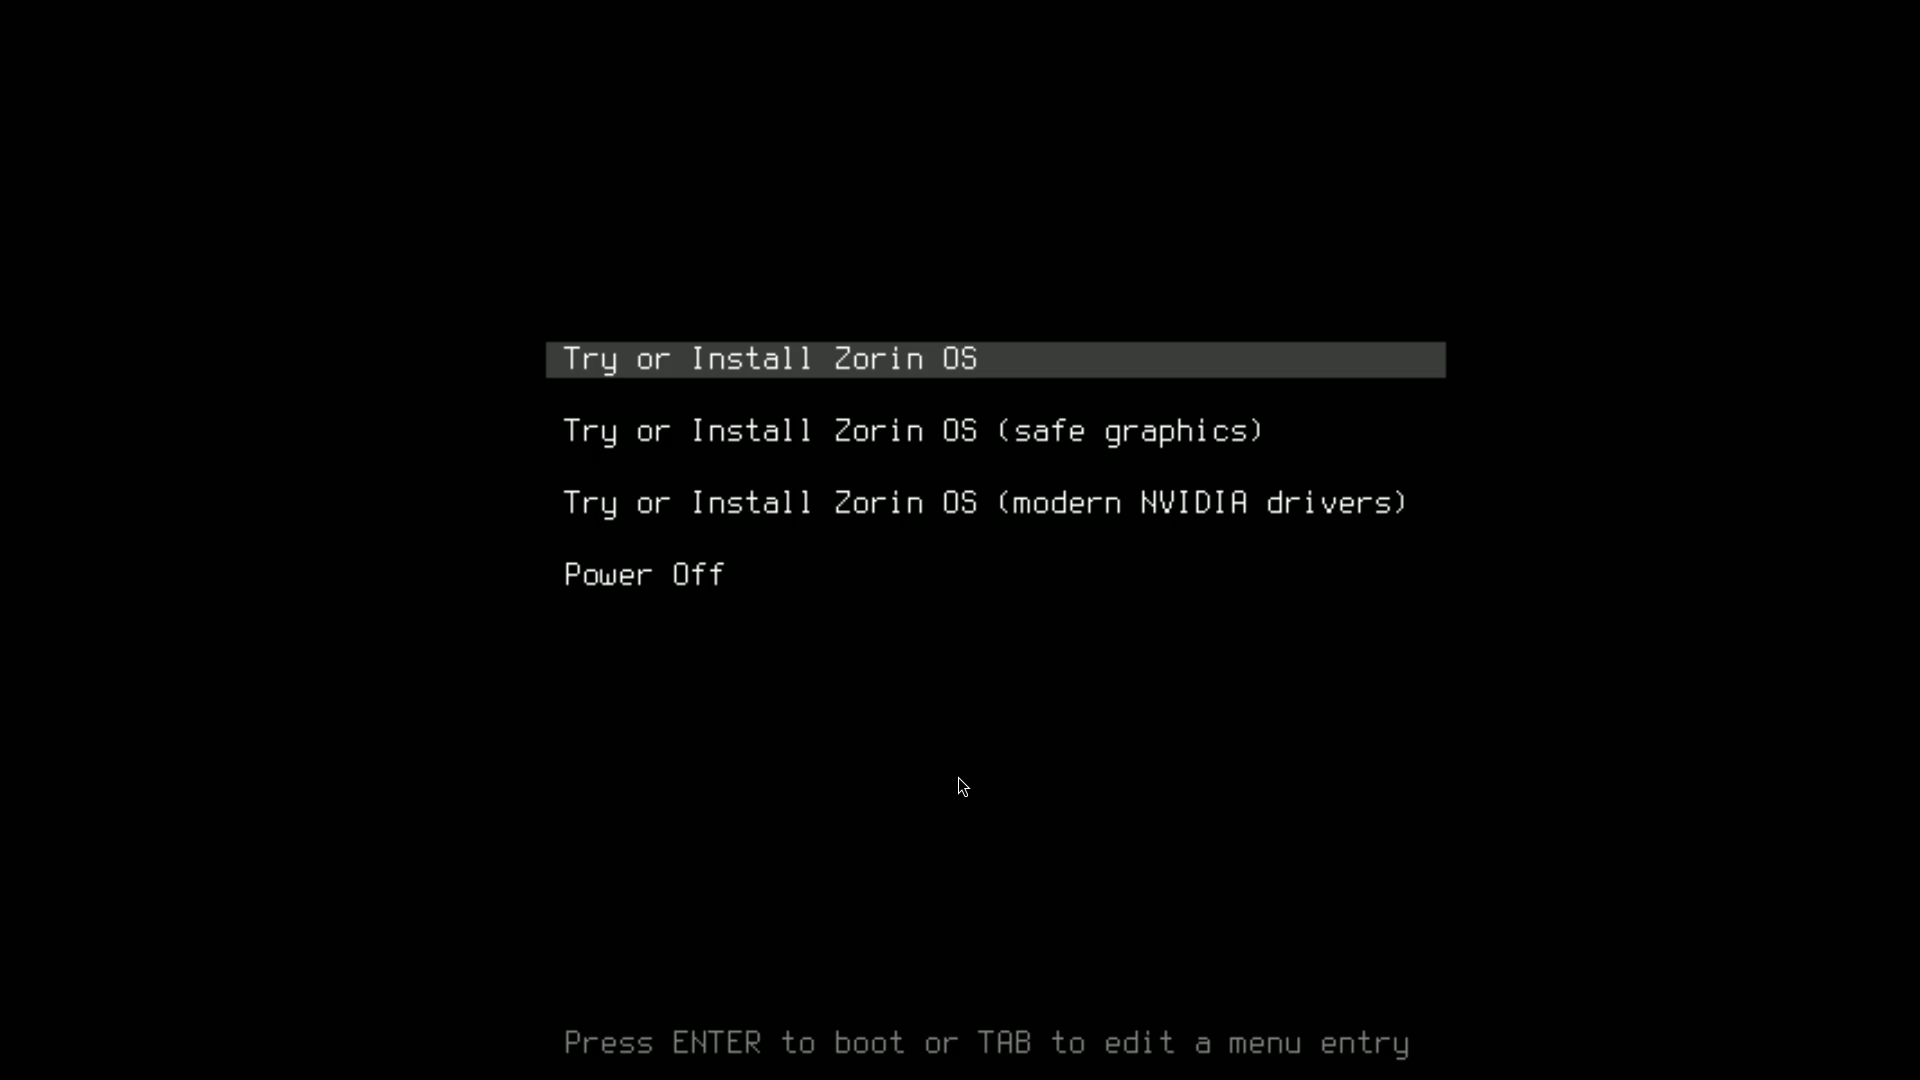
Boot Menu Options
- Try or Install Zorin OS – Recommended
- Safe graphics mode – For display issues
- Try or Install with NVIDIA drivers – For NVIDIA GPUs
Select the appropriate option and press Enter.
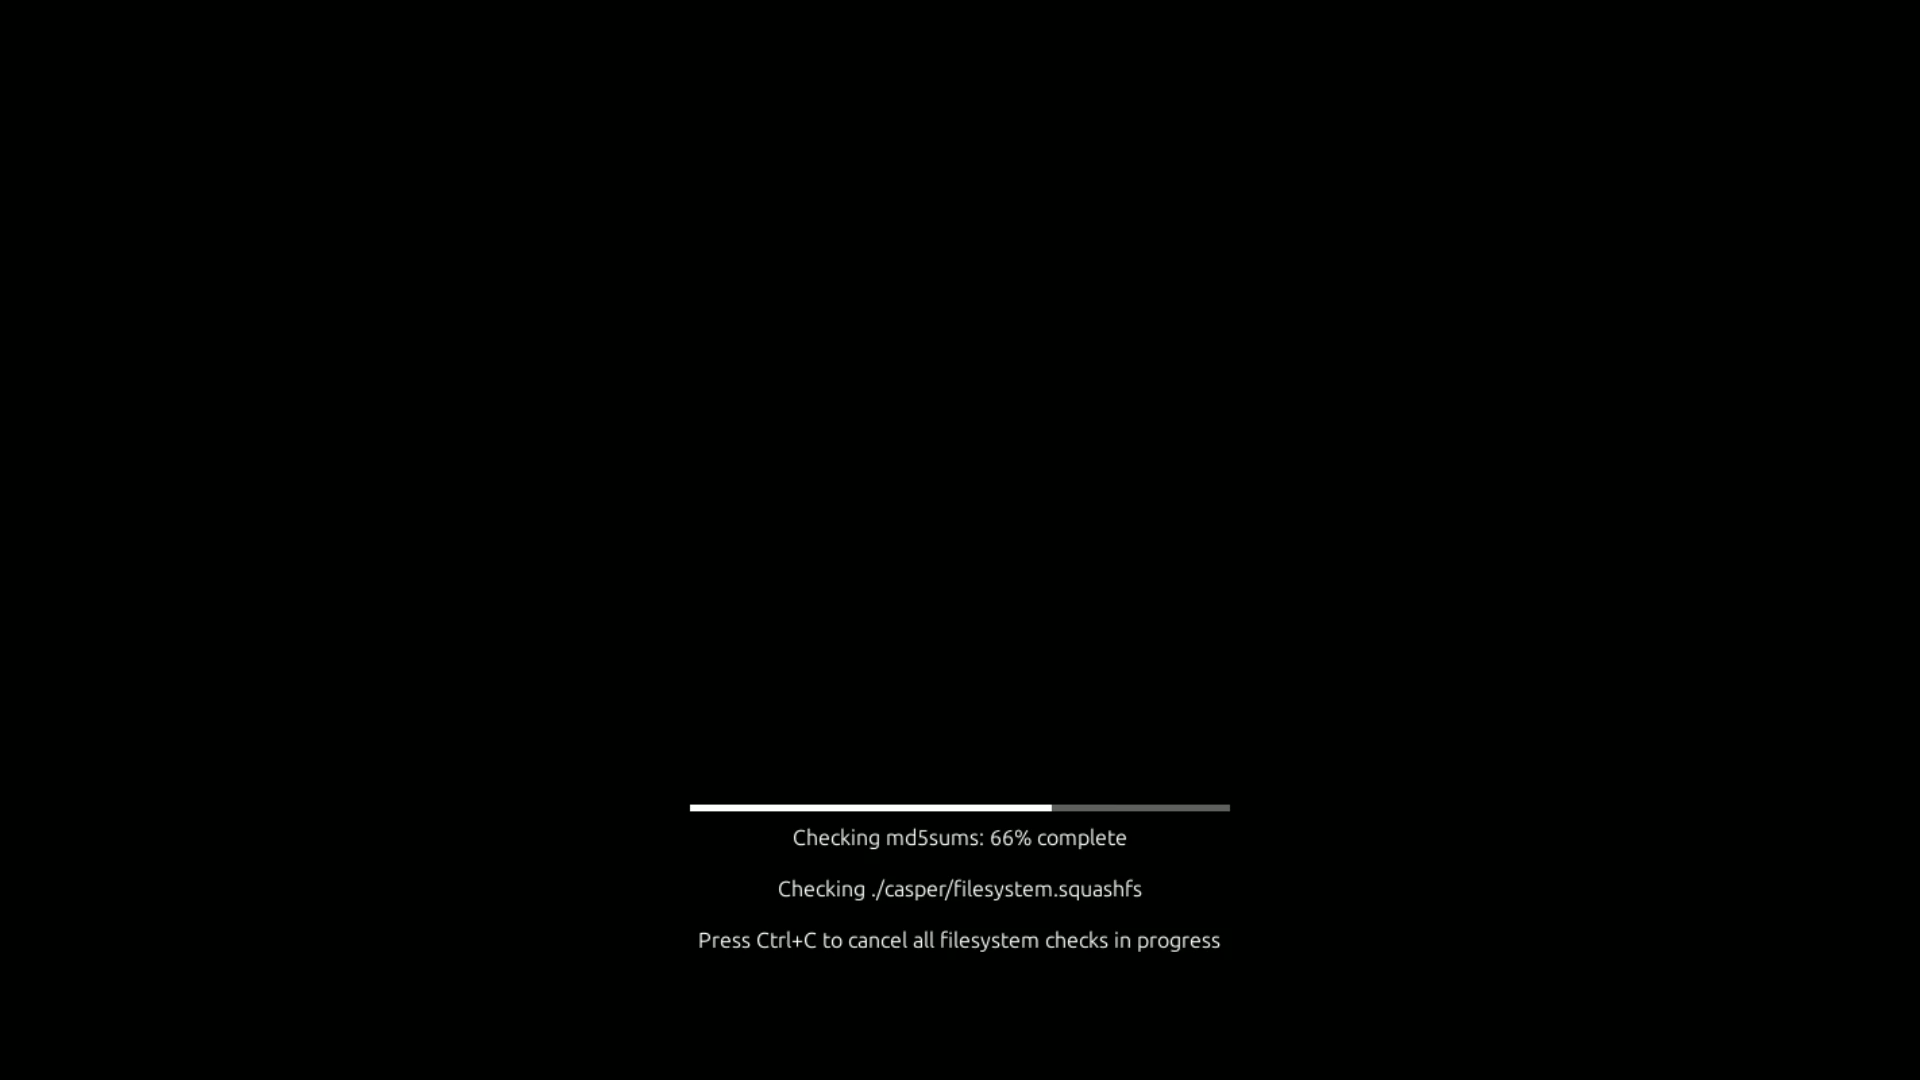
A filesystem check will run, but you can skip it with Ctrl + C if desired.
Step 3.1: Welcome Screen
Zorin OS uses the Ubiquity installer, familiar to Ubuntu users.
You’ll see:
- Language selection on the left
- Try Zorin OS in the center
- Install Zorin OS on the right
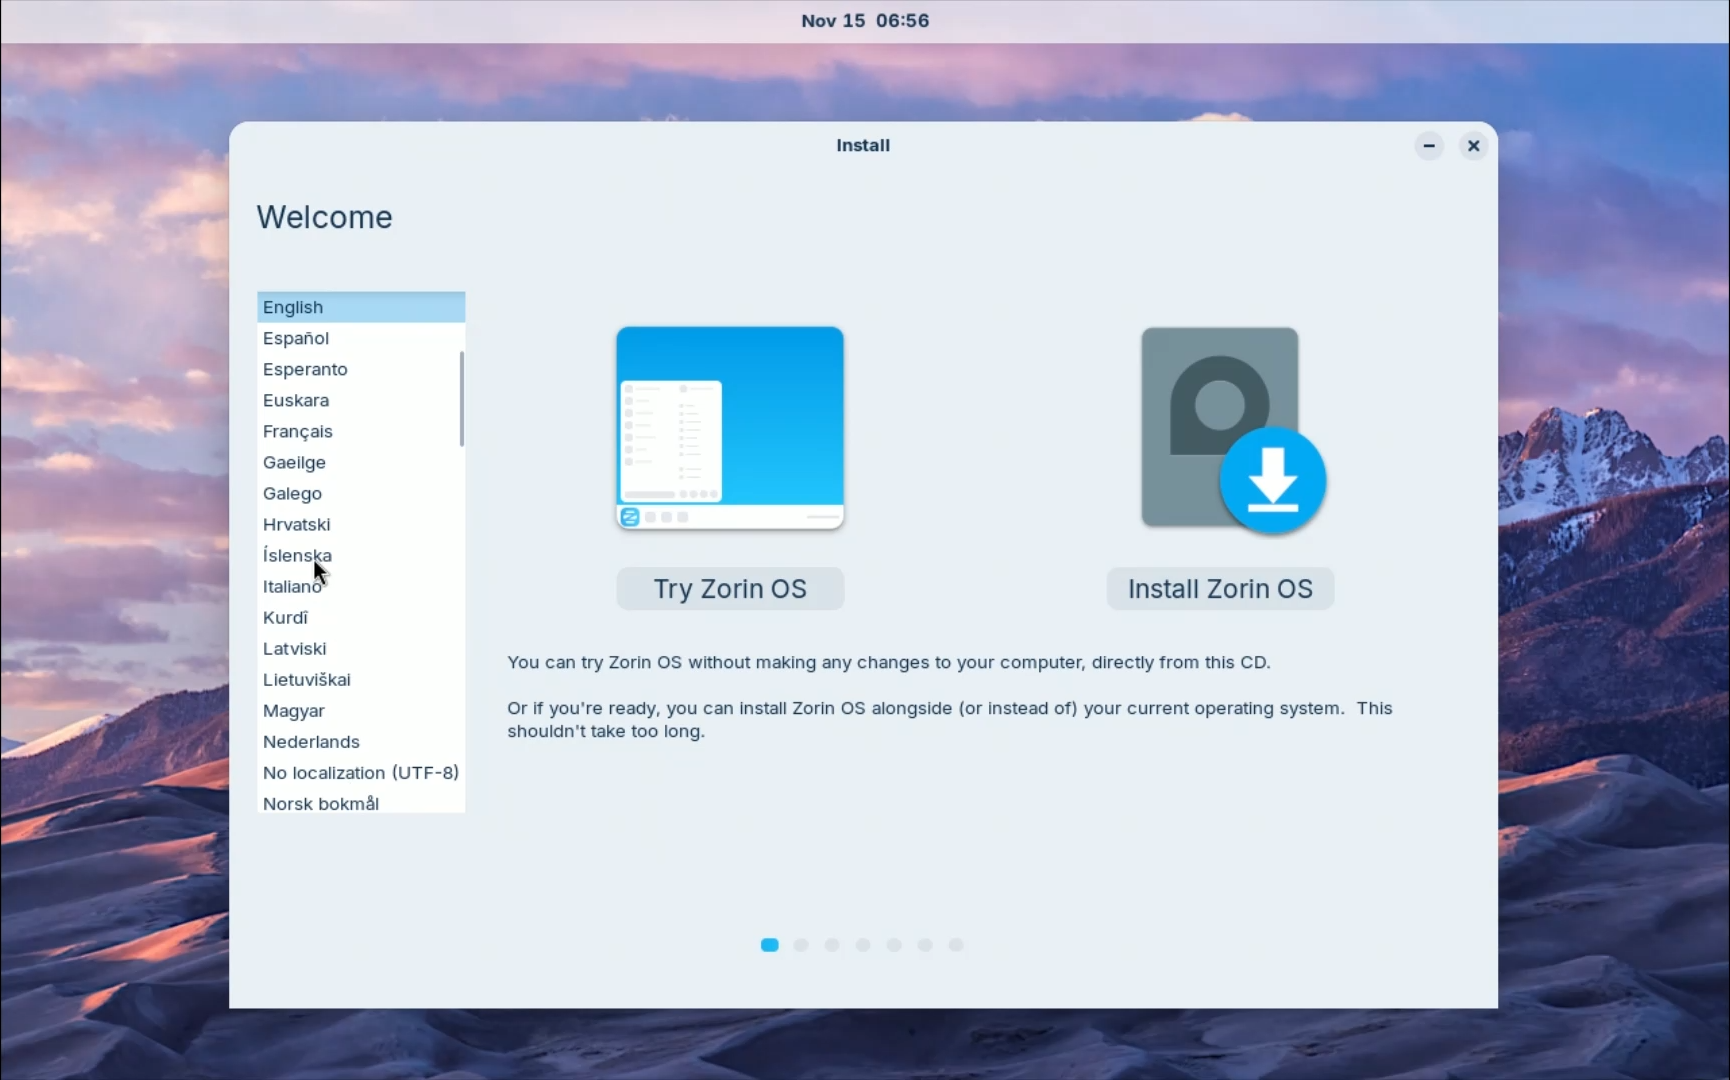
Choose Try if you want to explore first, or Install to proceed immediately.
Step 3.2: Live Environment (Optional)
The live environment lets you:
- Browse the web
- Test hardware compatibility
- Change themes and layouts

To install, simply click the Install Zorin OS icon from the desktop.
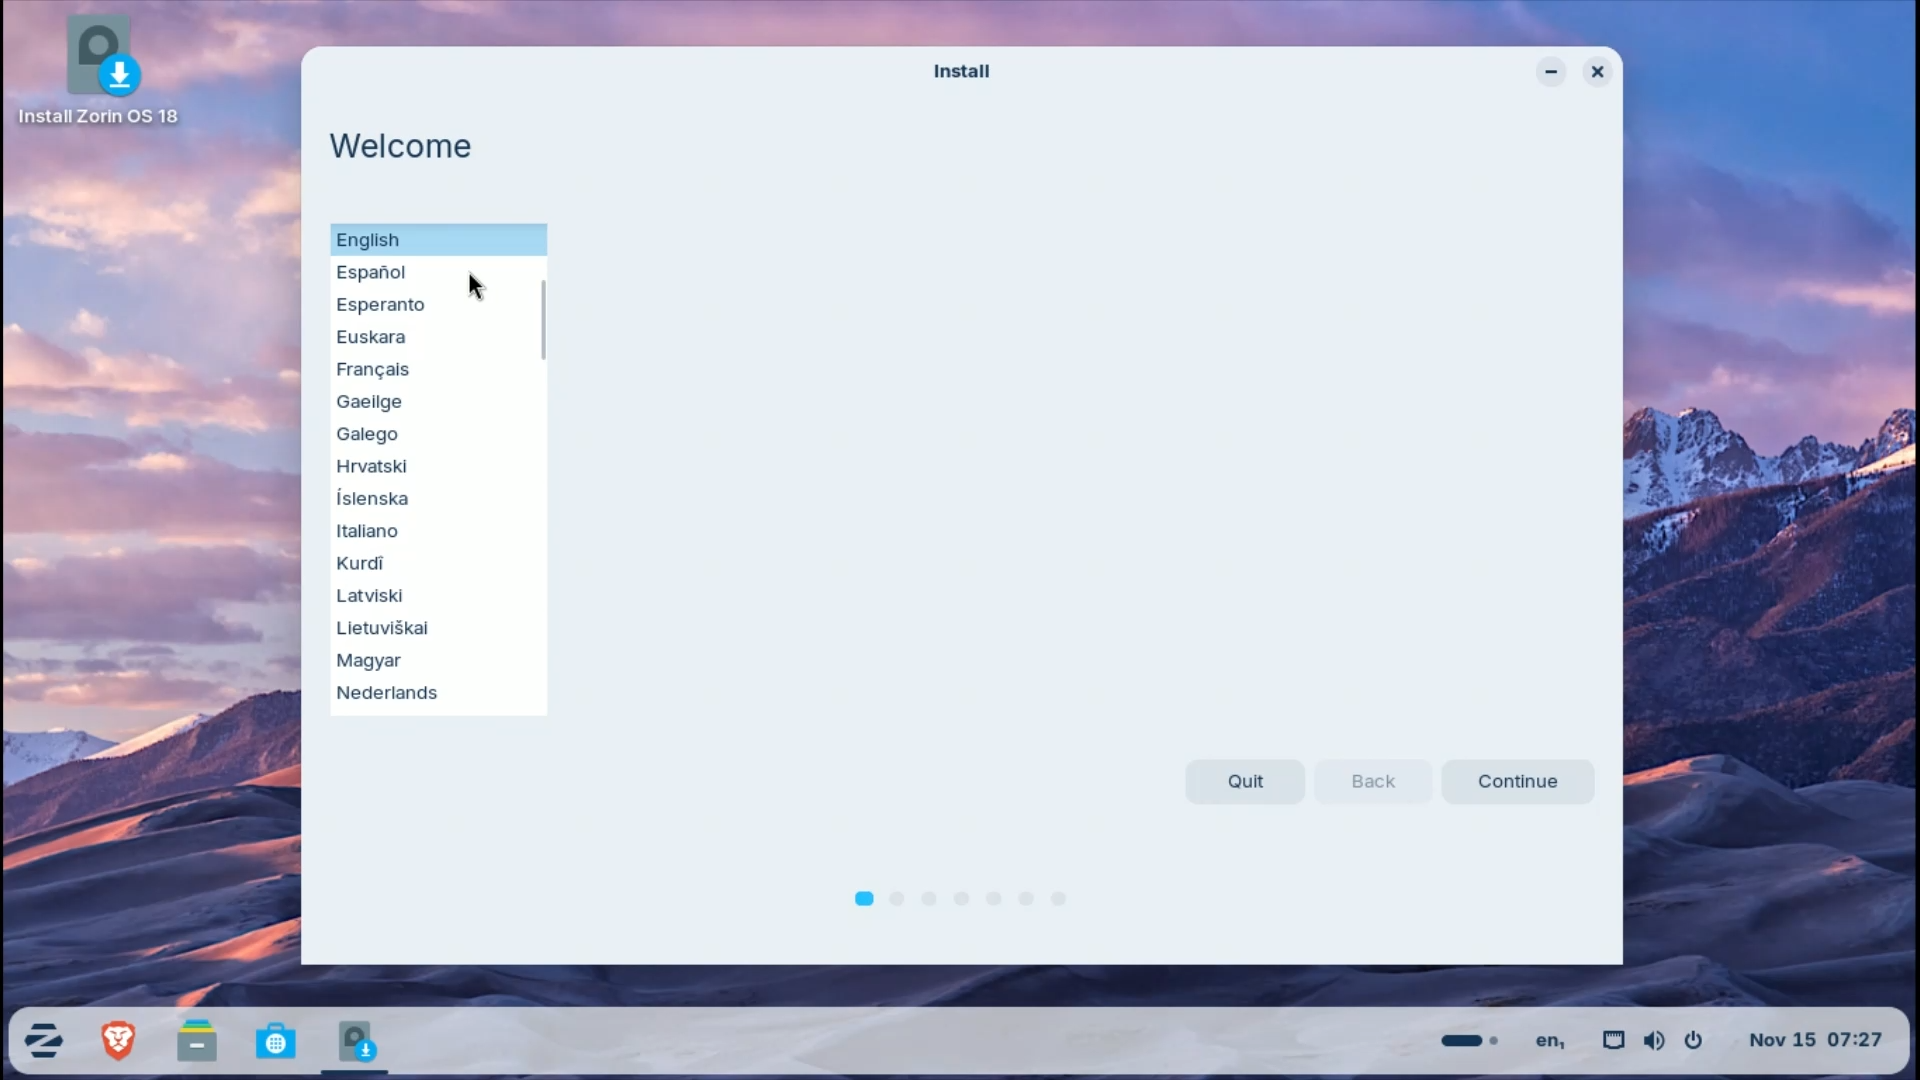
Step 3.3: Language Selection
Choose your preferred language.
This will become your system’s default language after installation.
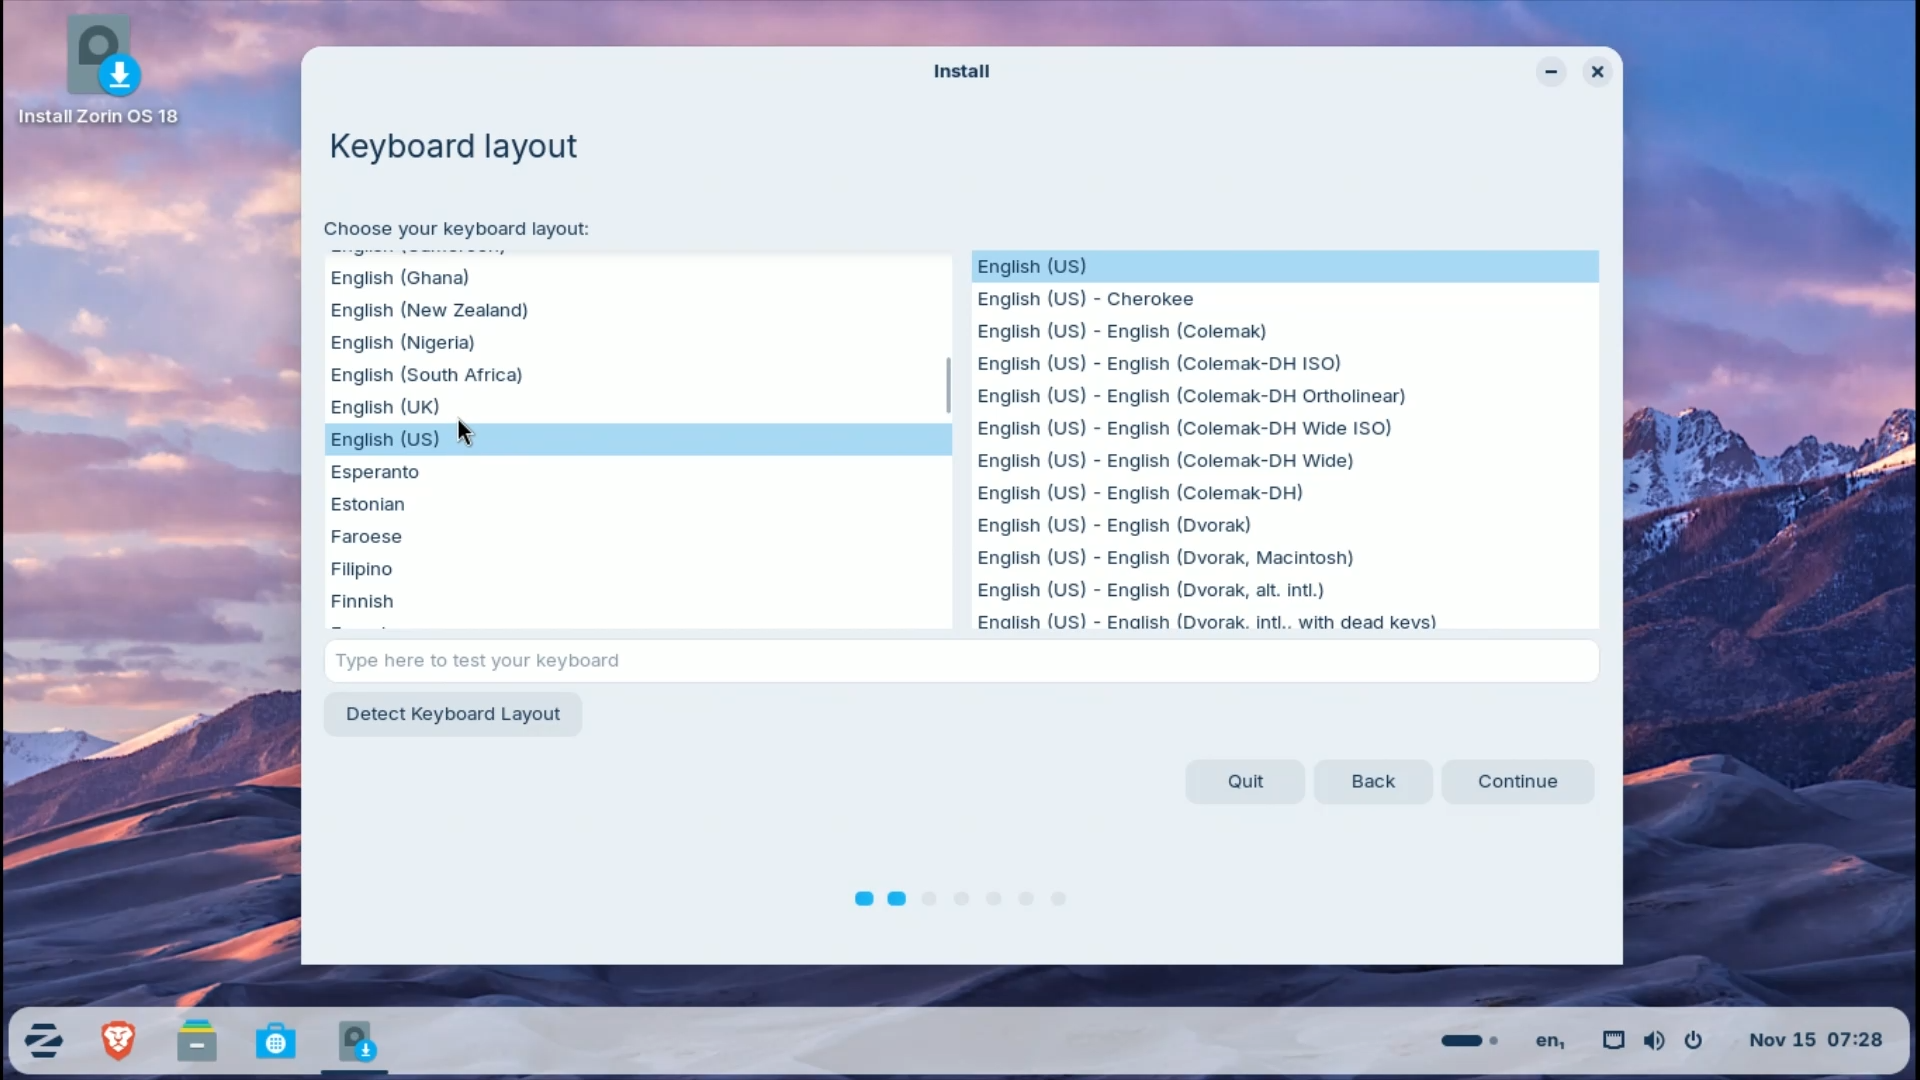
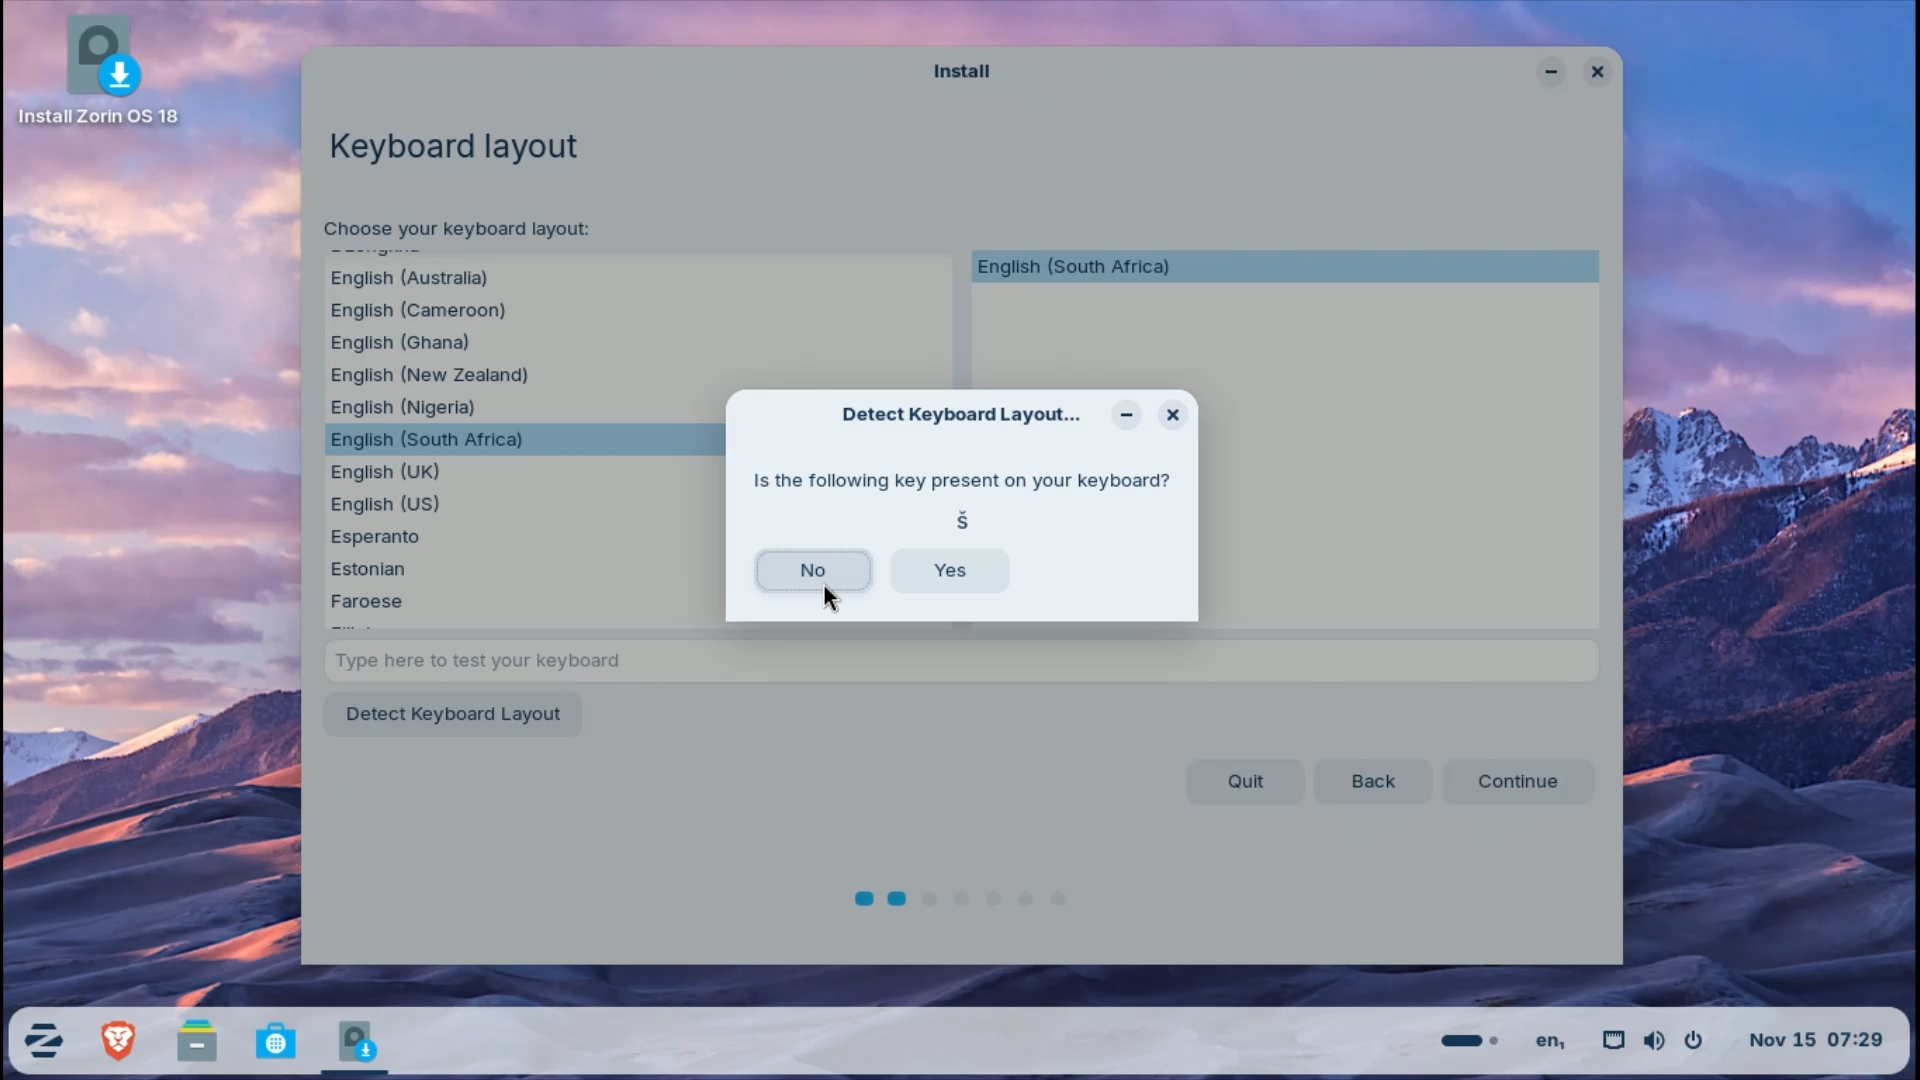
Step 3.4: Keyboard Layout
Select your keyboard layout (e.g., English (US)).
If unsure, click Detect Keyboard Layout and follow the prompts.
Step 3.5: Updates & Software
Recommended settings:
- ✅ Download updates while installing
- ✅ Install third-party software and drivers

Zorin also asks about anonymous usage statistics.
Opt in or out—it’s entirely your choice.
Step 3.6: Installation Type

Recommended for Beginners
Erase disk and install Zorin OS
- VirtualBox: Only erases the virtual disk (safe)
- Real PC: Erases the selected drive completely (double-check!)
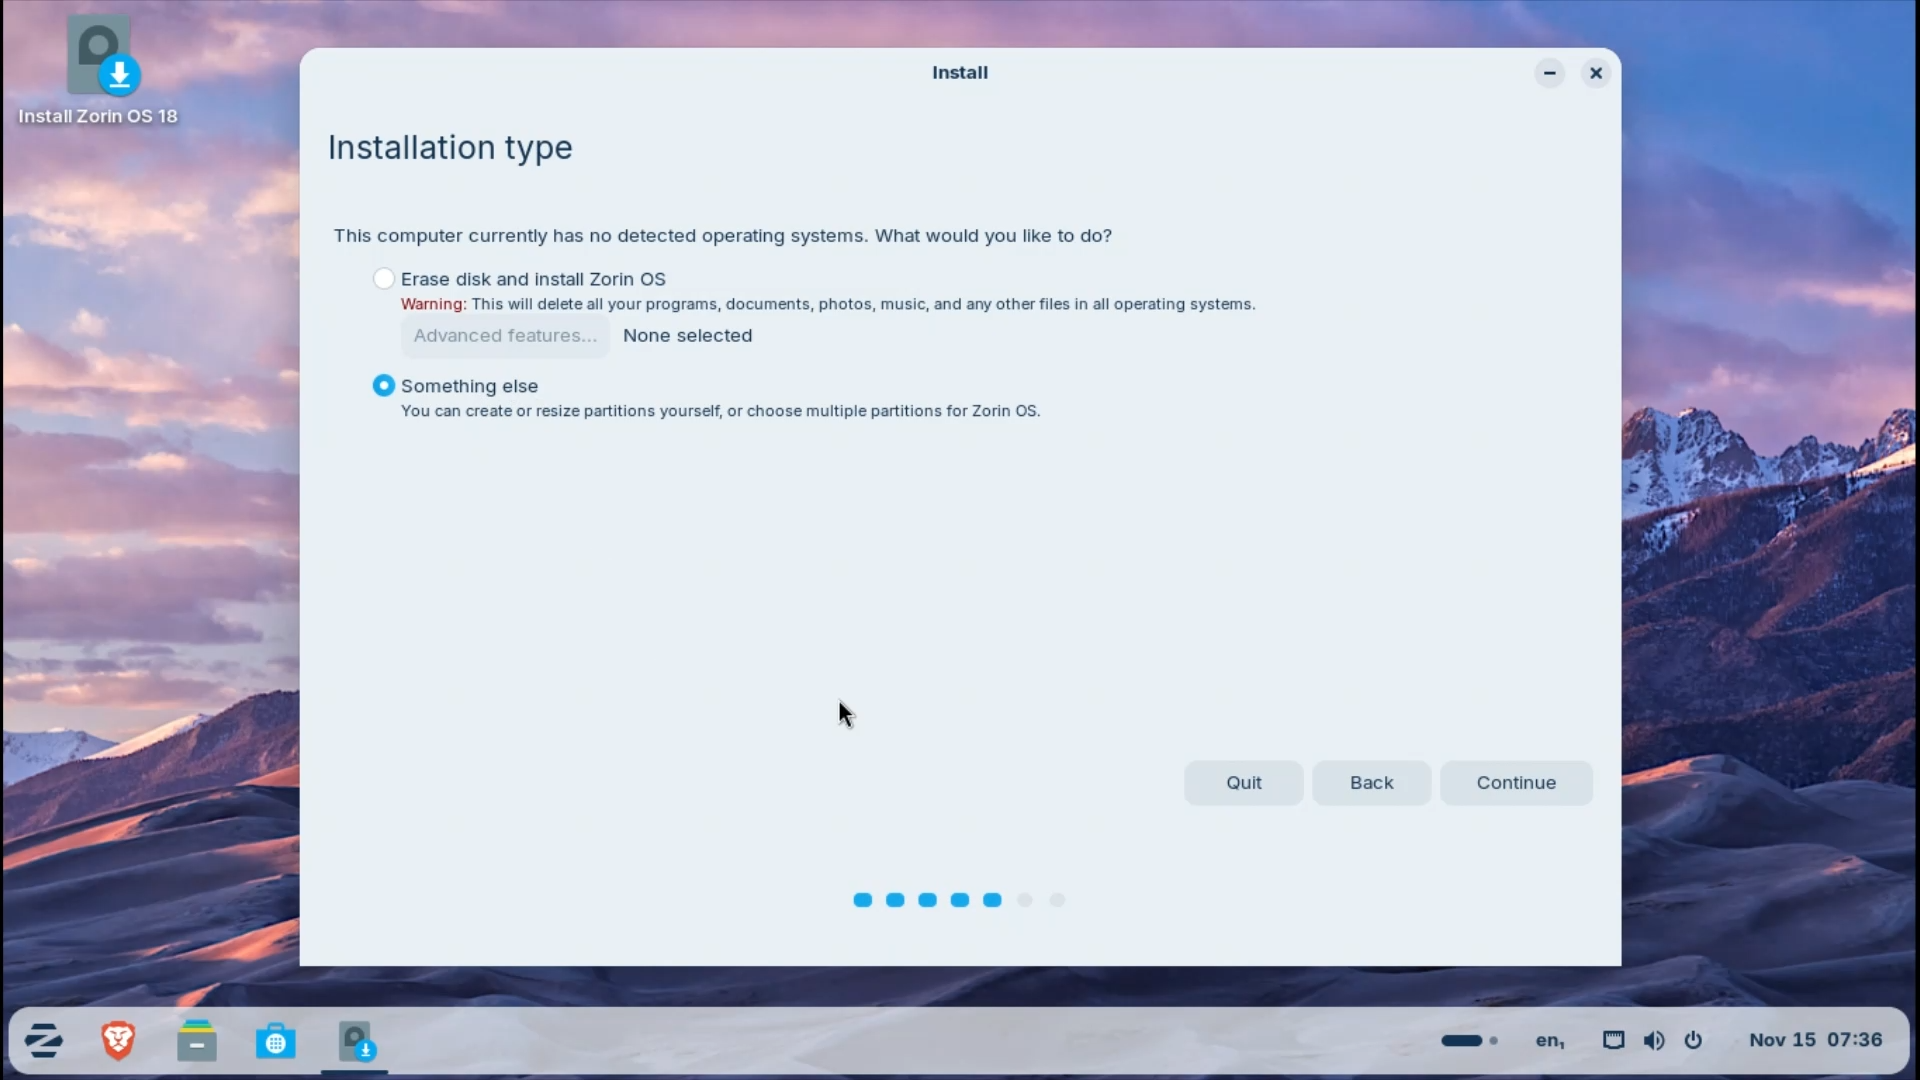
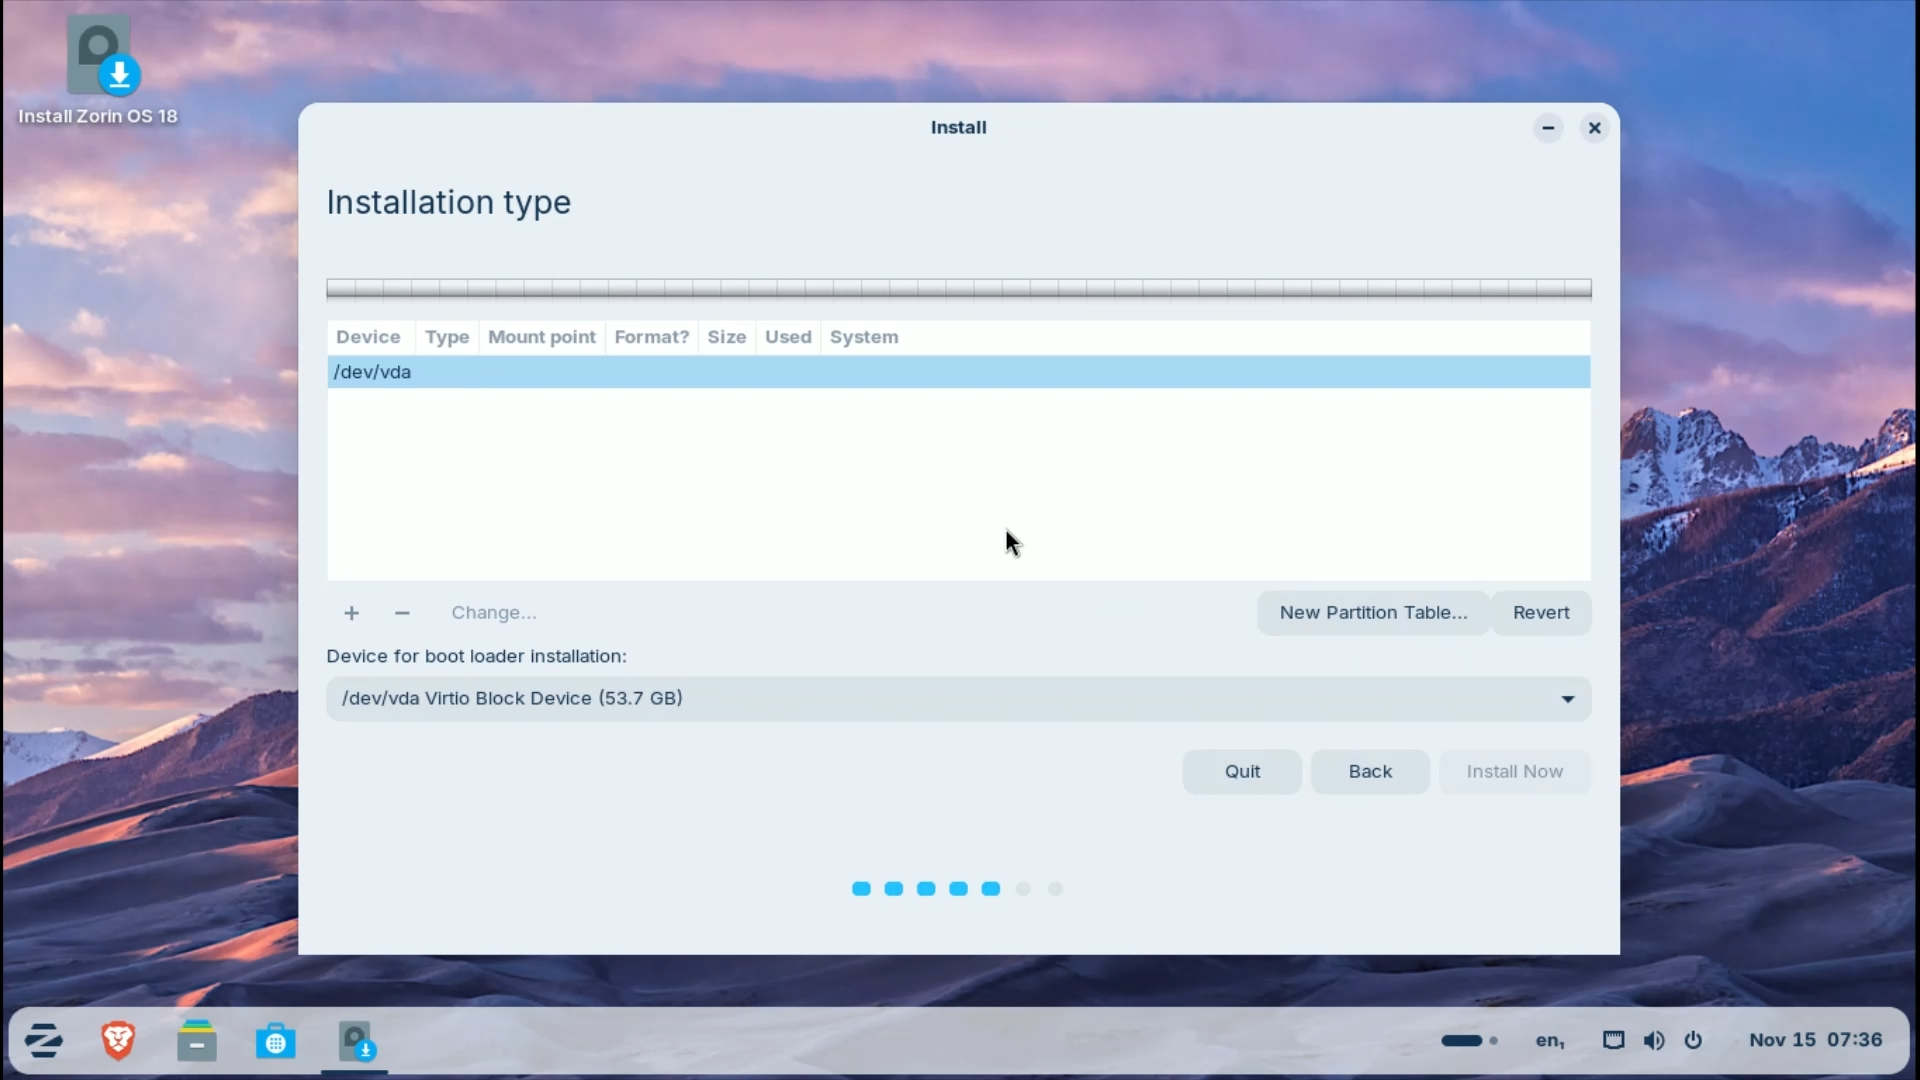
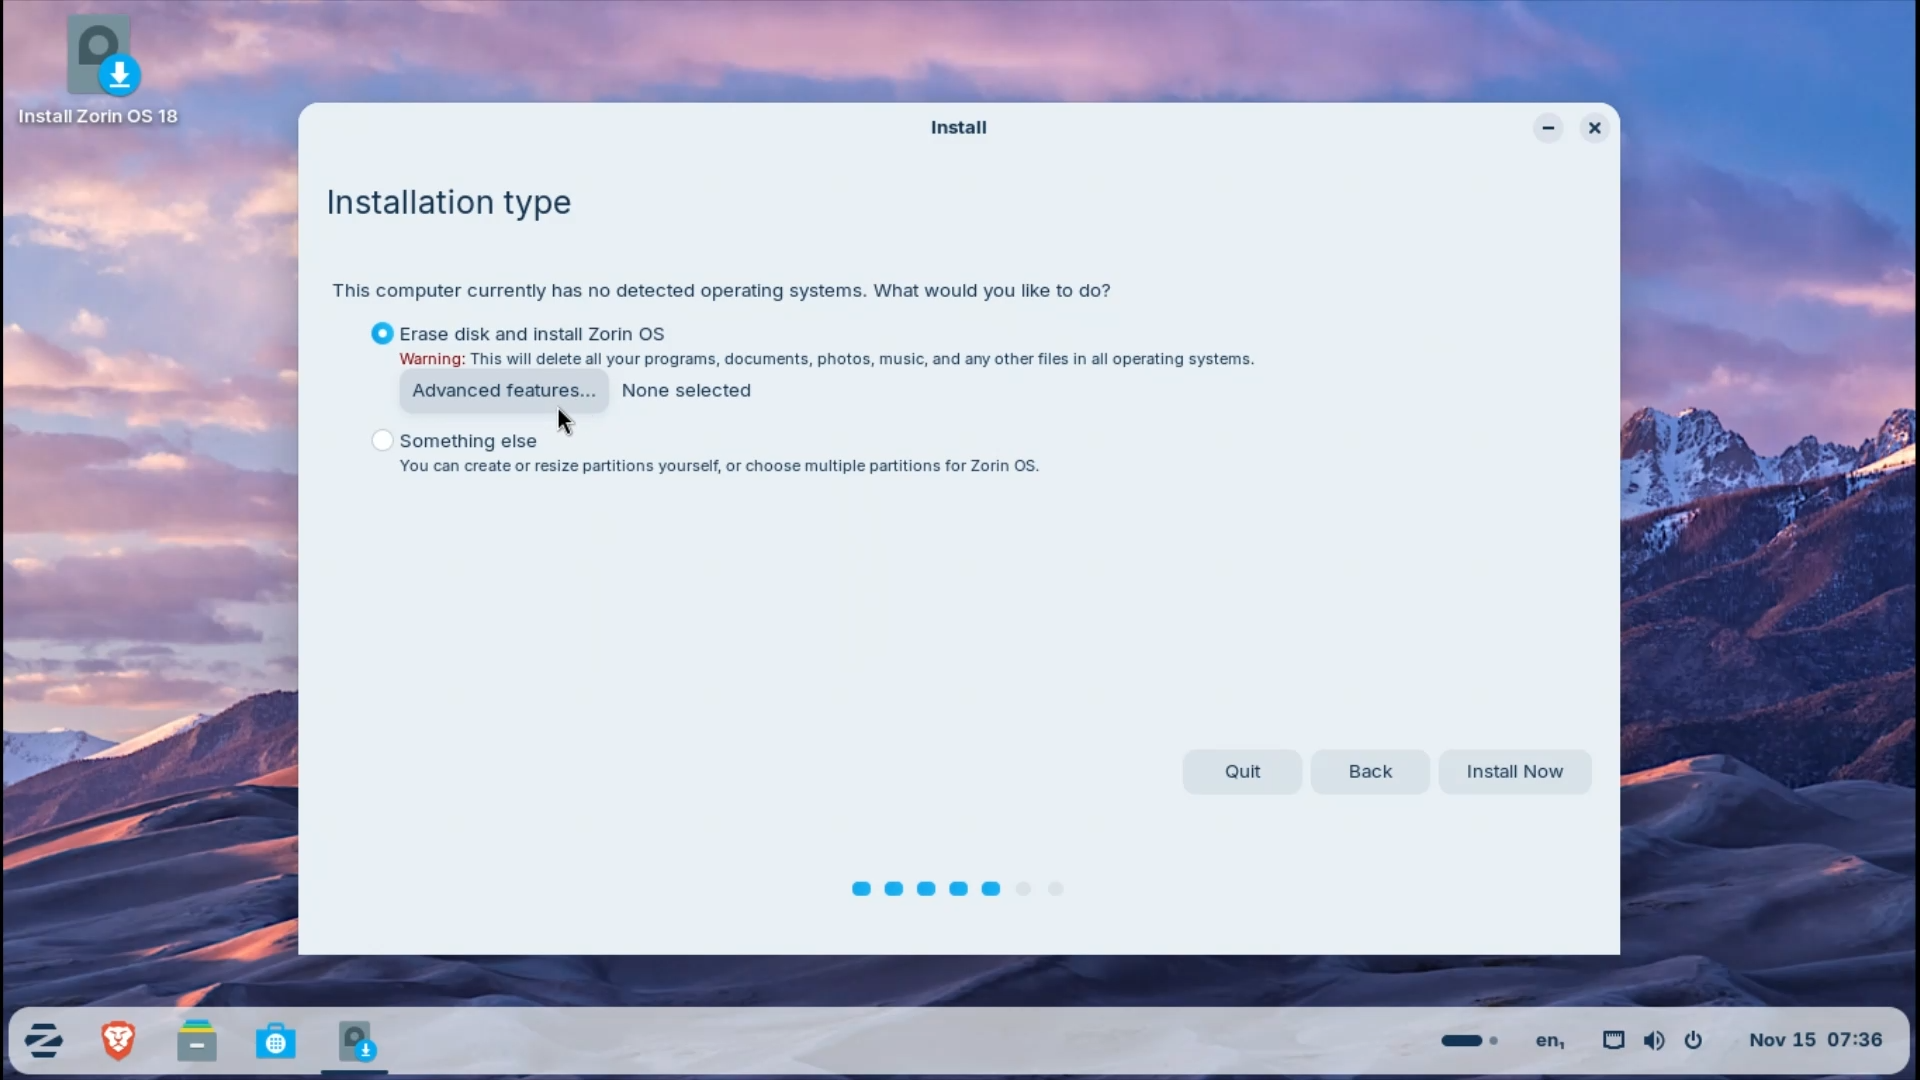

Advanced users can choose Something else for:
- Dual boot setups
- Manual partitioning
- Disk encryption or LVM (available under Advanced features)
Click Install Now to continue.

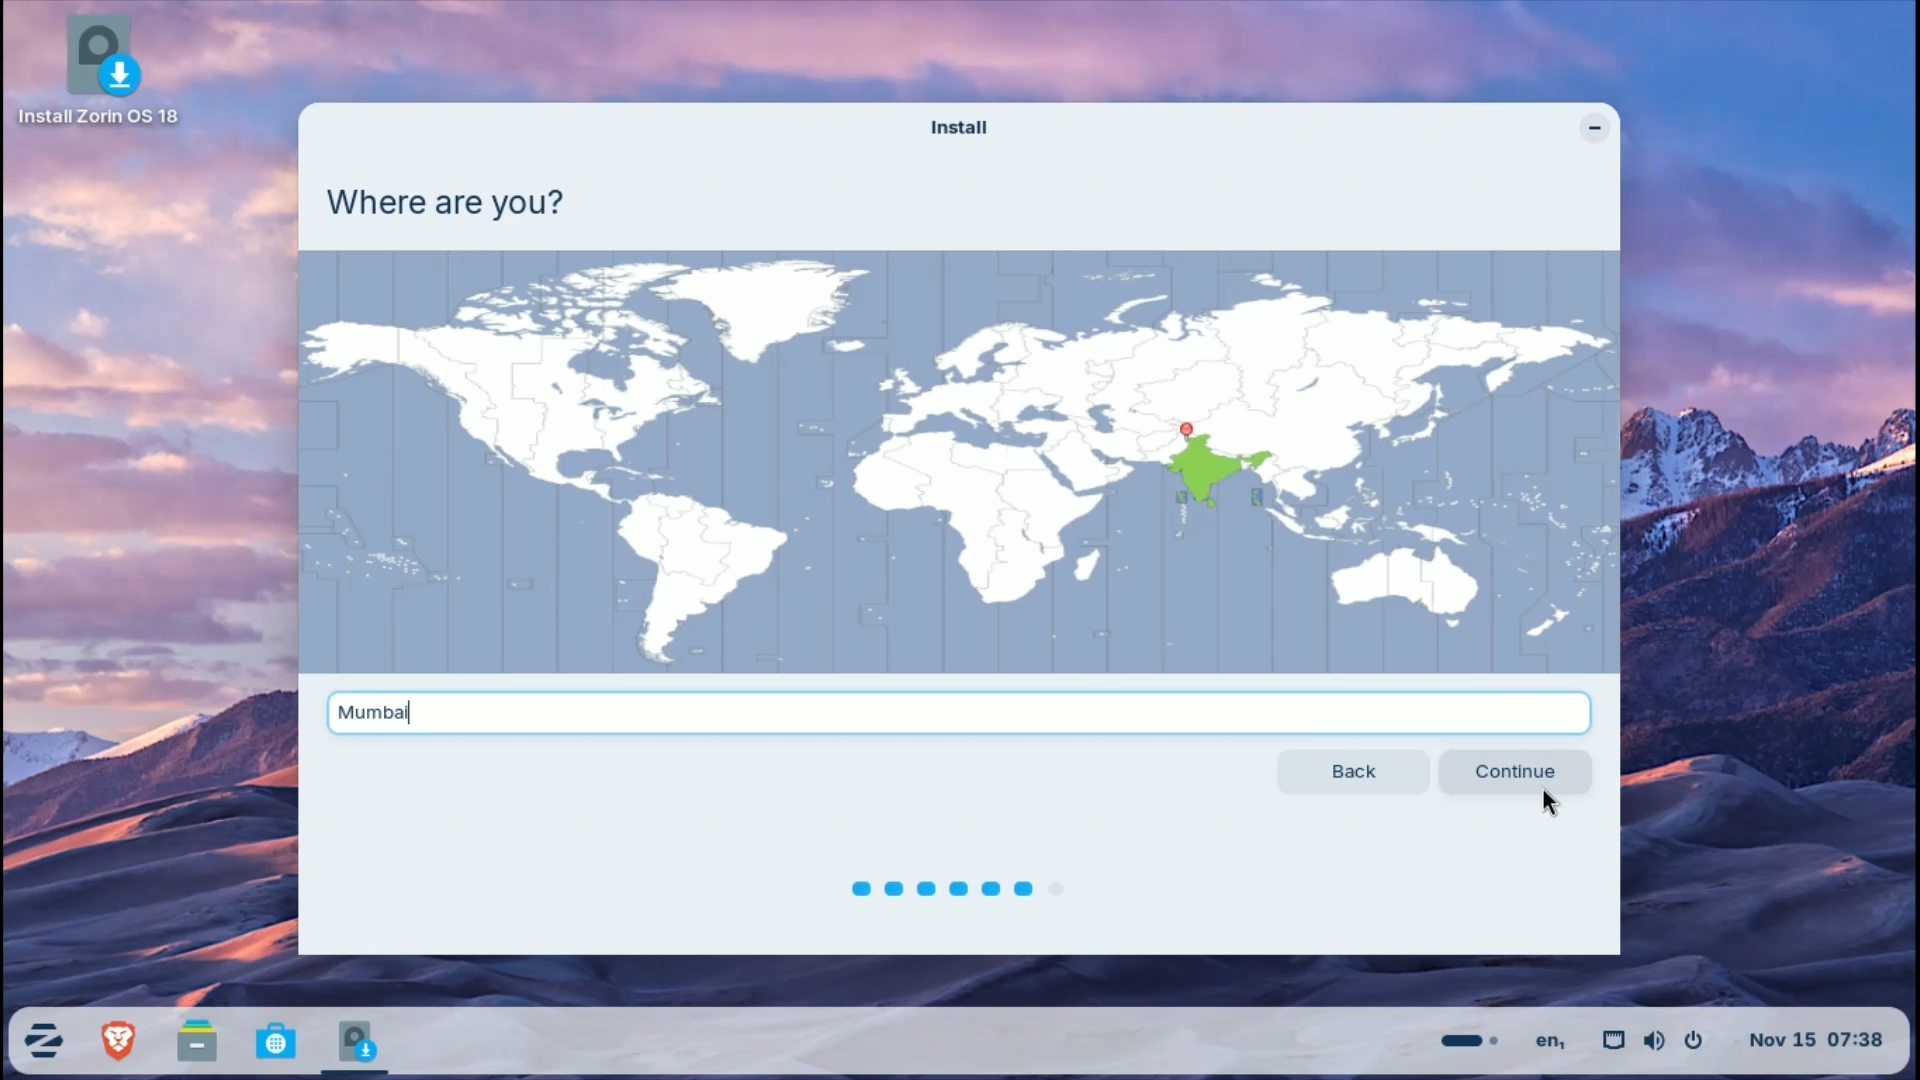
Step 3.7: Location & Time Zone
Your location is usually detected automatically.
If incorrect, select it manually on the map or search bar.
Step 3.8: User Account Setup
Enter:
- Your name
- Username (auto-filled, editable)
- Computer name
- Strong password (used for admin tasks)
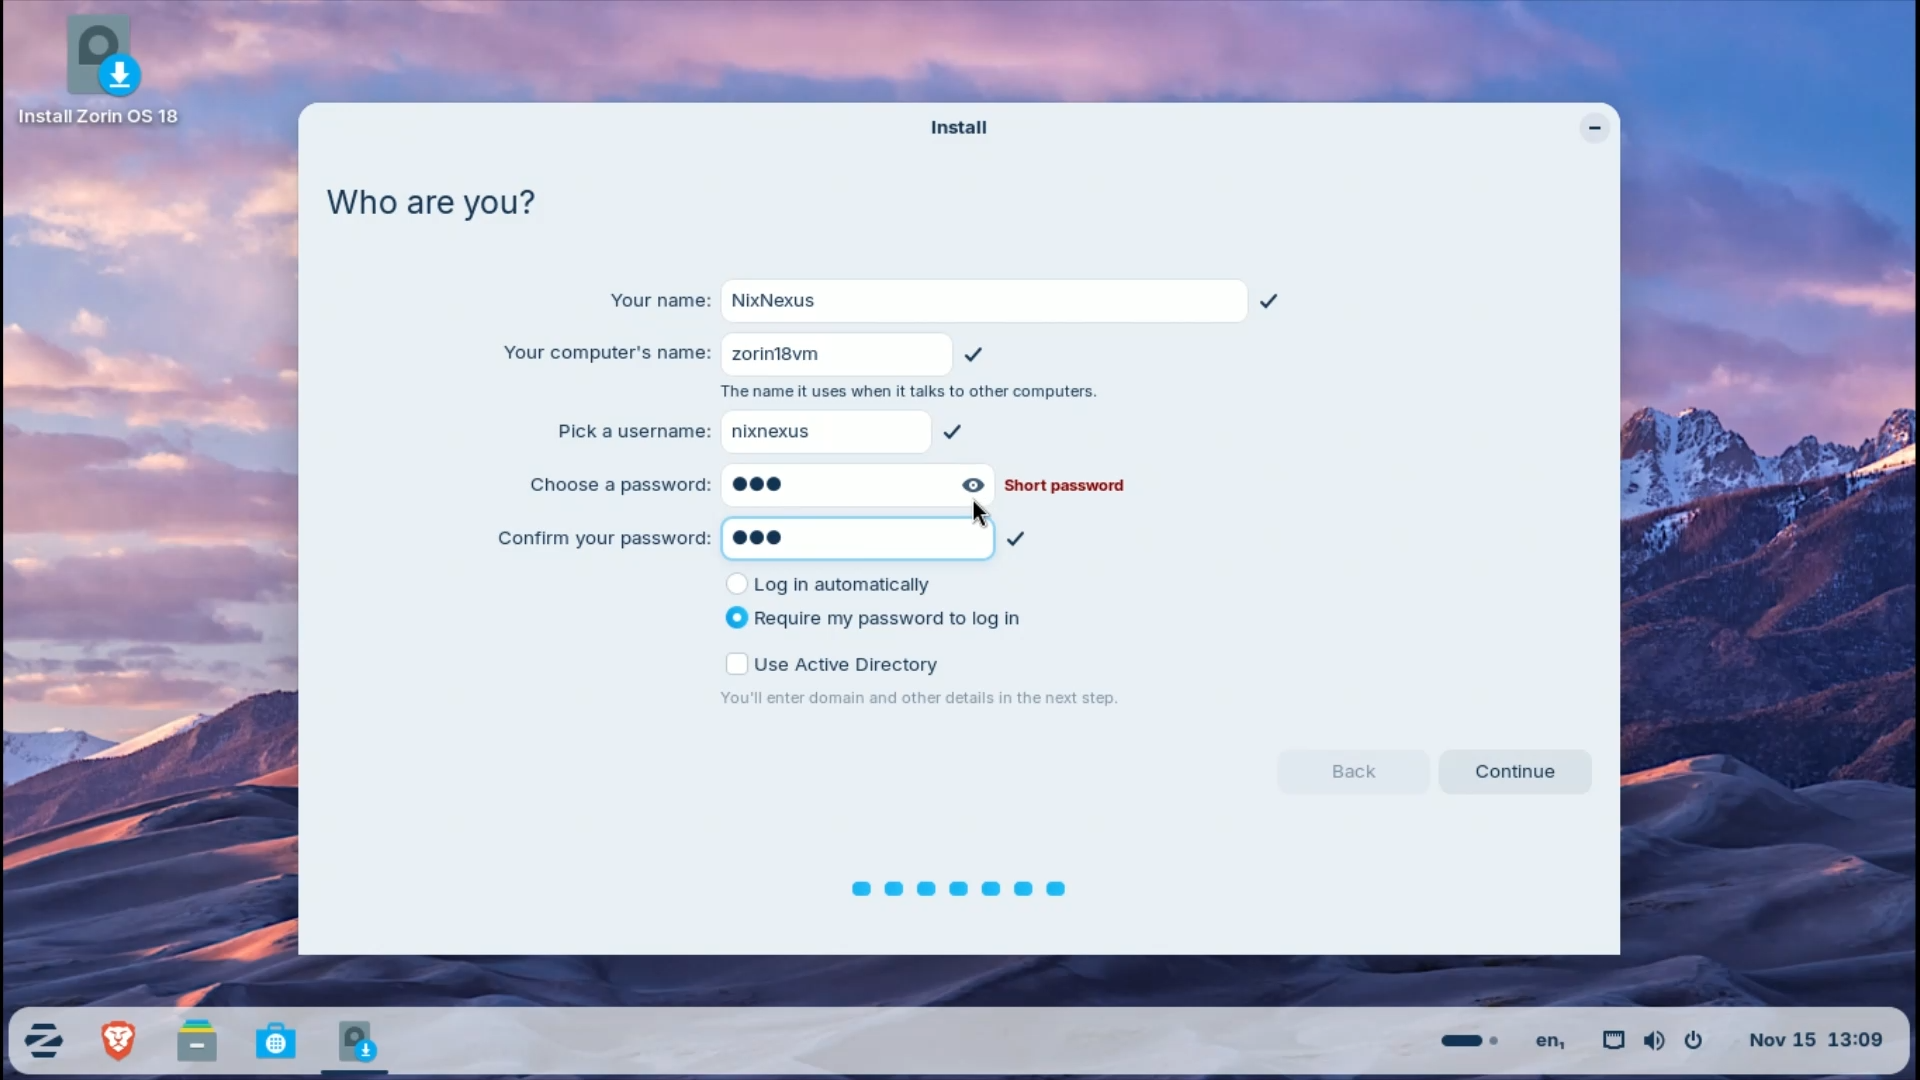
Click Continue.
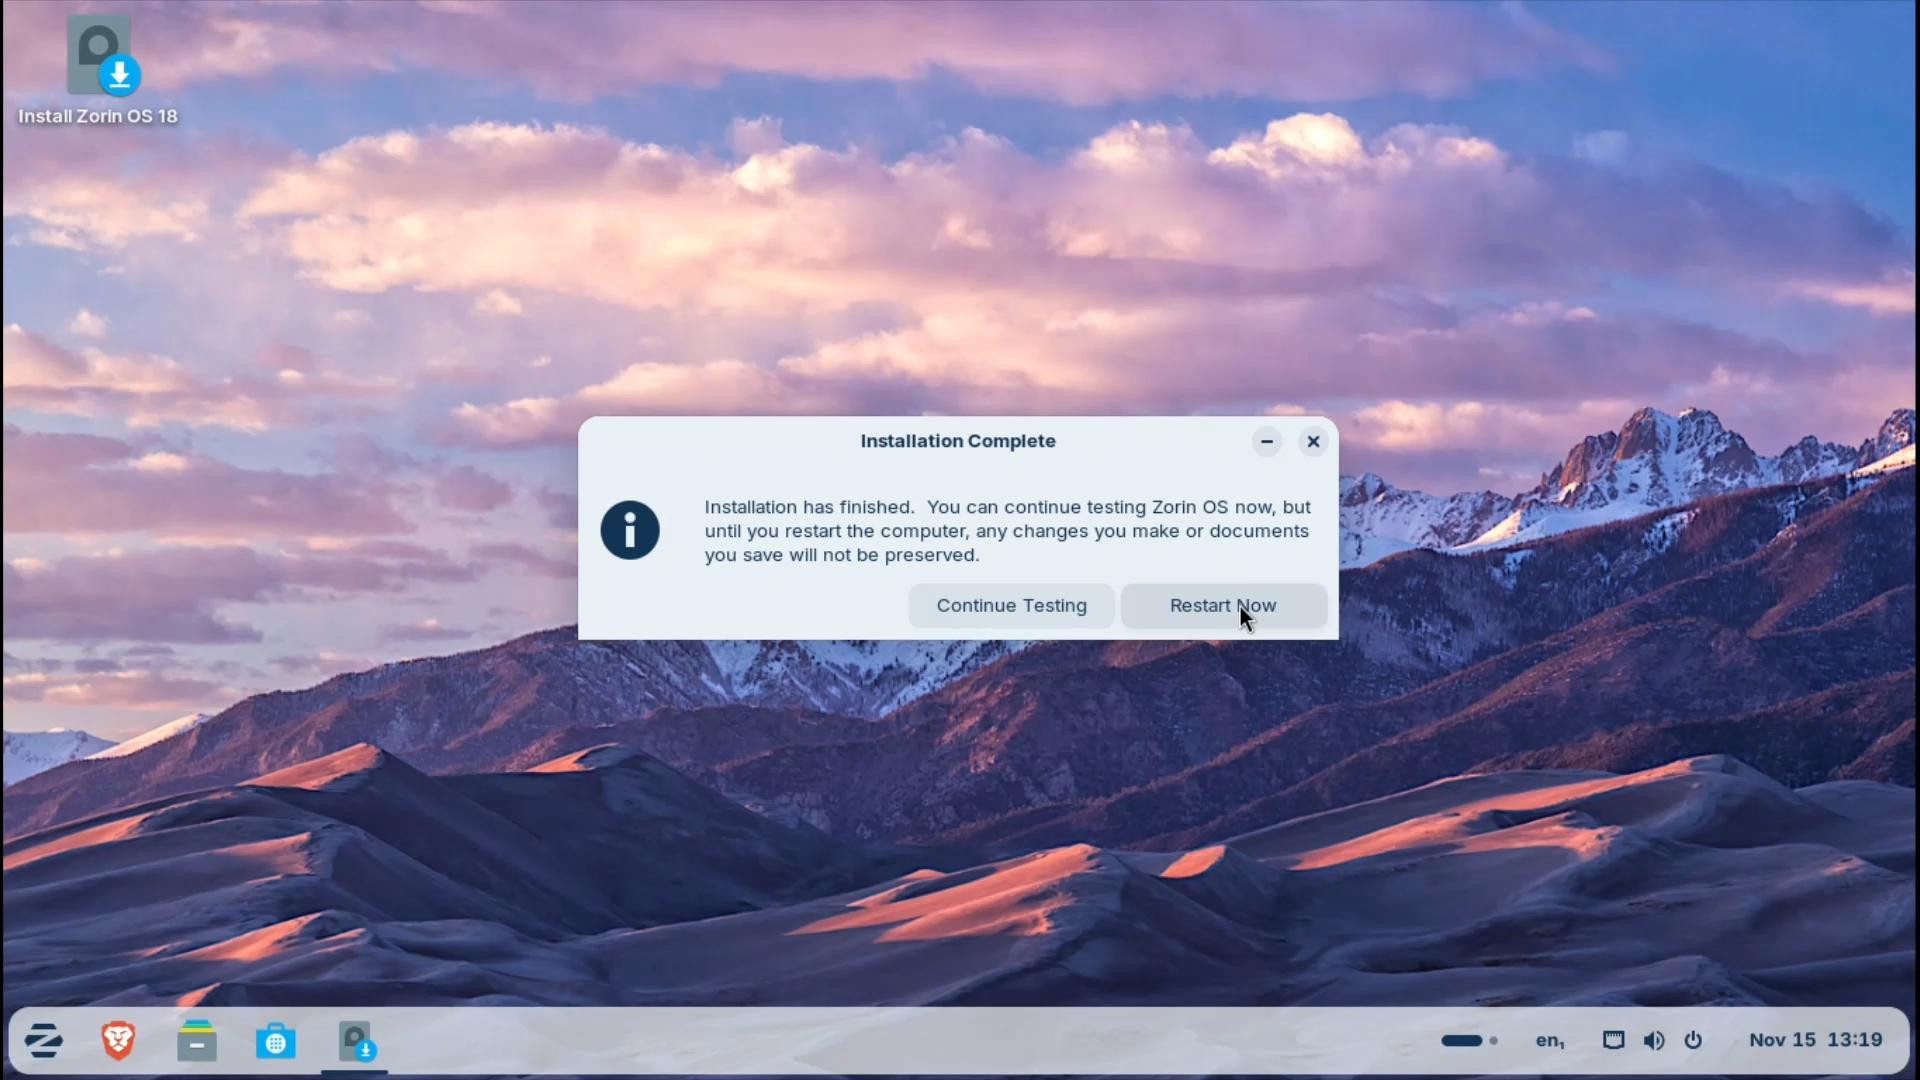
Step 3.9: Installation
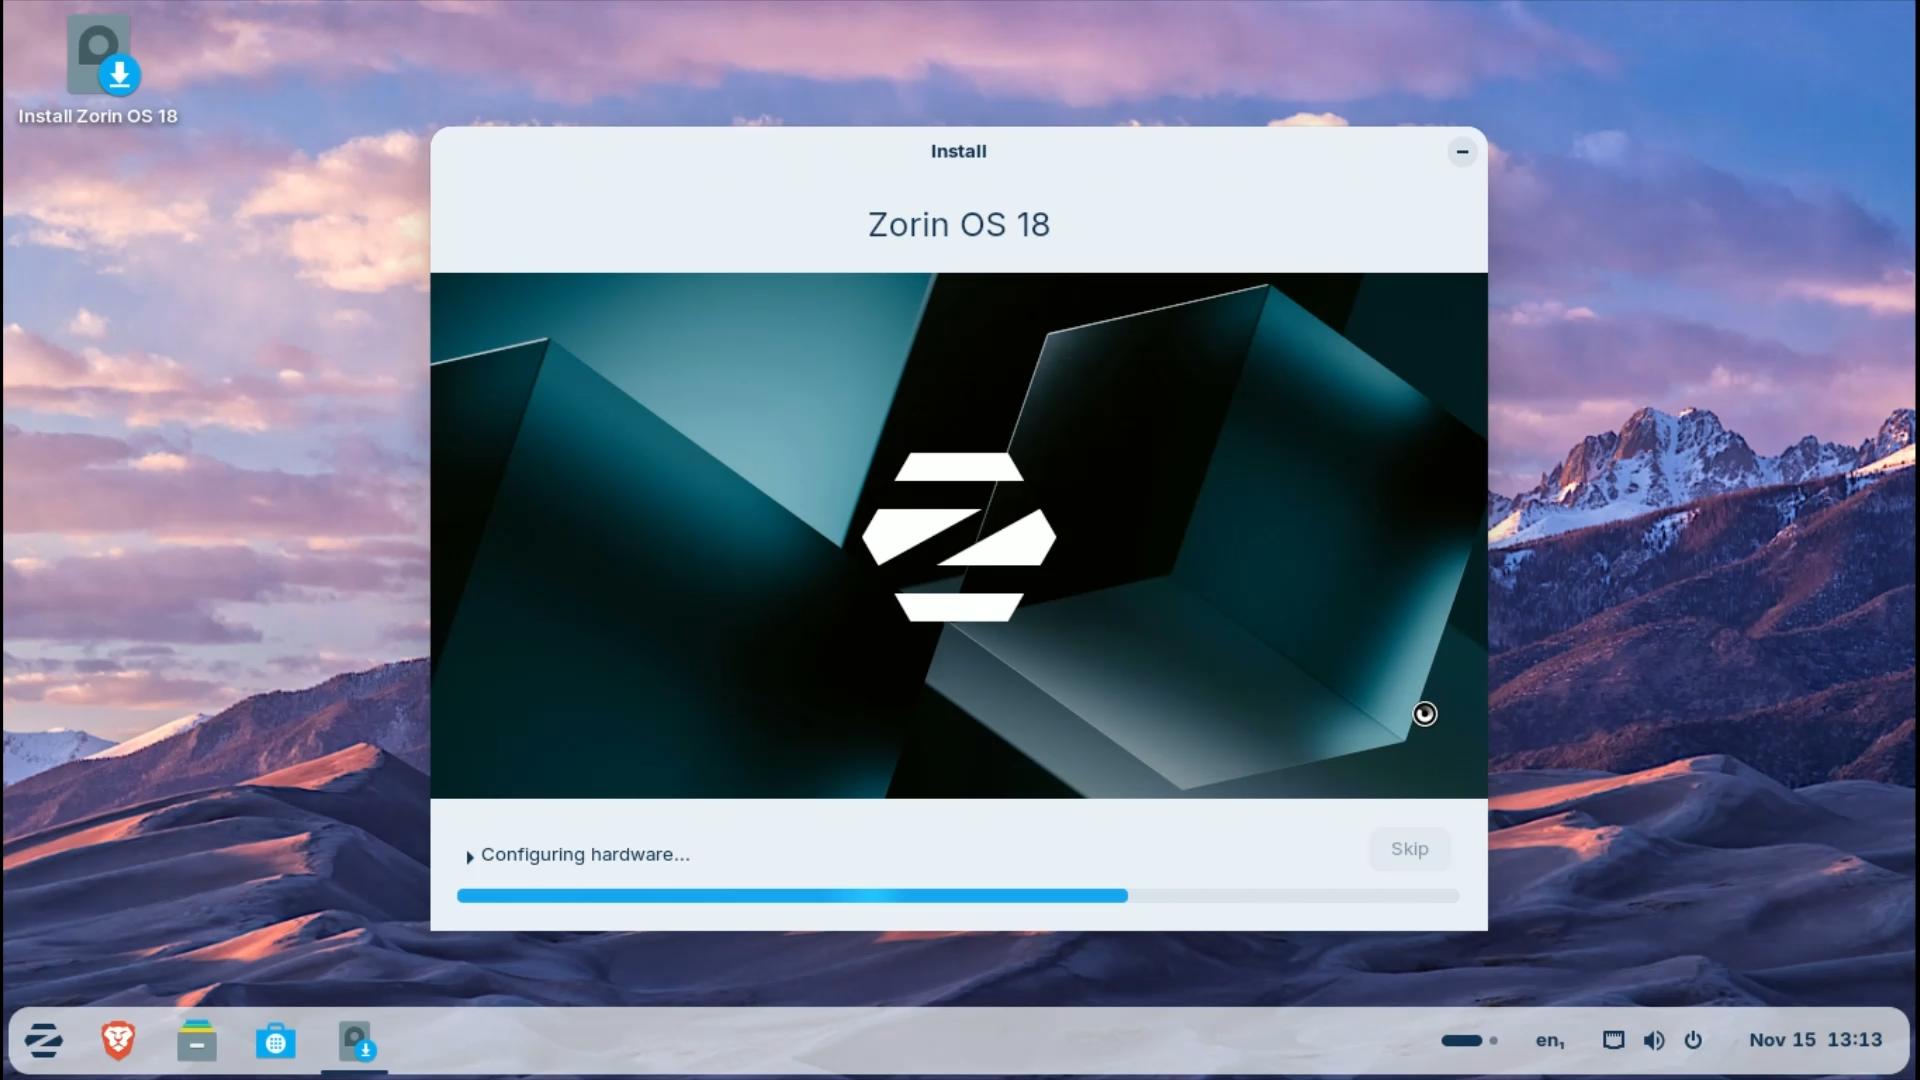
The installer will now copy files and configure the system.
⏱️ Time required: ~10–15 minutes
Once finished, click Restart and remove the USB drive if prompted.
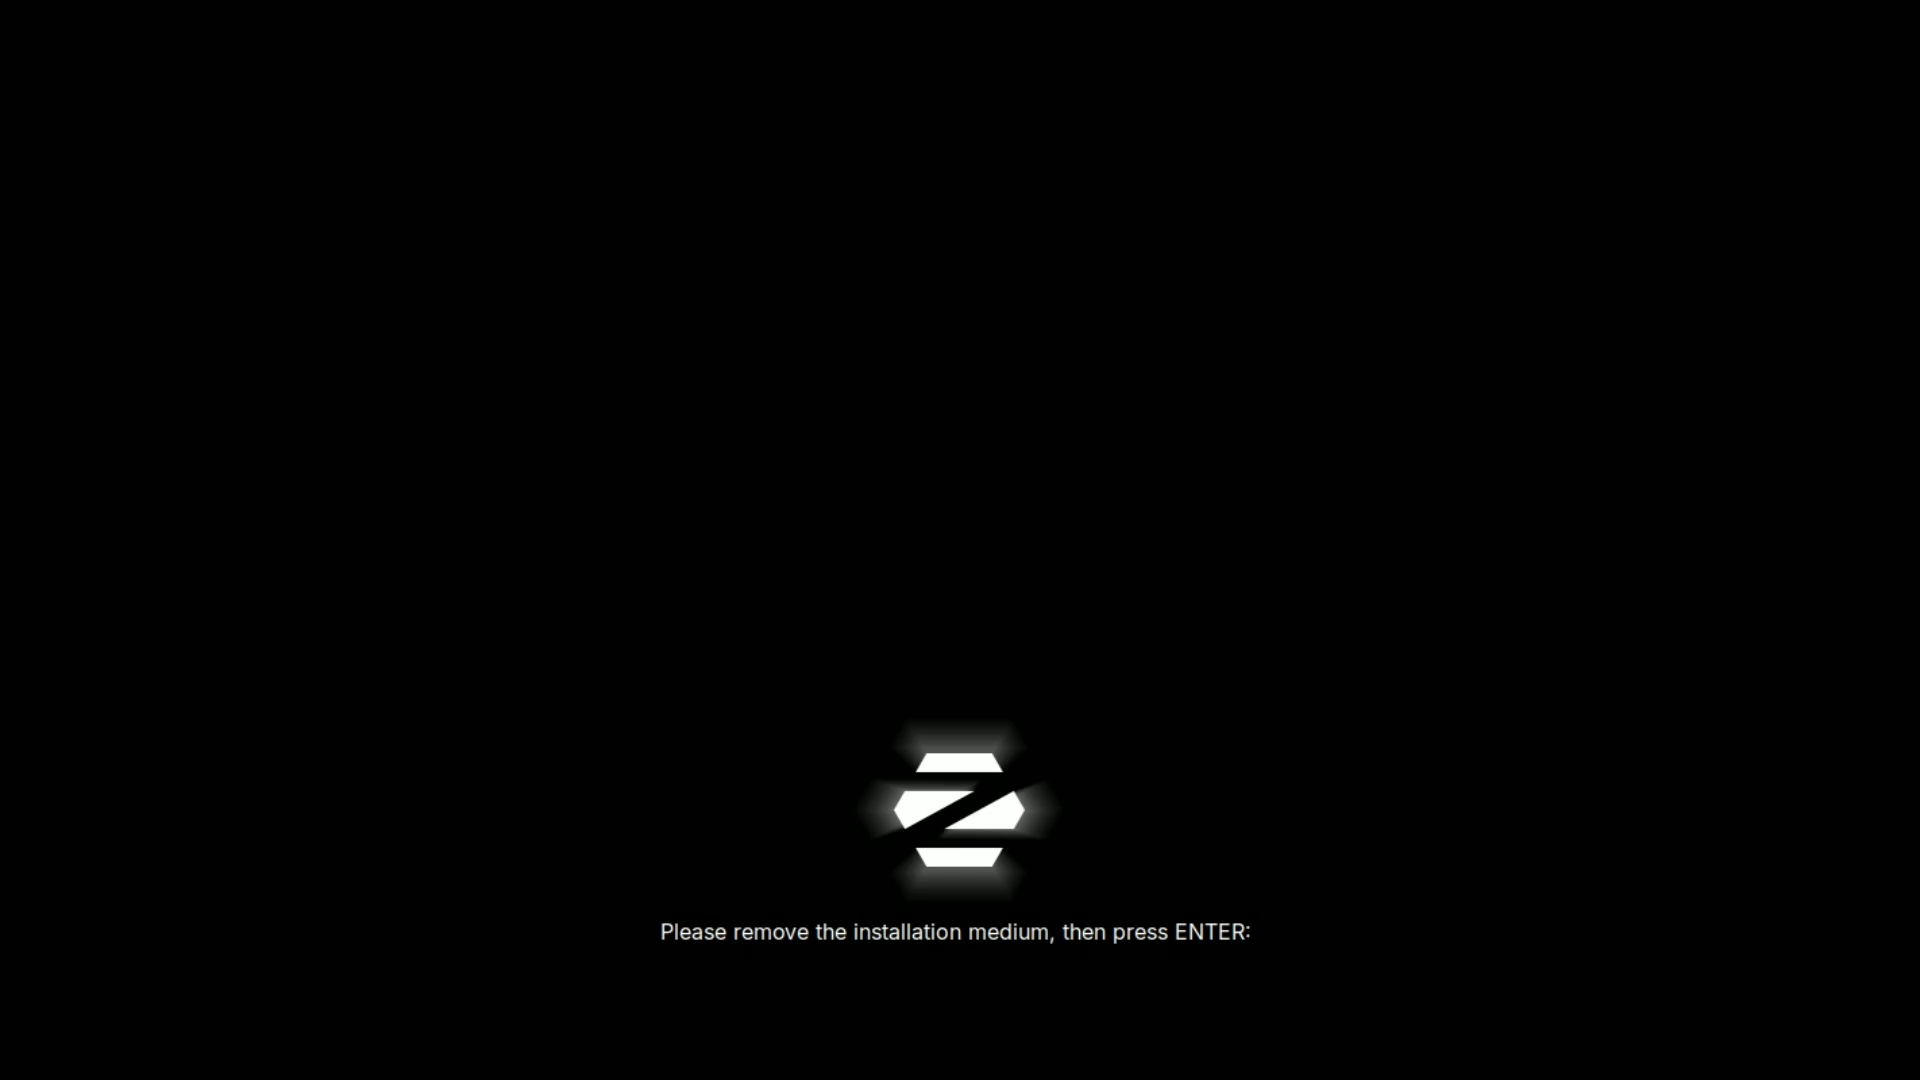
Step 4: First Boot
After rebooting:
- You’ll see the GDM login screen
- Enter your password and log in

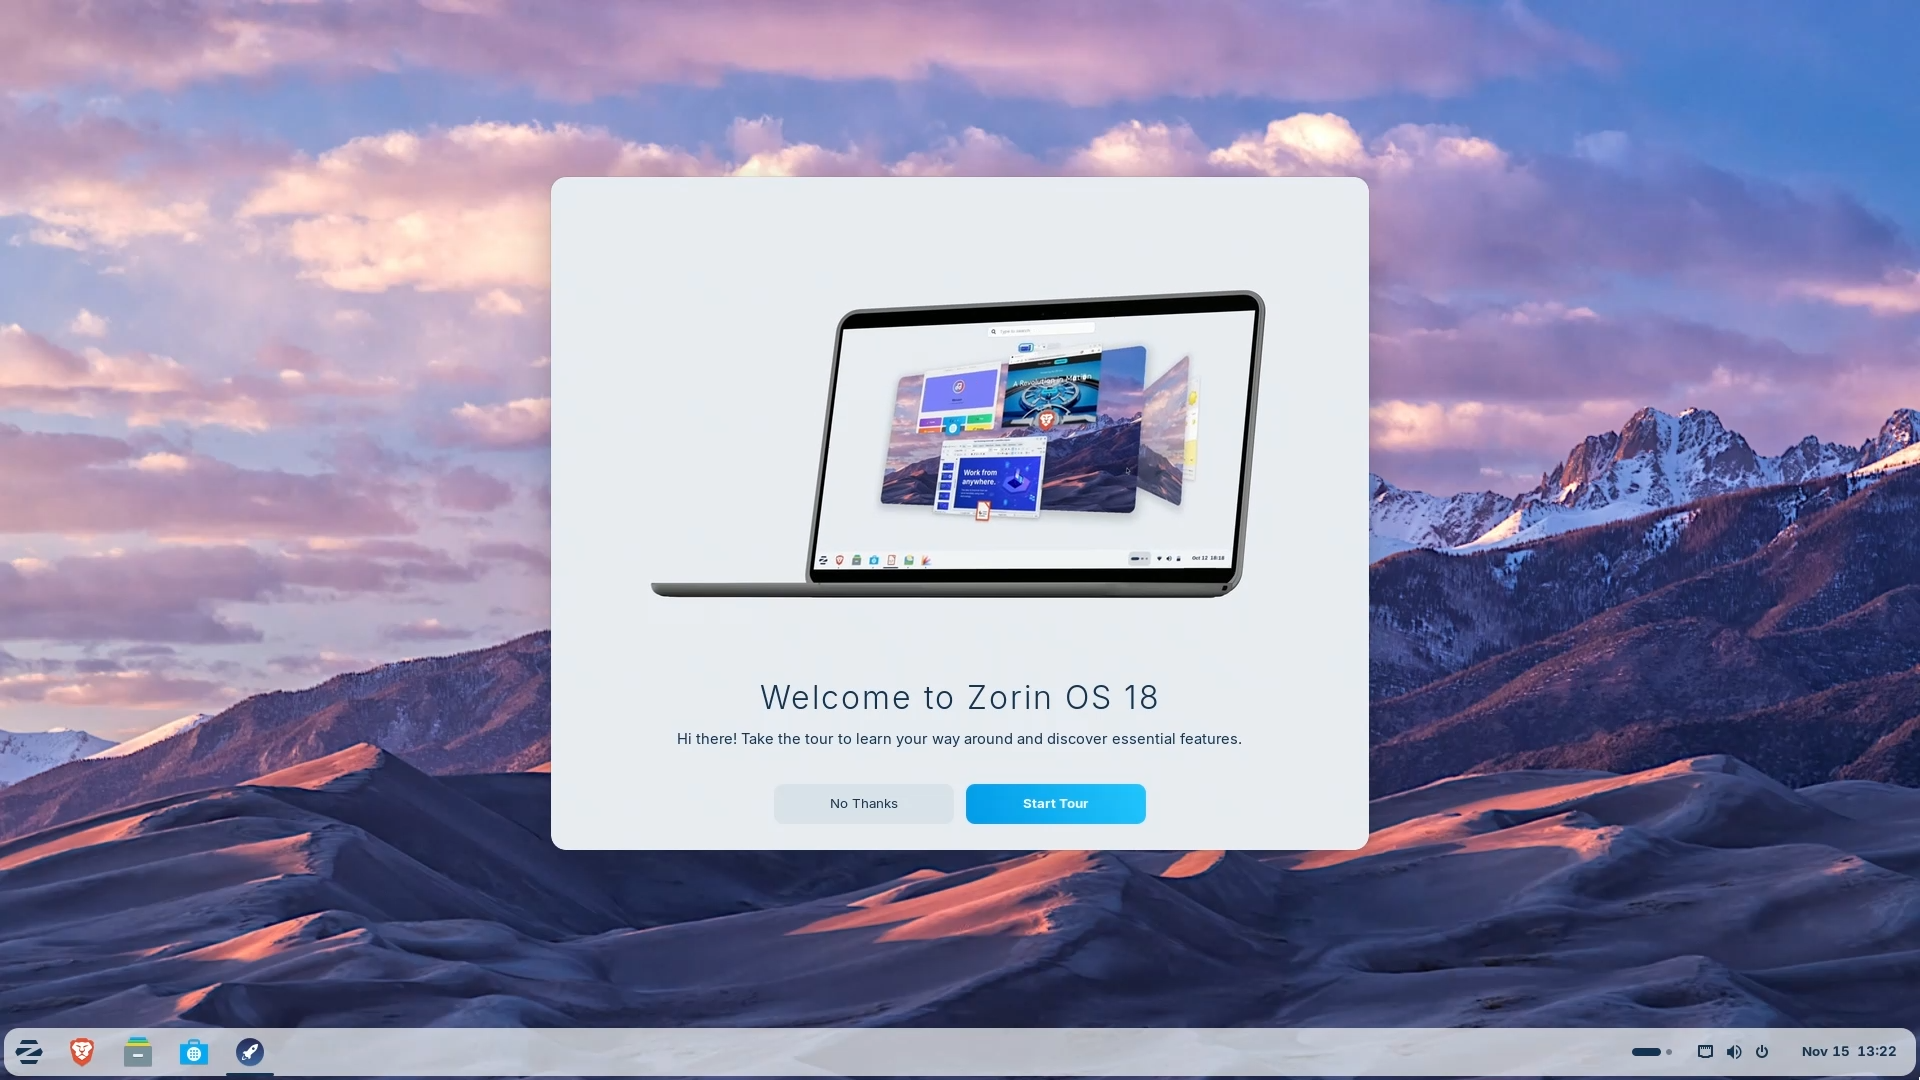
Welcome to Zorin OS 18 Core Edition 🎉
VirtualBox Users
For better performance, install Guest Additions to enable:
- Full-screen mode
- Shared folders
- Smooth mouse integration


Conclusion
Installing Zorin OS 18 is a smooth, beginner-friendly process, making it one of the best Linux distributions for users coming from Windows or macOS.
With five years of support until 2029, a polished GNOME 46 desktop, strong hardware compatibility, and a familiar user experience, Zorin OS 18 stands out as one of the best entry points into the Linux world.
If you’ve been looking for a modern, fast, and privacy-respecting alternative to Windows—this is an excellent place to start.
And if you'd like to go a step further in supporting us, you can treat us to a virtual coffee ☕️. Thank you for your support ❤️!

We do not support or promote any form of piracy, copyright infringement, or illegal use of software, video content, or digital resources.
Any mention of third-party sites, tools, or platforms is purely for informational purposes. It is the responsibility of each reader to comply with the laws in their country, as well as the terms of use of the services mentioned.
We strongly encourage the use of legal, open-source, or official solutions in a responsible manner.
Comments