Have you ever clicked on a YouTube video only to scramble for the volume knob because the ad was way louder than the content? Or noticed how one podcast sounds quiet while another blasts your speakers?
That inconsistency happens because not everyone follows the same audio loudness standards. If you create videos, podcasts, tutorials, or any kind of digital media, inconsistent volume instantly makes your work feel unprofessional.
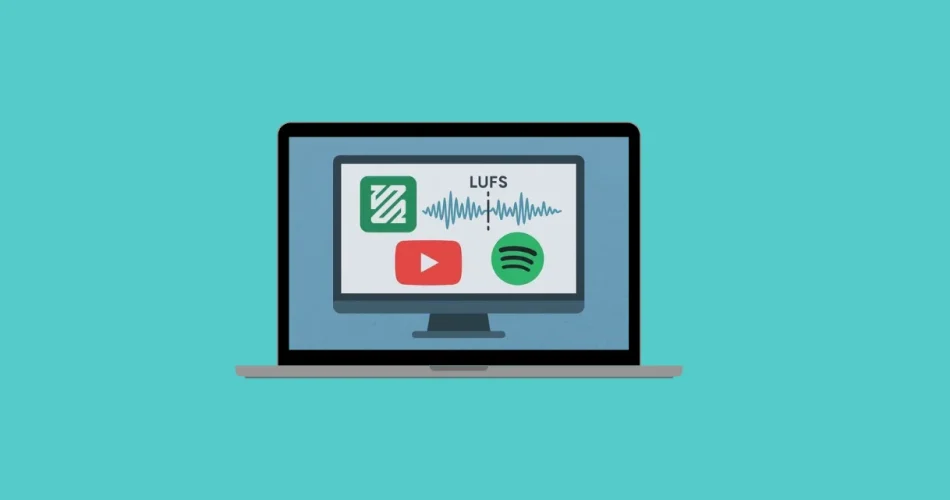
The good news? FFmpeg audio normalization is simple, powerful, and built right in. Using the loudnorm filter and the industry-standard LUFS (Loudness Units Full Scale) measurement, you can match the loudness levels used by YouTube, Spotify, and broadcast TV.
In this guide, you’ll learn how to normalize audio with FFmpeg using both single-pass and dual-pass methods, optimize for streaming platforms, and batch process entire libraries.
Estimated processing time: 2–5 minutes per file (depending on method and file size).
What Is LUFS and Why It Matters
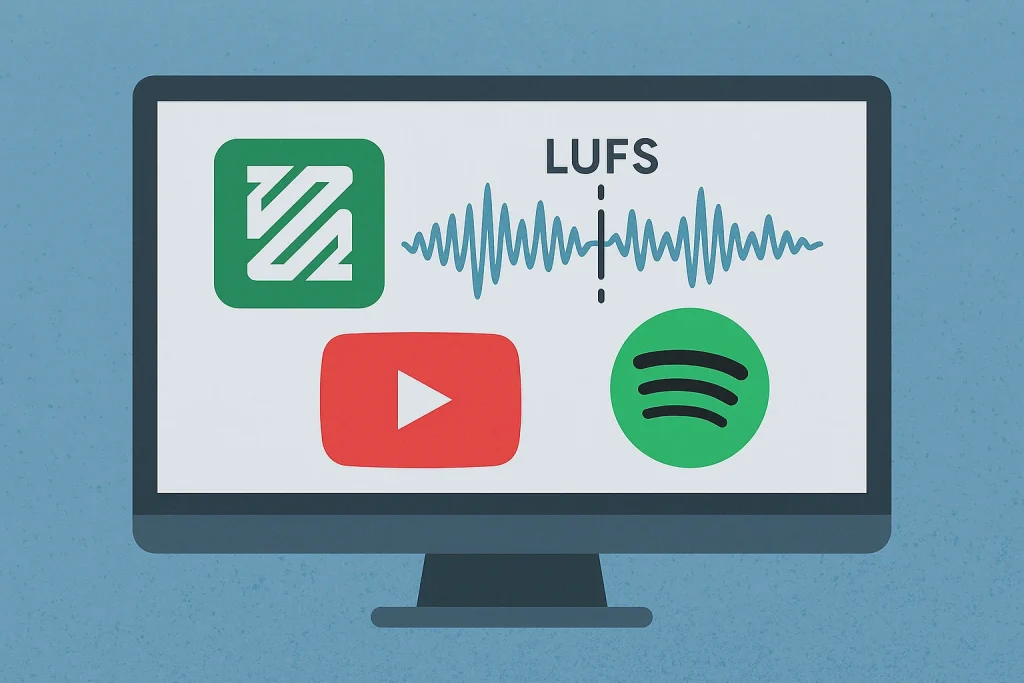
LUFS (Loudness Units Full Scale) is the global standard for measuring perceived audio loudness. Platforms like:
- YouTube
- Spotify
- Apple Podcasts
- Broadcast television
all rely on LUFS to keep audio levels consistent.
If your content is too loud, platforms will turn it down. If it’s too quiet, it may sound weak compared to other creators. Proper normalization ensures:
- Consistent listening experience
- No clipping or distortion
- Better perceived quality
- Compliance with streaming standards
Key Loudnorm Parameters Explained
When using FFmpeg’s loudnorm filter, you’ll work with three core values:
1. Integrated Loudness (I)
- Measures average loudness over time.
- Standard streaming target: -16 LUFS
- Broadcast standard: -23 LUFS
For YouTube and Spotify, aim for -16 LUFS.
2. True Peak (TP)
- Maximum peak level allowed.
- Recommended: -1.5 dB
- Prevents clipping and distortion.
3. Loudness Range (LRA)
- Controls dynamic range.
- Typical value: 11 dB
- Keeps audio natural without excessive compression.
Method 1: Single-Pass Normalization (Fast & Simple)
Best for quick processing or real-time adjustments.
ffmpeg -i input.wav -af loudnorm=I=-16:TP=-1.5:LRA=11 -ar 48000 output.wav
Why These Settings?
- -16 LUFS → YouTube/Spotify standard
- -1.5 dB True Peak → Avoids clipping
- 11 dB LRA → Preserves natural dynamics
Pros
✔ Fast
✔ Easy
✔ Good for quick exports
Cons
✖ Less precise
✖ Real-time estimation only
Single-pass works well, but if you want maximum accuracy, the dual-pass method is superior.
Method 2: Dual-Pass Normalization (Most Accurate)
This is the professional method. It analyzes the entire file first, then applies precise correction.
Step 1: Analyze the File
ffmpeg -i input.wav -af loudnorm=I=-16:TP=-1.5:LRA=11:print_format=json -f null -
FFmpeg will output a JSON block containing:
input_iinput_tpinput_lrainput_thresh
Save those values.
Step 2: Apply Measured Values
Replace the numbers below with the ones from your analysis:
ffmpeg -i input.wav -af loudnorm=I=-16:TP=-1.5:LRA=11:measured_I=-24.35:measured_TP=-2.15:measured_LRA=8.54:measured_thresh=-35.21:offset=0:linear=true -ar 48000 output.wav
Why Dual-Pass Is Better
- Uses exact measured loudness
- Produces consistent results
- More accurate peak control
linear=truepreserves original dynamics
If you’re serious about podcast production, YouTube monetization, or professional content creation, this is the method you should use.
Normalizing Video Files Without Re-Encoding
If you’re working with video, you can normalize audio while keeping the video stream untouched:
ffmpeg -i video.mp4 -c:v copy -af loudnorm=I=-16:TP=-1.5:LRA=11 -ar 48000 video_normalized.mp4
The -c:v copy flag prevents video re-encoding, saving time and maintaining original video quality.
Batch Processing Multiple Files
If you manage a large audio library, automation is key.
Install the Python-based tool:
pip install ffmpeg-normalize
Then run:
ffmpeg-normalize *.wav -o output_folder/ -c:a pcm_s16le
Why Use ffmpeg-normalize?
- Automates dual-pass normalization
- Supports parallel processing
- Ideal for podcasters and media libraries
- Saves massive time
Troubleshooting Common Issues
Error: “No such filter: loudnorm”
Your FFmpeg version is outdated.
Minimum required version: 3.1
Update your FFmpeg build.
Distorted Audio After Normalization
Possible causes:
- Source file already clipped
- Target LUFS too aggressive
Solutions:
- Lower target to -18 LUFS
- Increase True Peak headroom to -2 dB
Example:
loudnorm=I=-18:TP=-2:LRA=11
Best Loudness Targets by Platform
| Platform | Recommended LUFS |
|---|---|
| YouTube | -16 LUFS |
| Spotify | -16 LUFS |
| Podcasts | -16 to -19 LUFS |
| Broadcast TV | -23 LUFS |
Why Audio Normalization Is Essential for Creators
Consistent loudness:
- Improves audience retention
- Prevents listener fatigue
- Enhances perceived professionalism
- Aligns with monetization standards
- Avoids algorithmic loudness penalties
In competitive markets like the US, production quality directly impacts growth.
Conclusion:
Audio loudness inconsistency is one of the fastest ways to lose credibility as a content creator. The good news? Fixing it takes less than five minutes with FFmpeg.
By using LUFS-based normalization and the built-in loudnorm filter, you ensure your content meets YouTube and Spotify standards, sounds professional, and delivers a smooth listening experience.
There’s no reason to publish videos or podcasts with inconsistent volume anymore.
Your audience—and your subscribers—will absolutely notice the difference.
And if you'd like to go a step further in supporting us, you can treat us to a virtual coffee ☕️. Thank you for your support ❤️!

We do not support or promote any form of piracy, copyright infringement, or illegal use of software, video content, or digital resources.
Any mention of third-party sites, tools, or platforms is purely for informational purposes. It is the responsibility of each reader to comply with the laws in their country, as well as the terms of use of the services mentioned.
We strongly encourage the use of legal, open-source, or official solutions in a responsible manner.
Great info. Thank you for this. I am going to add this much needed functionality to my FreeFactory program which is a front end for FFMpeg. It’s free software (GPL3) and available on Github.