
Windows 11’s efficiency and sleek design are often celebrated, but even the most advanced operating systems are susceptible to hiccups. One of the most common boot problems stems from a corrupted or missing Boot Configuration Data (BCD) file. This crucial file acts like a roadmap for your system, guiding it through the startup process. When the BCD is compromised, you might find yourself staring at an error screen instead of your desktop. Fortunately, rebuilding the BCD is a straightforward process that can often resurrect your Windows 11 installation.
This guide walks you through effective methods to rebuild the BCD file in Windows 11, ensuring a smooth and functional boot process. Whether you’re facing error codes or a completely non-booting system, we’ll cover the steps to get you back up and running.
Method 1: Rebuilding BCD Using the Windows Recovery Environment (WinRE)
The Windows Recovery Environment (WinRE) provides a safe and effective environment for repairing system issues. This is the go-to method when your system won’t start normally.
1- Entering WinRE: The first step is to boot into WinRE. This can be achieved in a few ways:
- Automatic Repair: If Windows detects a boot failure, it will usually attempt to enter WinRE automatically.
- Bootable Media: Create a Windows 11 installation USB or DVD. Boot from this media and select “Repair your computer” on the initial setup screen.
- Force Shutdowns: Repeatedly force shut down your computer during the boot process (e.g., by holding the power button) until WinRE appears.

2- Identifying Your Windows Drive: In the Command Prompt, you’ll need to determine the drive letter where Windows is installed. While it’s usually “C:”, it can differ within WinRE. Use the following command: bcdedit Examine the output. Look for entries labeled osdevice or device. The drive letter listed next to these entries is your Windows drive (e.g., C:\Windows).

3- Rebuilding the BCD (Initial Attempt): Run the bootrec /rebuildbcd command to scan for and rebuild the BCD: bootrec /rebuildbcd This command scans all available disks for Windows installations and attempts to add them to the BCD. If it finds installations, it will prompt you to confirm by typing Y (Yes) or A (All), then pressing Enter. If you get a message stating “Total identified Windows installations: 0,” proceed to the next steps.

4- Backing Up and Removing Attributes (If Necessary): If the bootrec /rebuildbcd command fails, or if you suspect corruption, back up the current BCD and remove restrictive file attributes. Enter these commands separately: bcdedit /export c:\bcdbackup attrib c:\boot\bcd -h -r -s ren c:\boot\bcd bcd.old This sequence backs up the BCD, removes the hidden, read-only, and system attributes, and renames the original file.

5- Rebuilding the BCD (Second Attempt): Run the bootrec /rebuildbcd command again: bootrec /rebuildbcd
When prompted to add installations, confirm by typing Y or A and pressing Enter.
6- Restart Your Computer: Remove the installation media (if used) and restart your computer. Windows should now attempt to boot normally.
Method 2: Utilizing the bcdboot Command
If the previous method doesn’t resolve the issue, or if the BCD file is missing altogether, the bcdboot utility can be used to create a new BCD store.
1- Run the bcdboot Command: Within the Command Prompt in WinRE, execute the following command. Replace C:\Windows with the actual location of your Windows directory if it’s different.
- For UEFI Systems:
bcdboot C:\Windows /s C: /f UEFI

- For BIOS/MBR Systems:
bcdboot C:\Windows /s C: /f BIOSThis command copies boot files from the Windows partition to the System partition and creates a new BCD store.
2- Confirmation: Wait for the confirmation message “Boot files successfully created.” If you encounter an error like “Failure when attempting to copy boot files,” double-check your drive letters and partition types using the diskpart utility.
3- Reboot and Verify: Restart your computer and confirm that Windows boots successfully.
Method 3: Addressing UEFI-Based EFI Partition Issues
UEFI systems rely on a dedicated EFI partition (formatted as FAT32) for the boot process. If this partition is damaged or missing, you’ll need to repair or recreate it.
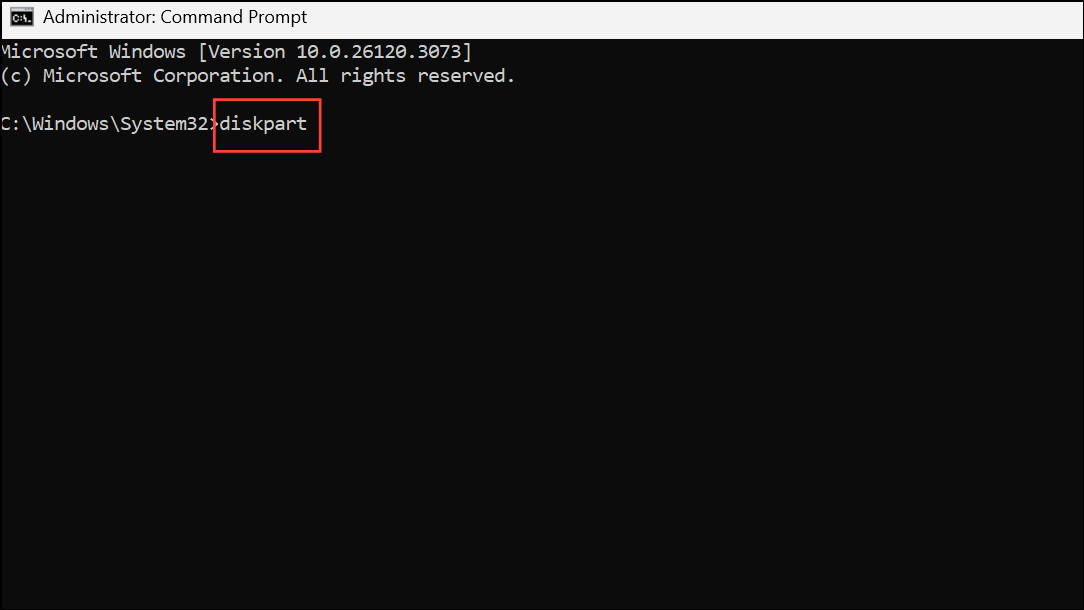
1- Open Command Prompt: Start with Command Prompt within WinRE. Use the diskpart utility to identify the EFI partition: diskpart list volume select volume # (replace # with the EFI partition number) assign letter=Y exit
2- Format the EFI Partition (If Corrupted): If the partition is damaged, format it as FAT32. This will erase all data on the partition, so ensure you’ve selected the correct volume. format Y: /fs:FAT32 /q Assign a new volume label if prompted (e.g., EFI).

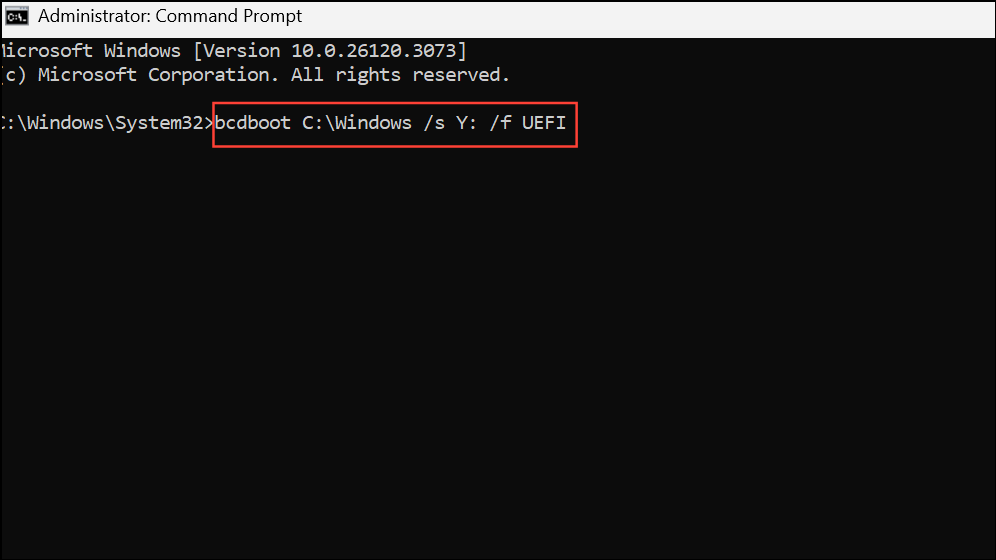
3- Rebuild Boot Files and BCD Store: Execute the following command, replacing C:\Windows with your correct Windows directory if needed: bcdboot C:\Windows /s Y: /f UEFI This copies essential boot files to the EFI partition and generates a new BCD store for UEFI systems.
4- Optional: Run bootrec /rebuildbcd: To scan for additional Windows installations, run this command: bootrec /rebuildbcd
Restart and Test: Reboot your computer and confirm Windows boots successfully.
Method 4: Backing Up and Restoring the BCD
It’s wise to back up your BCD file before making modifications.
1- Open Command Prompt (as administrator): In Windows (if you can boot into it) or WinRE, open an elevated Command Prompt.

2- Back Up the BCD: Use the following command to back up the current BCD store, replacing C:\path\to\backup with your desired backup location: bcdedit /export "C:\path\to\backup\MyBCDEdit.bcd"

3- Restore the BCD: To restore the BCD from a backup, use this command: bcdedit /import "C:\path\to\backup\MyBCDEdit.bcd" This will replace your current BCD with the contents of the backup file.

Conclusion
Rebuilding the BCD in Windows 11 might seem daunting, but it’s a vital skill for any PC user. By following the steps outlined in this guide, you can effectively troubleshoot and resolve boot-related issues caused by a corrupted or missing BCD. Remember to approach these methods with caution, and always back up your data before making significant system changes. With these tools at your disposal, you’ll be well-equipped to handle boot problems and keep your Windows 11 system running smoothly.
And if you'd like to go a step further in supporting us, you can treat us to a virtual coffee ☕️. Thank you for your support ❤️!

We do not support or promote any form of piracy, copyright infringement, or illegal use of software, video content, or digital resources.
Any mention of third-party sites, tools, or platforms is purely for informational purposes. It is the responsibility of each reader to comply with the laws in their country, as well as the terms of use of the services mentioned.
We strongly encourage the use of legal, open-source, or official solutions in a responsible manner.
Comments