Your Windows 11 desktop is your digital workspace, a canvas for your daily tasks. You meticulously arrange your icons, choosing their size, placement, and the overall aesthetic. But what happens when you switch themes, only to find your carefully curated icon arrangement disrupted? Windows 11’s themes, while offering a fresh look, can sometimes wreak havoc on your desktop, altering your cherished icon setup. This guide empowers you to take control, ensuring your desktop icons stay exactly as you want them, regardless of the theme you choose.
Why Control Desktop Icon Changes?
Whether you’re a productivity guru who needs a consistently organized desktop, or a design enthusiast who loves to customize, managing desktop icon behavior is crucial. By preventing unwanted changes, you maintain a tidy workspace, avoid the frustration of rearranged icons, and preserve your personalized setup. This guide offers a range of solutions, from simple settings adjustments to more advanced system configurations, giving you complete control.
Method 1: Adjusting Theme Settings via Desktop Icon Settings
The easiest way to manage how themes interact with your desktop icons is through the Windows 11 Settings app. This method offers a straightforward toggle to enable or disable theme-driven icon changes.
1- Open Settings: Press Win + I to quickly launch the Settings app.
2- Navigate to Personalization and Themes: In the Settings app, select “Personalization” from the left-hand menu, then click “Themes” on the right.
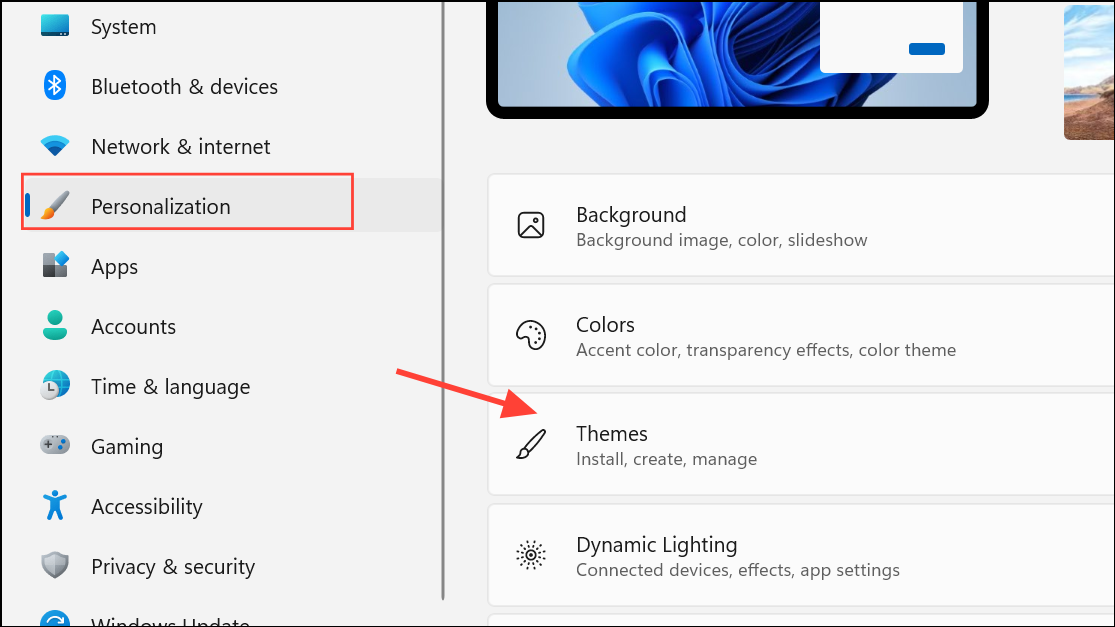
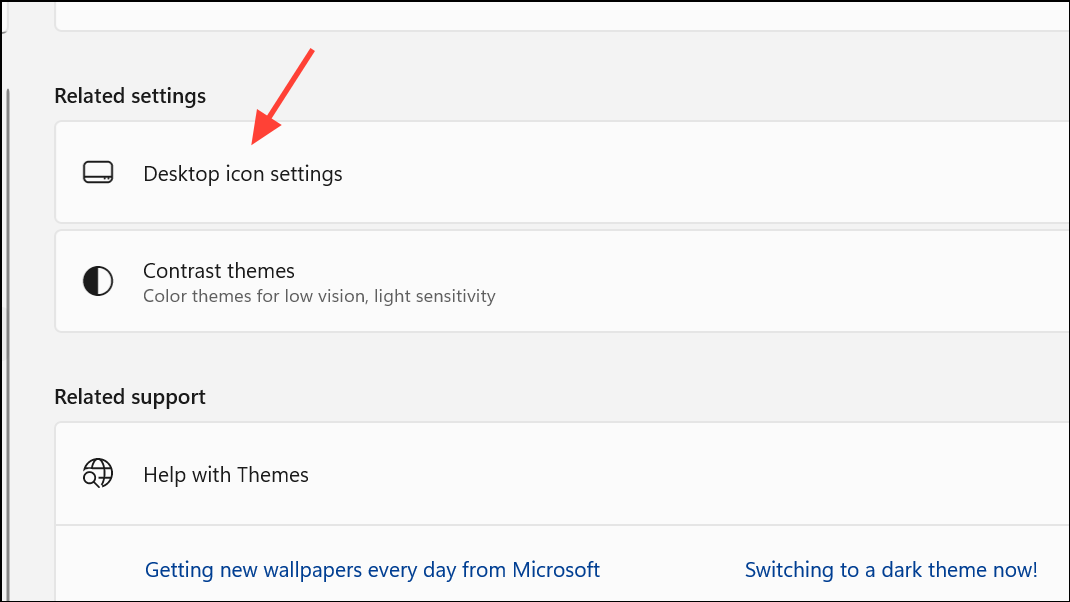
3- Access Desktop Icon Settings: Scroll down within the “Themes” section and find “Related Settings.” Click on “Desktop icon settings.” Alternatively, you can directly open this window by pressing Win + R, typing rundll32.exe shell32.dll,Control_RunDLL desk.cpl,,0 and pressing Enter.
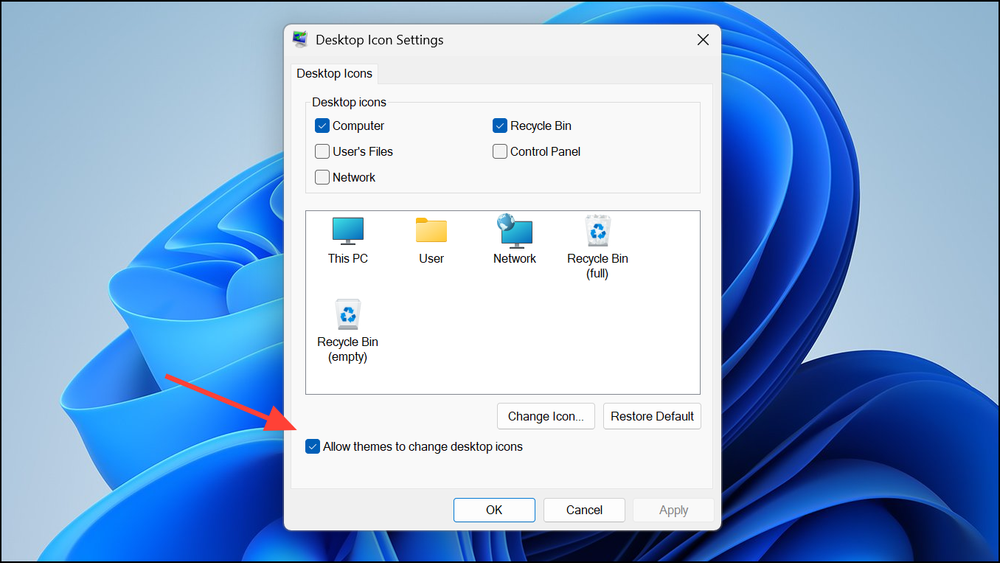
4- Control Icon Changes: In the “Desktop Icon Settings” window, look for the checkbox labeled “Allow themes to change desktop icons.”
- To prevent theme changes: Uncheck this box. This will lock your icons in place, regardless of the active theme.
- To allow theme changes: Check this box. Your desktop icons will update when you change themes.
5- Save Your Settings: Click “OK” to save your choice and close the window.
Method 2: Advanced Control with the Windows Registry
For users comfortable with more advanced system configurations, the Windows Registry offers precise control over theme behavior. This method provides a direct way to enforce your preference for icon changes.
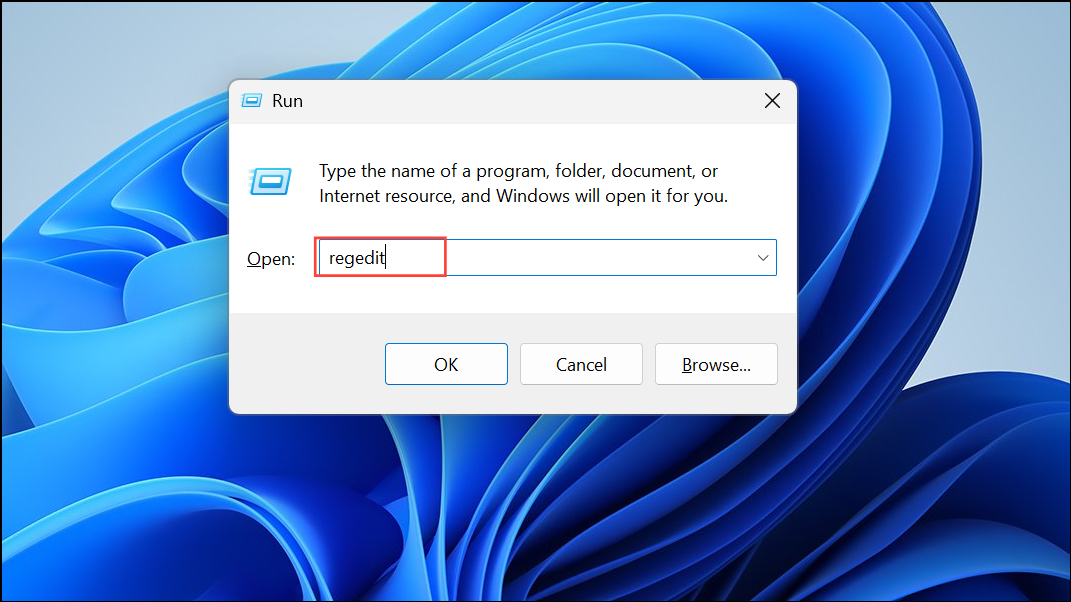
1- Open the Registry Editor: Press Win + R, type regedit, and press Enter. Confirm any User Account Control prompts. Important: Modifying the registry can affect system stability. Back up your registry before making changes.
2- Navigate to the Theme Settings: In the Registry Editor, navigate to the following key: HKEY_CURRENT_USER\Software\Microsoft\Windows\CurrentVersion\Themes
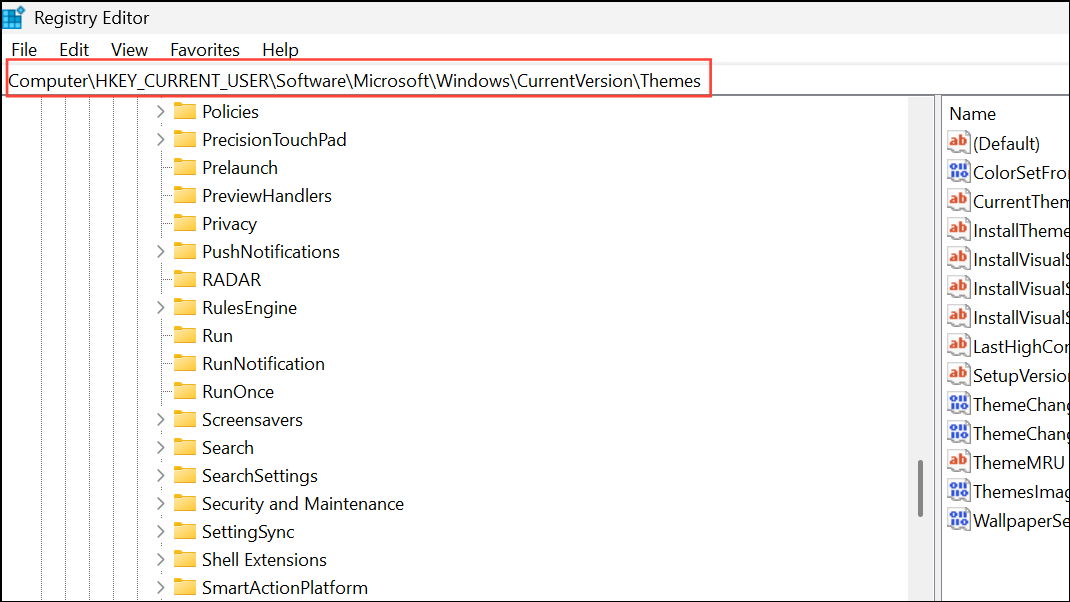
3- Modify or Create the Value: In the right-hand pane, look for a value named ThemeChangesDesktopIcons.
4- If the value exists: Double-click ThemeChangesDesktopIcons to edit its data.
- If the value does not exist: Right-click in the right-hand pane, select “New” > “DWORD (32-bit) Value,” and name it
ThemeChangesDesktopIcons.
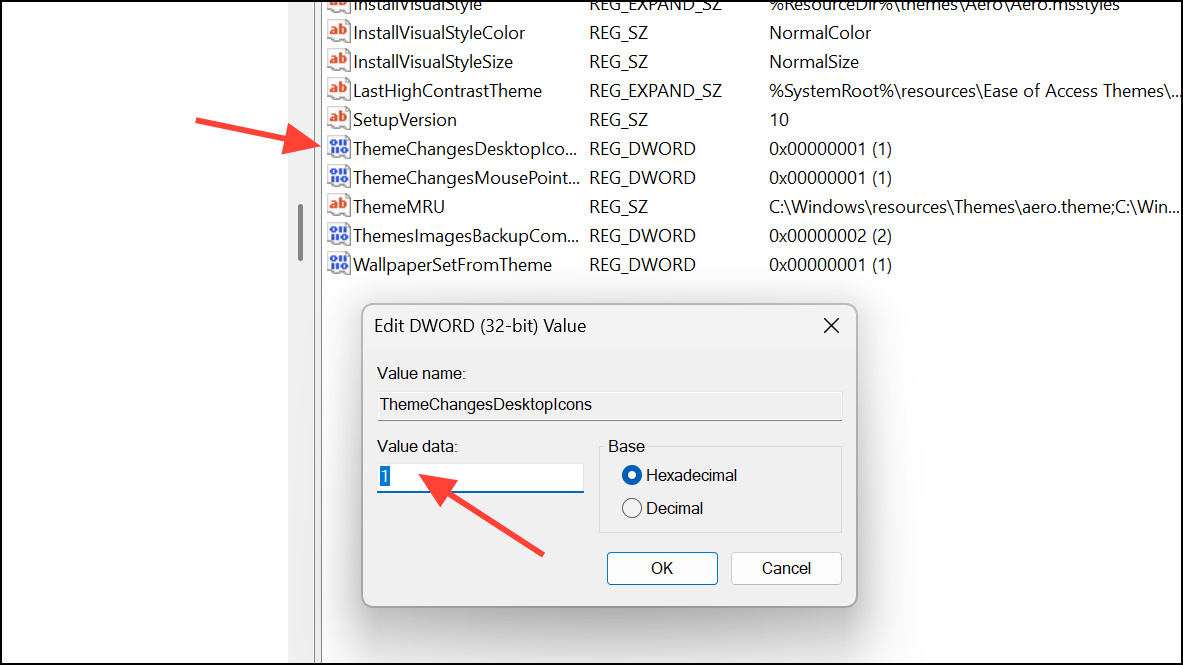
- Set the Value Data: Double-click
ThemeChangesDesktopIconsand set the “Value data” to one of the following:
1: Allows themes to change desktop icons.
0: Prevents themes from changing desktop icons.
5- Apply the Changes: Click “OK,” then close the Registry Editor. Restart your computer for the changes to take effect.
Method 3: Enforcing Icon and Theme Restrictions with Group Policy (For System Administrators)
For system administrators managing multiple users, the Local Group Policy Editor provides a centralized method to control icon and theme changes across all user accounts.
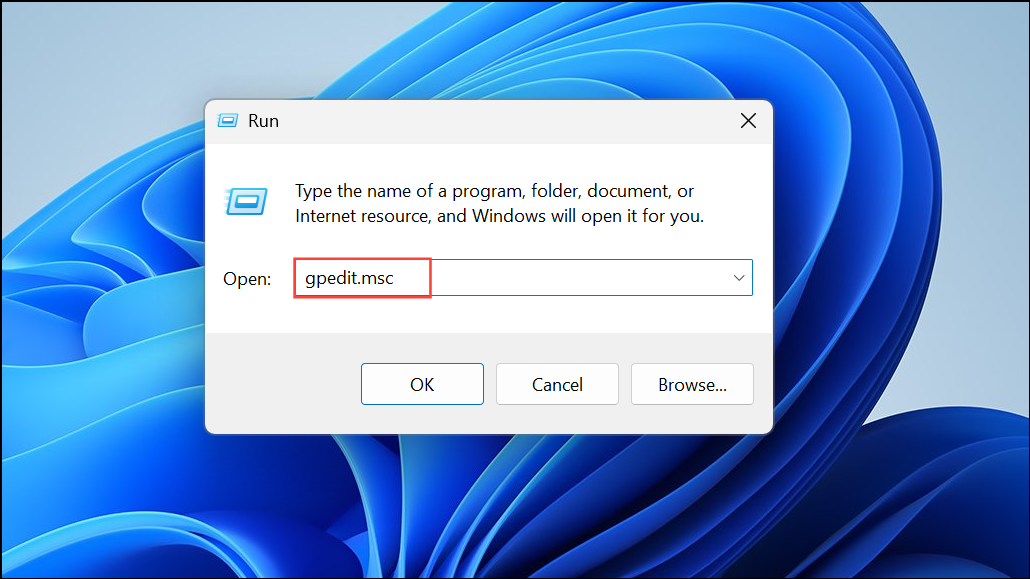
1- Open the Local Group Policy Editor: Press Win + R, type gpedit.msc, and press Enter.
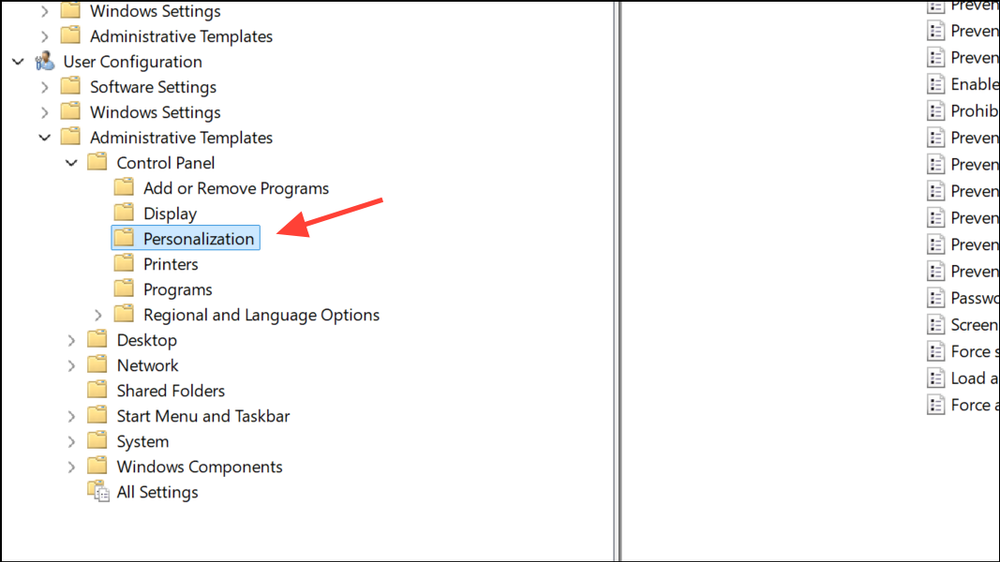
2- Navigate to the Policy Settings: In the Local Group Policy Editor, navigate to: User Configuration > Administrative Templates > Control Panel > Personalization
3- Configure the Policies:
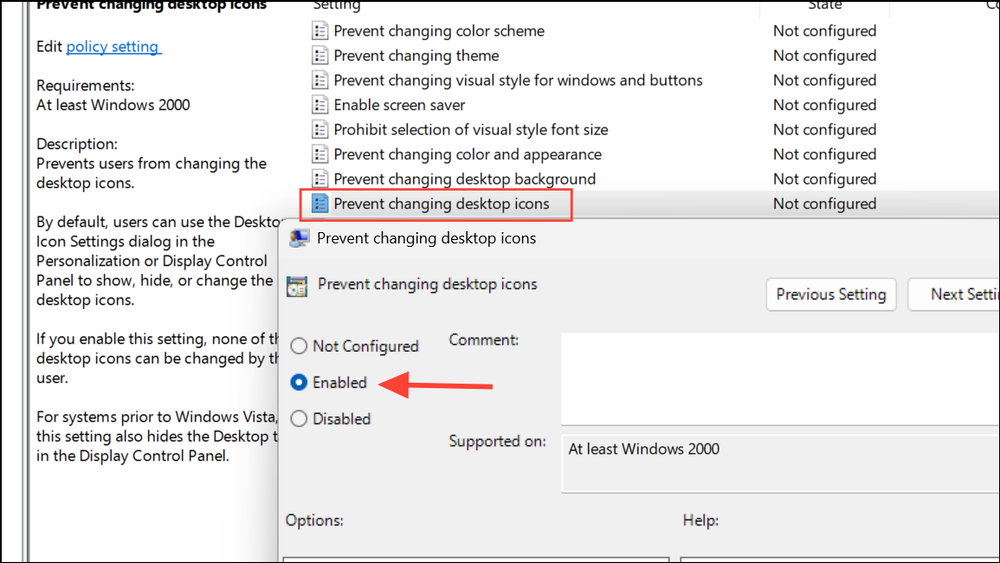
- To prevent desktop icon changes: Double-click “Prevent changing desktop icons,” set it to “Enabled,” and click “OK.”
- To restrict theme changes: Double-click “Prevent changing theme” set it to “Enabled,” and click “OK.”
4- Apply the Changes: Restart the computer for the policy changes to be applied to all users.
Restoring Default Desktop Icons
If a theme has already altered your desktop icons and you want to revert to the original default icons, follow these steps:
1- Access Desktop Icon Settings: Open the “Desktop Icon Settings” as described in Method 1 (Settings > Personalization > Themes > Desktop icon settings).
2- Restore Default Icons: In the “Desktop Icon Settings” window, click the “Restore Default” button. This resets icons like “This PC,” “Recycle Bin,” and “Network” to their default appearances.
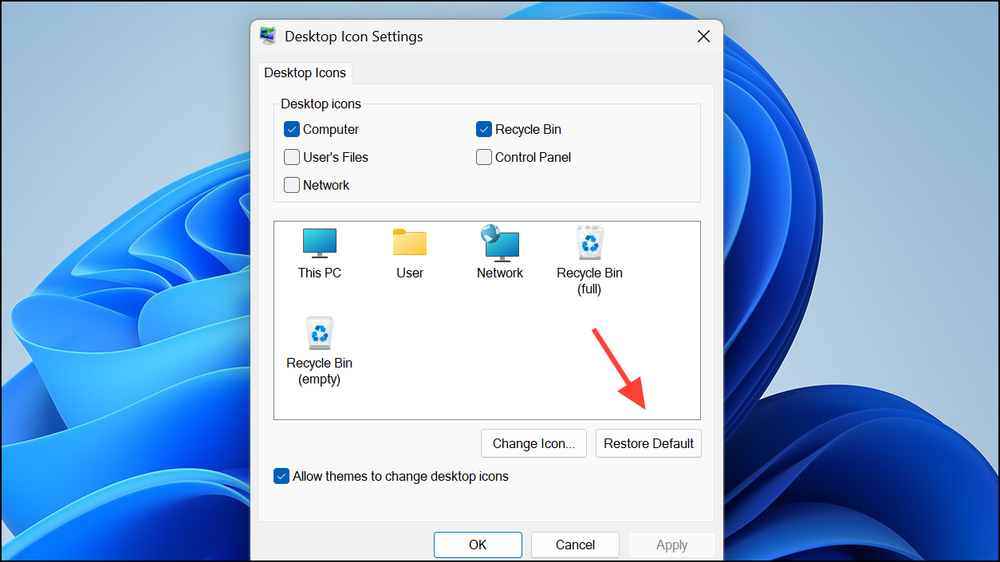
3- Save the Changes: Click “Apply” and then “OK” to save the changes.
Conclusion:
Managing how Windows 11 themes interact with your desktop icons is a key step in customizing your PC experience. By utilizing the methods outlined in this guide, you can effortlessly maintain your preferred icon arrangement, ensuring a clean, organized, and personalized workspace. Whether you’re a casual user or a tech enthusiast, taking control of your desktop’s appearance allows you to tailor your digital environment to your exact needs, enhancing both productivity and enjoyment.
And if you'd like to go a step further in supporting us, you can treat us to a virtual coffee ☕️. Thank you for your support ❤️!

We do not support or promote any form of piracy, copyright infringement, or illegal use of software, video content, or digital resources.
Any mention of third-party sites, tools, or platforms is purely for informational purposes. It is the responsibility of each reader to comply with the laws in their country, as well as the terms of use of the services mentioned.
We strongly encourage the use of legal, open-source, or official solutions in a responsible manner.
Comments