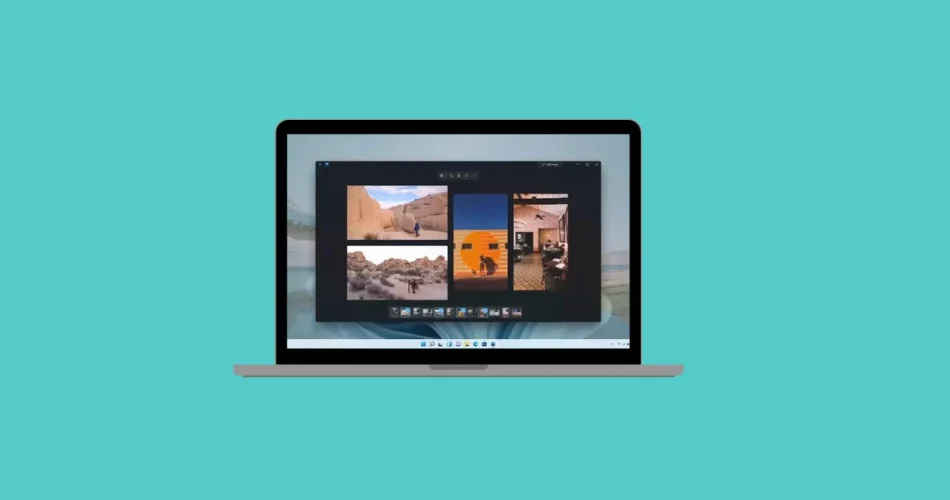
Google Photos still doesn’t offer a native Windows integration, but there’s a reliable workaround that lets you display your entire Google Photos library directly inside the Windows 11 Photos app—without manually downloading images. By routing your photos through Google Drive and syncing them to your PC, Windows can treat them like any other local folder.
This method effectively bridges Google Photos and Windows 11 using tools you already have, giving you seamless access to your cloud images alongside your local and OneDrive photos.
Below is the complete step-by-step guide.
How Google Photos Syncs Into the Windows 11 Photos App
Unlike iCloud Photos, Google Photos does not connect directly to the Windows Photos app. The link works through three layers:
- Google Photos stores your images in the cloud.
- Google Drive exposes your Google Photos library as a folder.
- Google Drive for desktop syncs that folder to your PC so Windows can index it.
Once everything is configured, any new image you add to Google Photos will automatically appear in Google Drive, sync to your computer, and show up in the Windows 11 Photos app—no manual downloads required.
Method 1 — Expose Google Photos as a Folder in Google Drive
Windows cannot read Google Photos directly unless Google Drive is allowed to display them as files. Here’s how to enable that.
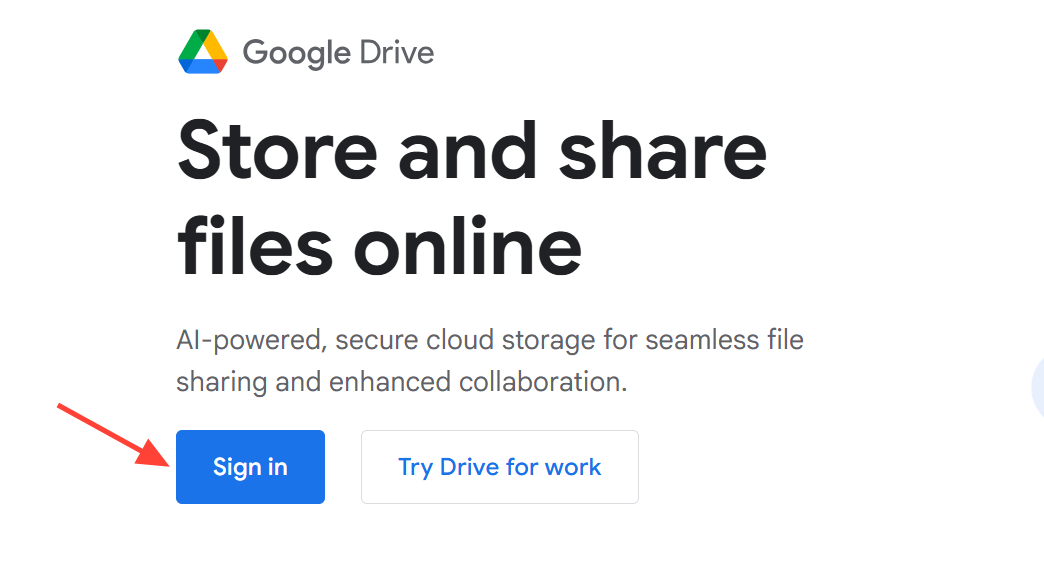
Step 1 — Sign in to Google Drive
Open your browser and go to drive.google.com. Make sure you’re signed in with the same Google Account that contains your Google Photos library.
Step 2 — Open Google Drive Settings
Click the gear icon in the top-right corner of the page.
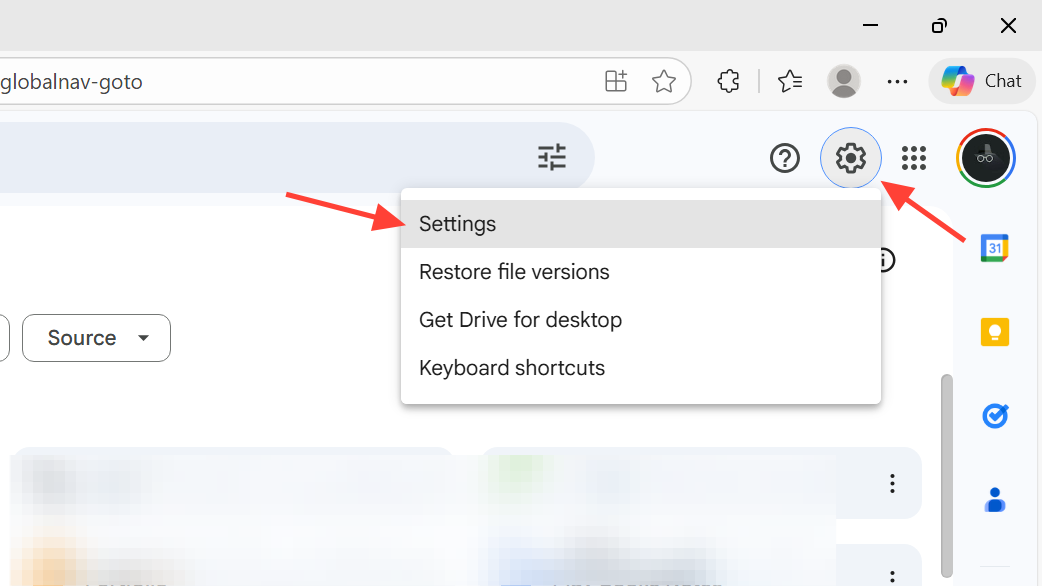
Step 3 — Access the Settings Page
Select Settings from the dropdown menu.
Step 4 — Locate the Google Photos section
Scroll through the general settings until you find the option related to showing Google Photos in Google Drive.
Step 5 — Enable the Google Photos folder
Turn on the option to “Show Google Photos in Google Drive.”
Google will create a dedicated folder that mirrors your Google Photos library.
Step 6 — Return to Drive
Close the settings window. You should now see a Google Photos folder inside your Drive structure, ready for syncing.

Method 2 — Install & Configure Google Drive for Desktop
With the Google Photos folder visible in Drive, you can sync it to Windows using Google Drive for desktop.
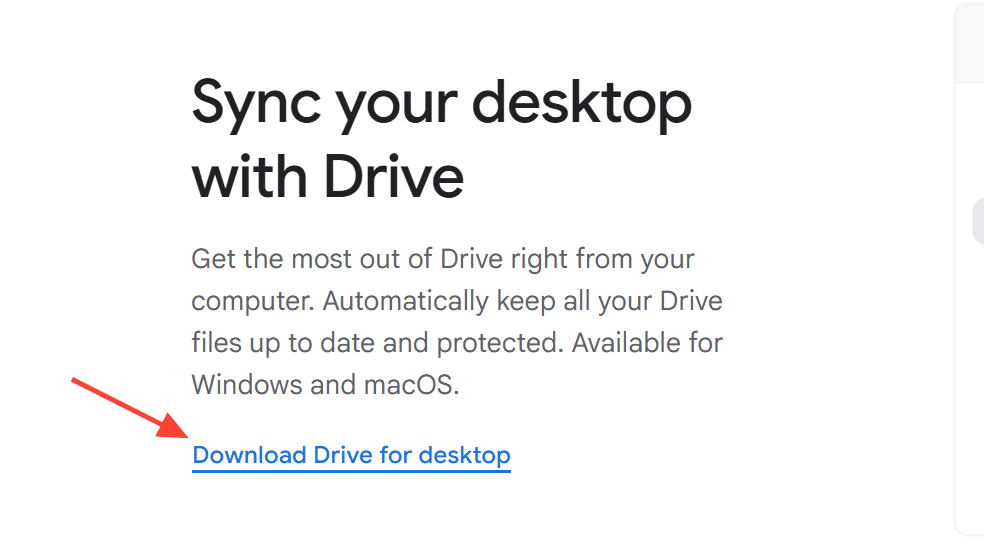
Step 1 — Download Google Drive for Desktop
Go to google.com/drive/download and install the client on your PC.
Step 2 — Sign In
Open the app and sign in with the same Google Account used earlier.
Step 3 — Choose Your Sync Mode
Select how Drive appears on your system—either as a local folder or a mounted drive. Windows just needs to see it as part of the file system.
Step 4 — Find the Google Photos Folder
Make sure the Google Photos folder is included in the folders being synced or streamed to your PC.
Step 5 — Allow Syncing to Finish
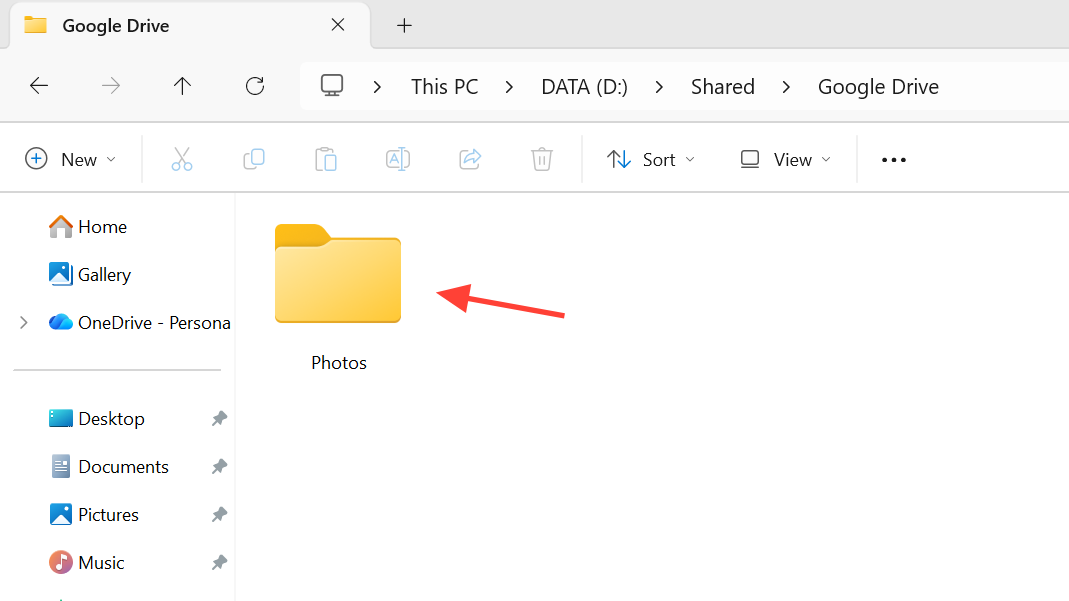
Depending on the size of your library, the initial sync may take time. Once complete, your Google Photos library will exist as a folder on your PC.
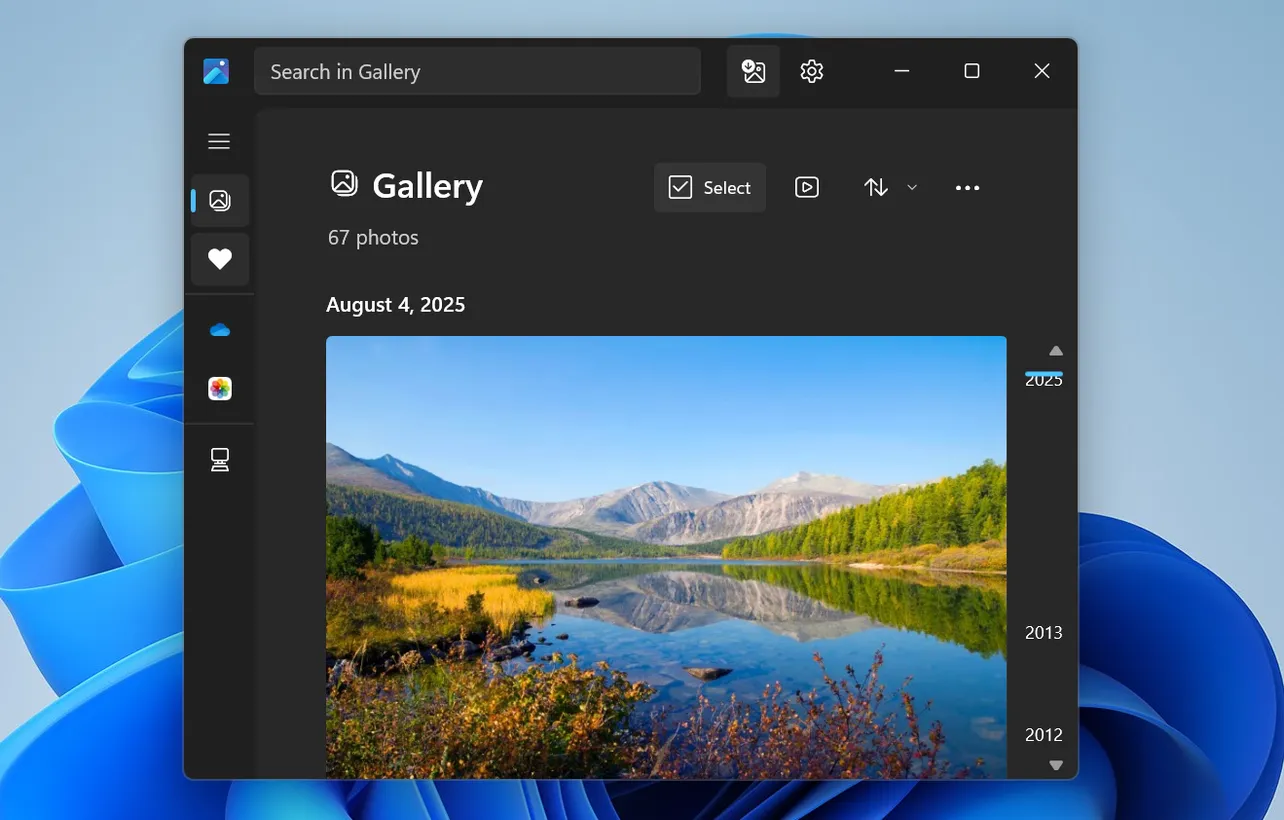
Method 3 — Add Google Photos to the Windows 11 Photos App
Now that your photos are available locally, you can add the folder to the Photos app.
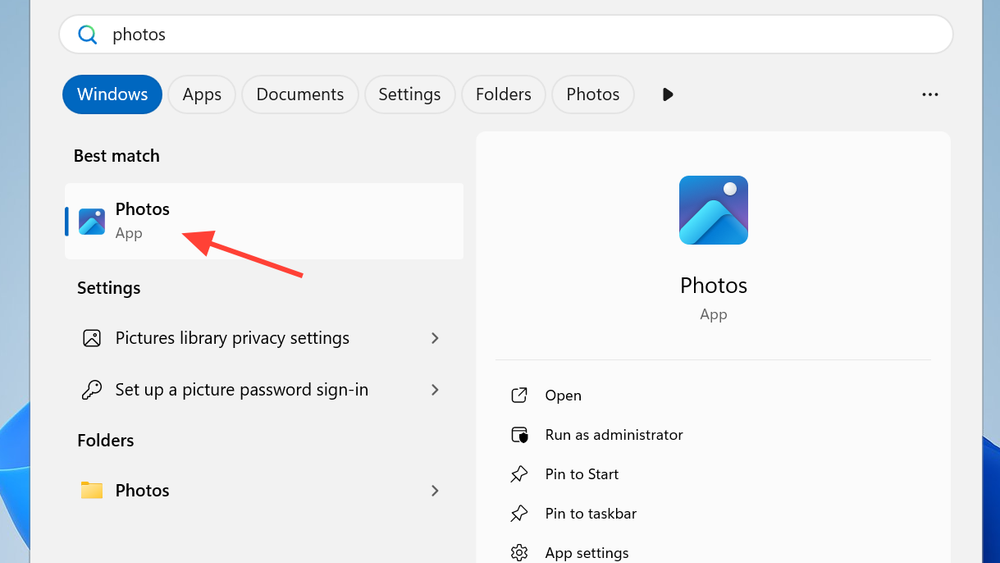
Step 1 — Open the Photos App
Press Start, search Photos, and open the Windows 11 Photos app.
Step 2 — Open Photos Settings
Go to the settings area where you manage photo library folders.
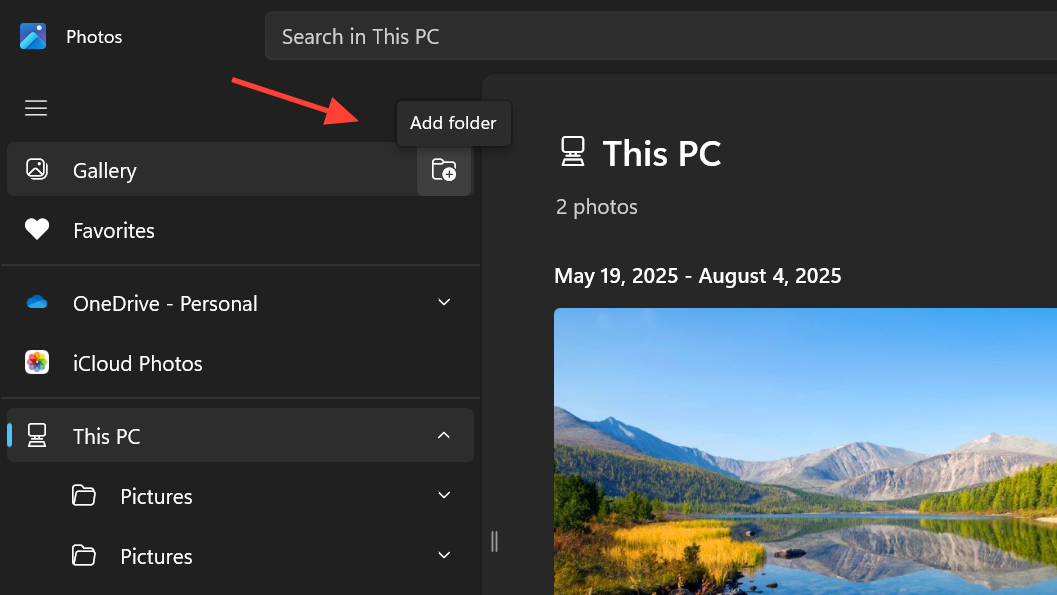
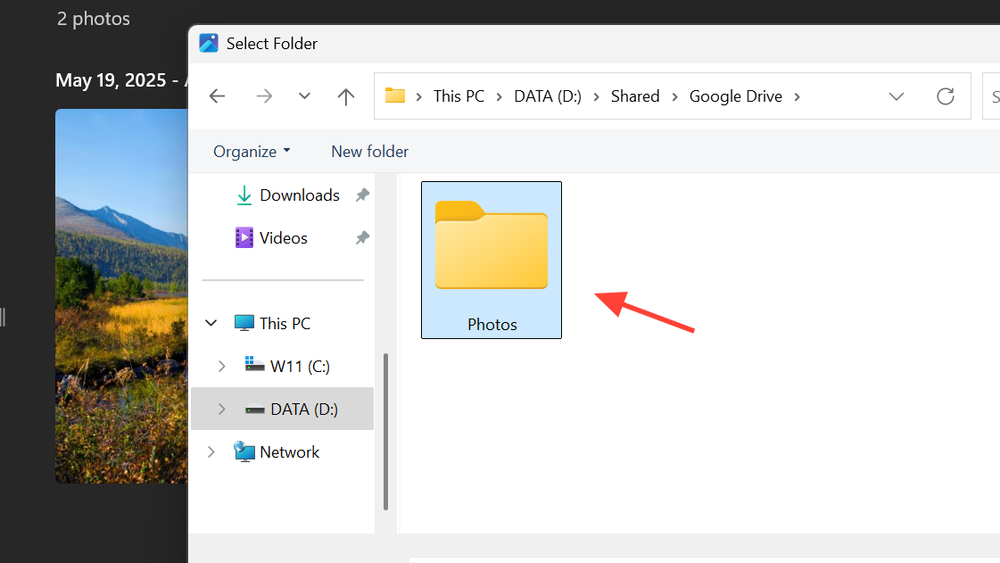
Step 3 — Add a Folder
Choose Add a folder, then browse to the Google Drive–synced location.
Step 4 — Select the Google Photos Folder
Pick the Google Photos folder and confirm your selection.
Step 5 — Wait for Indexing
After adding the folder, the Photos app will begin indexing. Once complete, your images become fully searchable and viewable—just like local photos.
Any new pictures added to Google Photos will automatically sync and appear in the Photos app with no extra steps.
Method 4 — Install Google Photos as a Desktop App (Optional)
If you want quicker access to Google Photos without relying on the Windows Photos app, you can install Google Photos as a Progressive Web App (PWA).
Step 1 — Open Google Photos in a Browser
Go to photos.google.com using Chrome or Microsoft Edge.
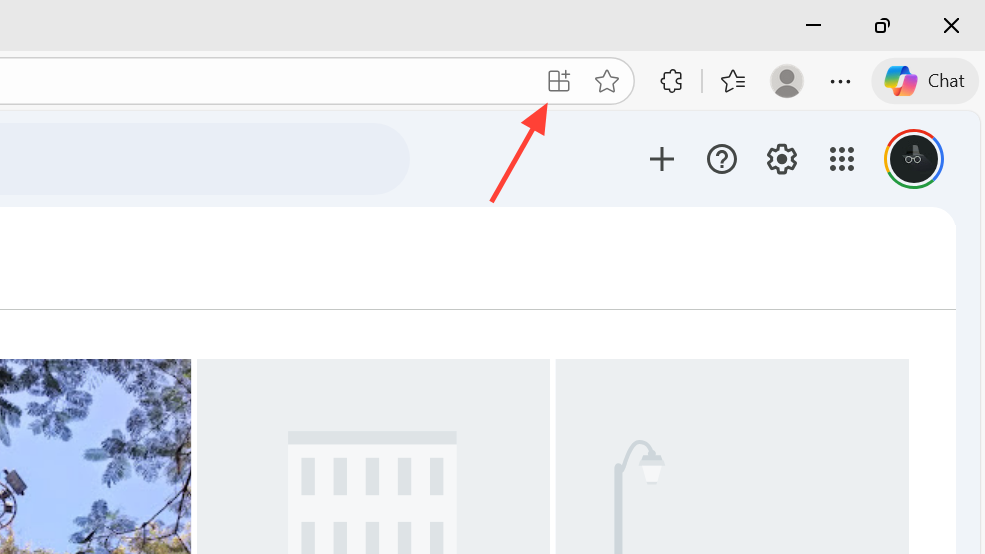
Step 2 — Use the Install App Option
When the install icon appears in the address bar, click it.
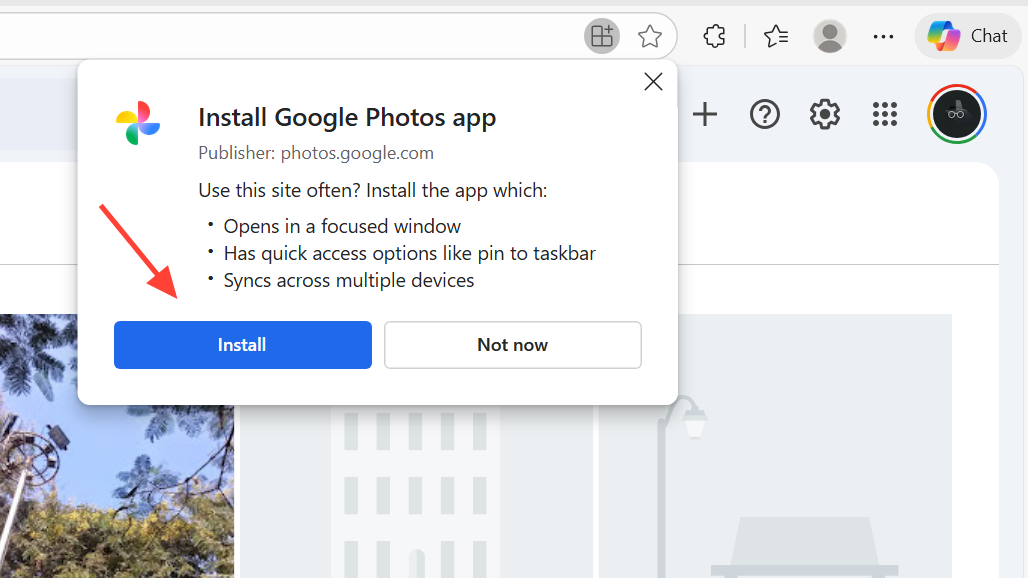
Step 3 — Install the PWA
Confirm installation to create a standalone app window.
Step 4 — Use the Desktop App
The PWA opens in its own window and behaves almost like a native app while using your online library directly.
Step 5 — Uninstall If Needed
Open the app’s menu and select Uninstall. This removes the PWA but does not affect your Google Photos account.
Why Syncing Is Required for Google Photos on Windows 11
Windows 11 Photos is built to work with file-based photo libraries and officially supports OneDrive and iCloud. Google Photos, however, provides no direct Windows integration.
By routing Google Photos → Google Drive → your PC, you’re effectively turning your cloud library into a folder of normal image files. This gives you several advantages:
- Local or offline access to your photos
- Faster browsing compared to loading images from the web
- Compatibility with Windows tools like editing, albums, and search
- Automatic updates with no manual downloads
Once set up, the entire process runs in the background, and your Google Photos library becomes part of your Windows 11 photo ecosystem.
Conclusion:
Although Google Photos doesn’t integrate with Windows 11 out of the box, syncing through Google Drive provides a clean, reliable workaround. After a one-time setup, every new photo you take automatically syncs to your PC and appears in the Photos app without extra steps.
For anyone who uses Google Photos but prefers managing pictures through Windows, this method delivers the best of both worlds—cloud convenience with desktop accessibility.
And if you'd like to go a step further in supporting us, you can treat us to a virtual coffee ☕️. Thank you for your support ❤️!

We do not support or promote any form of piracy, copyright infringement, or illegal use of software, video content, or digital resources.
Any mention of third-party sites, tools, or platforms is purely for informational purposes. It is the responsibility of each reader to comply with the laws in their country, as well as the terms of use of the services mentioned.
We strongly encourage the use of legal, open-source, or official solutions in a responsible manner.
Comments