Is your Windows 11 File Explorer throwing a frustrating “No Such Interface Supported” error? This cryptic message can halt your workflow, preventing you from opening files, launching applications, and even accessing essential system functions. Don’t worry! This comprehensive guide will walk you through proven solutions to diagnose and fix this common Windows 11 problem, restoring your system’s functionality and getting you back on track.
Understanding the “No Such Interface Supported” Error
This error typically arises when there’s a conflict between system files, user profiles, or application components. It can manifest after system updates, registry modifications, or due to damaged Dynamic Link Library (DLL) files that File Explorer and other programs depend on. Luckily, most of these issues can be resolved with a series of straightforward troubleshooting steps.
Troubleshooting Steps to Resolve the “No Such Interface Supported” Error
Here’s a detailed, step-by-step guide to fixing the “No Such Interface Supported” error:
1. Repair or Reset the Affected Application
If the error appears when opening specific files or applications like Microsoft Photos, Media Player, or third-party viewers, the problem might lie within that app. Try repairing or resetting it:
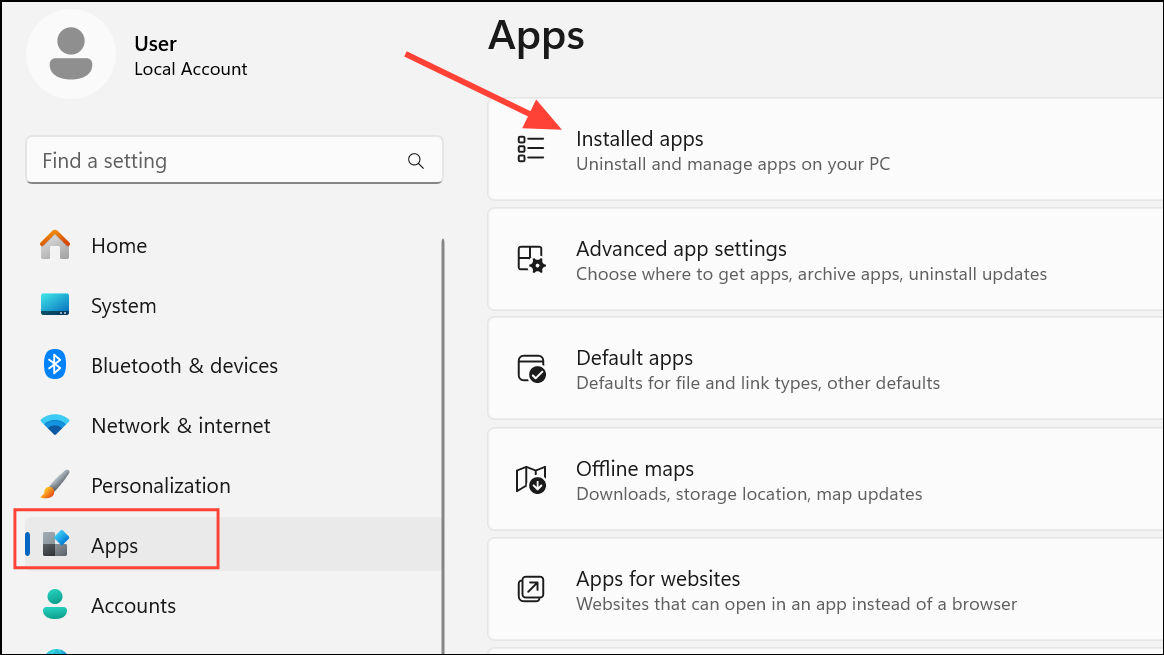
Step 1: Open the Windows Settings app (Windows key + I).
Step 2: Click on “Apps” and then “Installed apps” or “Apps & features”.
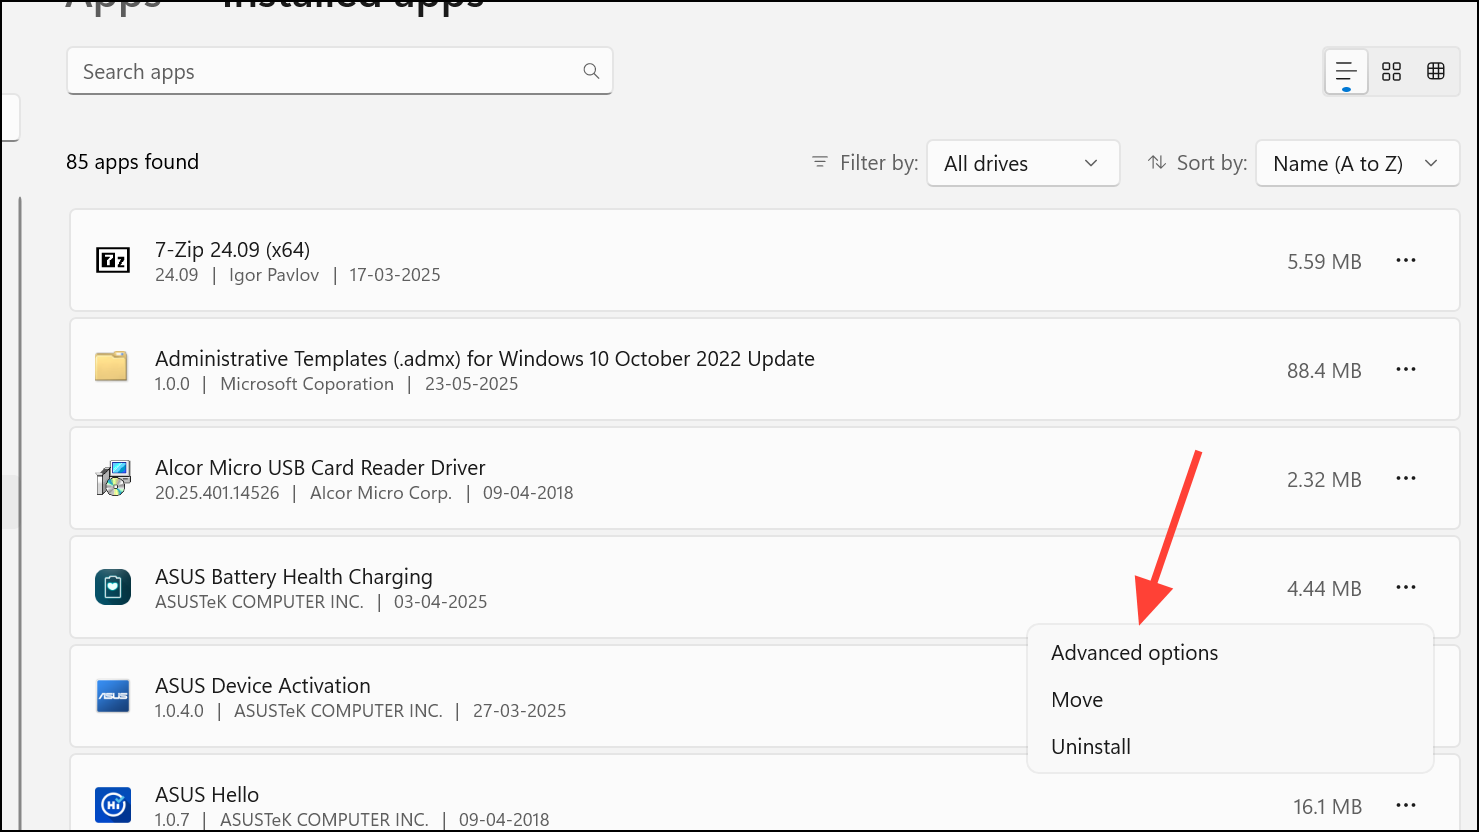
Step 3: Locate the problematic app, click the three-dot menu (or select the app) and choose “Advanced options.”
Step 4: In the “Reset” section, first try “Repair.” If the issue persists, use “Reset,” which will restore the app to its default settings.
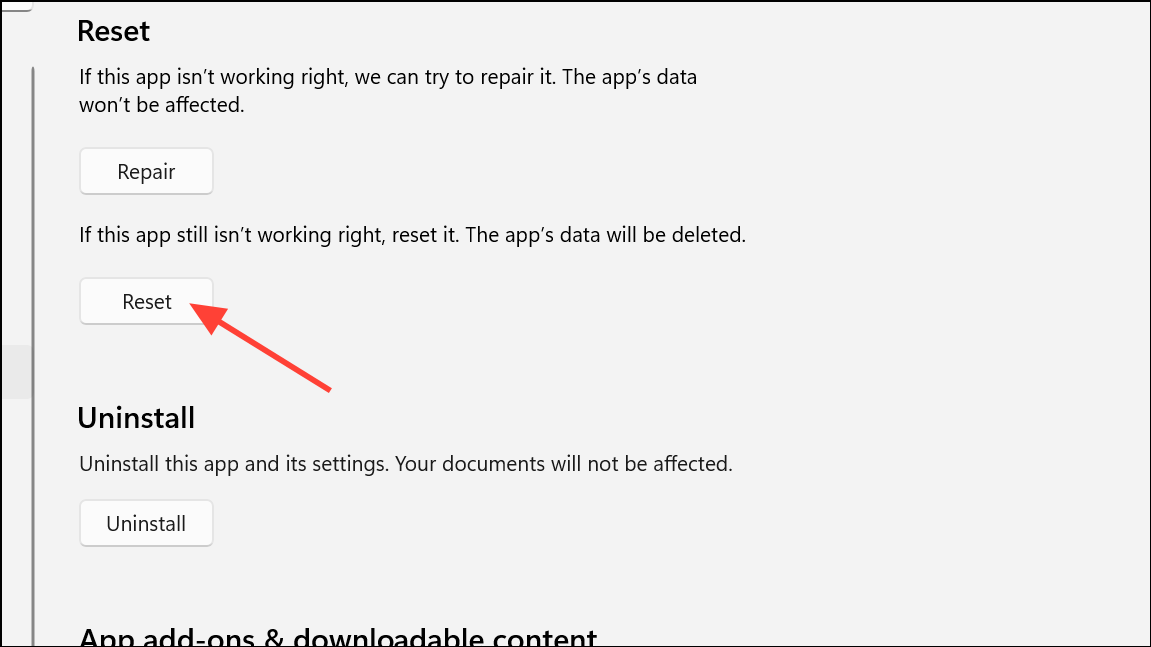
Step 5: Restart your computer and test the app again. If the error persists, consider uninstalling and reinstalling the latest version from its official source.
2. Run System File Checker (SFC) to Repair Corrupted System Files
Corrupted or missing system files can wreak havoc on Windows interfaces. The System File Checker tool can scan and repair these files:
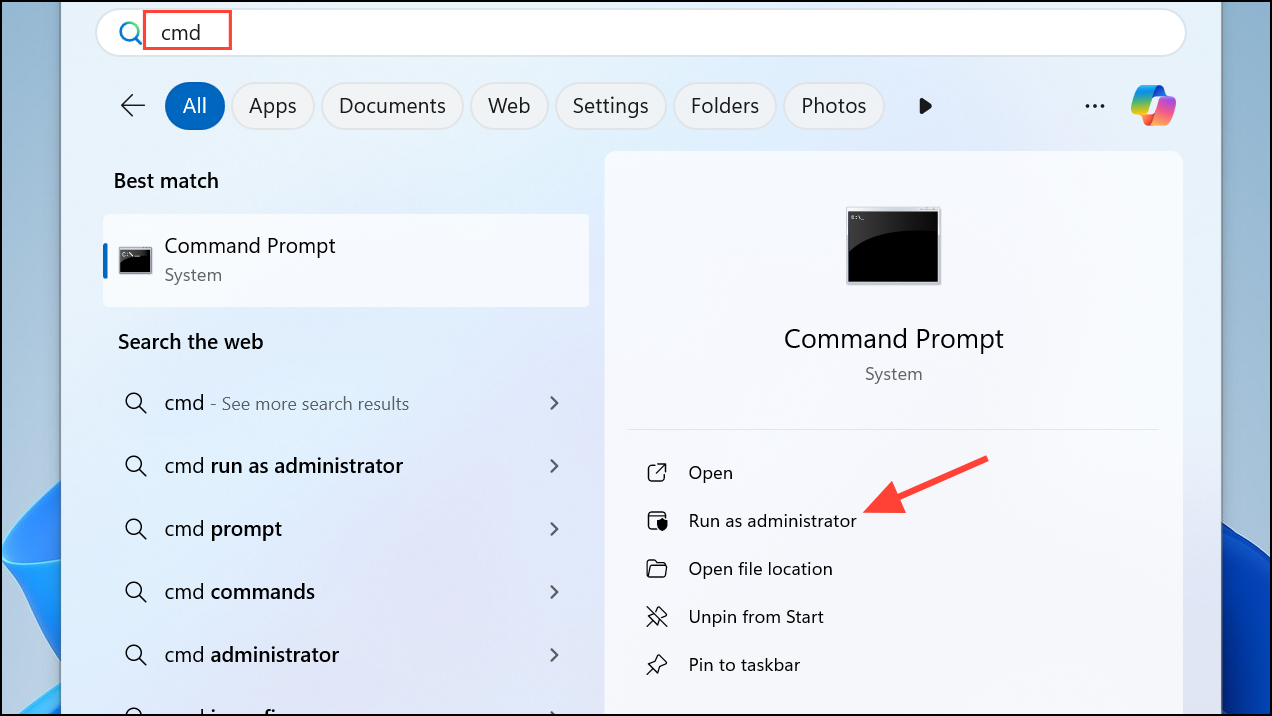
Step 1: Search for “cmd” in the Windows search bar, right-click “Command Prompt,” and choose “Run as administrator.”
Step 2: In the Command Prompt window, type sfc /scannow and press Enter.
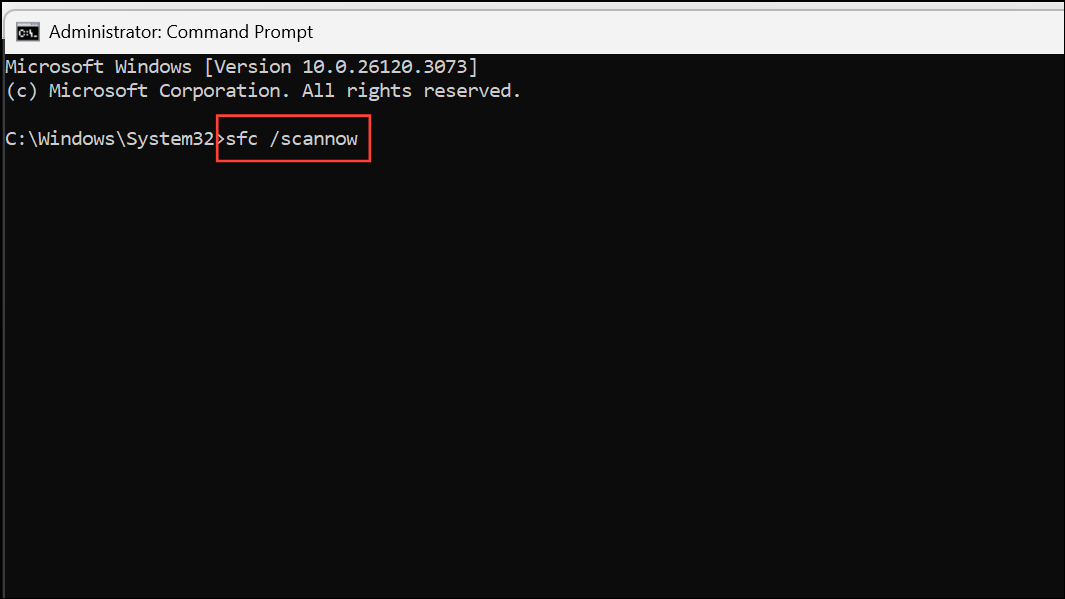
Wait for the scan to complete. It will automatically repair any detected corruption. Restart your computer afterward.
3. Re-Register DLL Files Required by File Explorer
File Explorer relies on DLL files for proper functioning. Re-registering these can sometimes resolve interface errors:
Step 1: Open Command Prompt as an administrator (as described above).
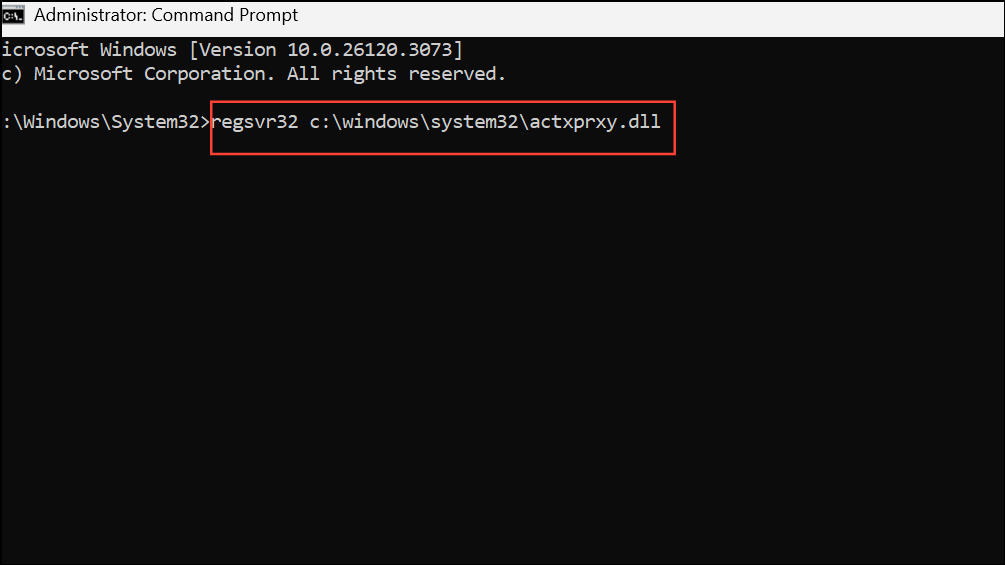
Step 2: To register the main DLL, type regsvr32 c:\windows\system32\actxprxy.dll and press Enter.
Step 3: If the problem continues, you can re-register all DLL files within the system directory by running: FOR /R C:\ %G IN (*.dll) DO "%systemroot%\system32\regsvr32.exe" /s "%G"
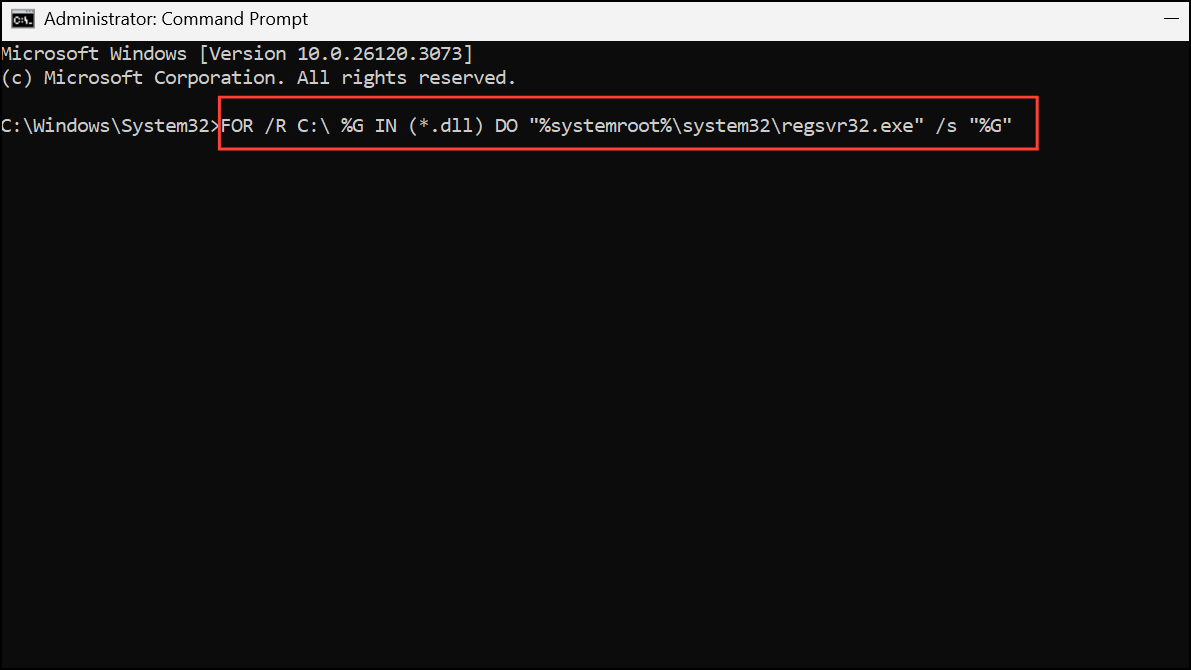
Important: This can take a while. Restart your computer after completion.
Caution: It is wise to back up your system before bulk DLL registration.
4. Try Opening Files from the Desktop or Directly Within Applications
Sometimes, the error appears only when opening files from specific locations in File Explorer. Test a workaround:
Step 1: Move the problematic file to your desktop.
Step 2: Double-click the file on the desktop or use the application’s “Open” menu to browse and select it.
If the file opens from the desktop, the problem is likely with File Explorer or the original folder’s settings.
5. Check and Repair Disk Errors Using CHKDSK
Disk errors can interfere with file access and system operations. Use the Check Disk utility:
Step 1: Open Command Prompt as an administrator.
Step 2: Type chkdsk C: /r /v (replace “C:” with your system drive letter if different) and press Enter.
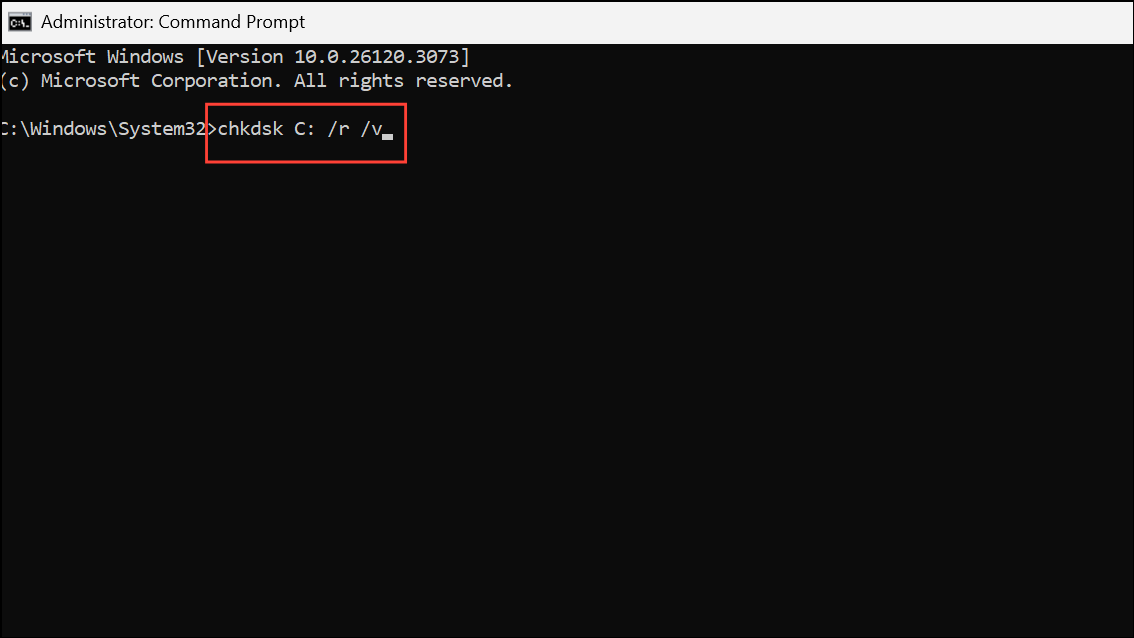
Step 3: If prompted to schedule the scan at the next restart, type “Y” and press Enter. Restart your computer.
6. Create a New User Profile to Rule Out Account Corruption
User profile corruption can cause this error. Create a new user account to test:
Step 1: Open Settings and go to “Accounts” > “Other users.”
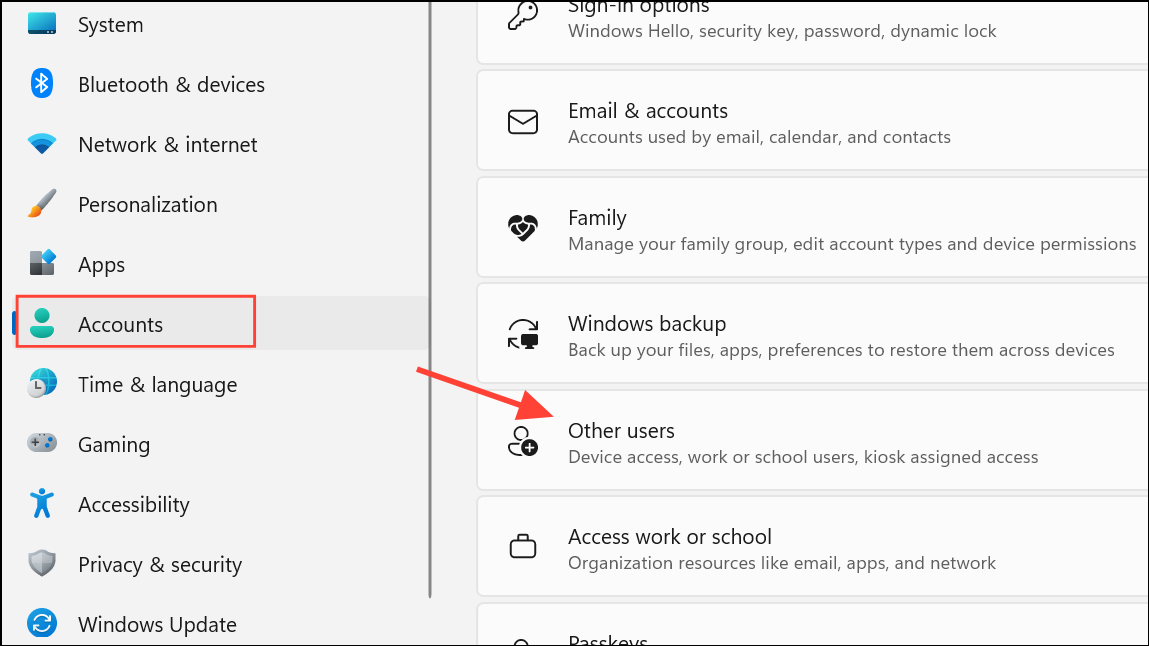
Step 2: Click “Add account” and create a new local or Microsoft account.

Step 3: Sign in with the new account and test the apps/files that were giving issues. If it works, your original profile might be corrupted.
Additional Tips for Prevention and Maintenance
- Keep Windows and apps updated: Install the latest updates to patch bugs.
- Run regular malware scans: Malicious software can corrupt system files.
- Back up important data: Before making significant system changes.
- Consider System Restore: If the problem started recently, use System Restore to revert to a previous state.
- Repair Install Windows 11: If none of the above steps work, consider a repair install of Windows 11.
Conclusion:
The “No Such Interface Supported” error can be a real headache, but with these troubleshooting steps, you’re well-equipped to diagnose and fix the issue. By systematically working through these solutions, you’ll be able to restore your File Explorer’s functionality and ensure your Windows 11 system runs smoothly. Don’t let this error disrupt your workflow; take action and reclaim your computing experience today! If problems persist, seeking help from Microsoft support may be your next best step.
And if you'd like to go a step further in supporting us, you can treat us to a virtual coffee ☕️. Thank you for your support ❤️!

We do not support or promote any form of piracy, copyright infringement, or illegal use of software, video content, or digital resources.
Any mention of third-party sites, tools, or platforms is purely for informational purposes. It is the responsibility of each reader to comply with the laws in their country, as well as the terms of use of the services mentioned.
We strongly encourage the use of legal, open-source, or official solutions in a responsible manner.
Comments