If you’ve noticed Event ID 7043 in your Windows 11 Event Viewer stating that “The Windows Security Service did not shut down properly after receiving a pre-shutdown control”, you’re not alone. This issue typically means the Windows Security Service (Security Center) failed to terminate correctly during shutdown or restart. While it might seem minor, it can delay shutdowns, cause reliability warnings, and even affect third-party software that depends on the Security Service.
This guide walks you through proven methods to resolve the problem and restore smooth, reliable shutdowns on your Windows 11 PC.
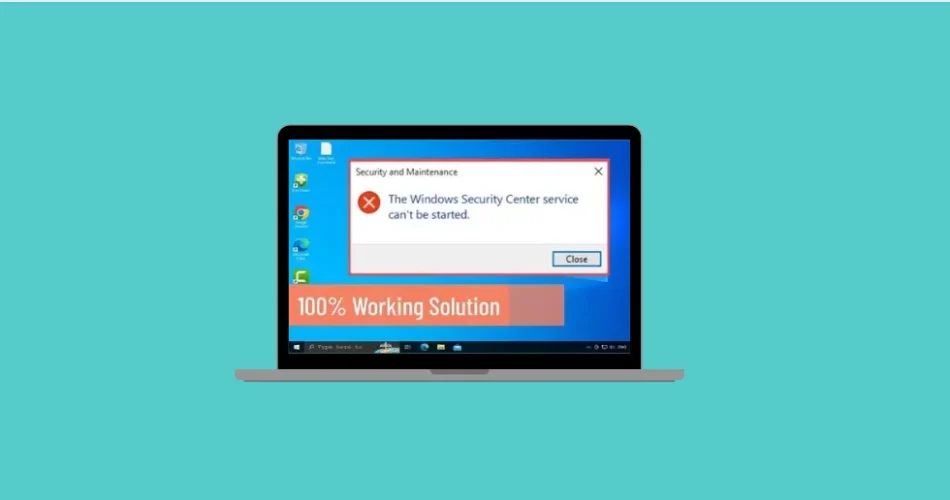
1. Restart the Windows Security Service
Restarting the Security Center service can often clear temporary conflicts preventing it from shutting down correctly.
Step 1: Press Win + R, type services.msc, and hit Enter to open the Services console.

Step 2: Locate Security Center in the list, right-click it, and select Restart.

Step 3: If the service isn’t running, right-click it again, choose Properties, set Startup type to Automatic, then click Start > Apply > OK.


Step 4: Repeat this for related services such as:
- Windows Defender Antivirus Service
- Windows Event Log
- Windows Management Instrumentation (WMI)
Restarting these ensures all dependent components are properly synchronized.
2. Reset the Windows Security App
Corrupted data in the Windows Security app can prevent clean shutdowns. Resetting the app restores its default configuration without deleting your personal files.
Method 1 – via Settings
1- Press Win + I to open Settings.
2- Navigate to Apps > Installed Apps.

3- Find Windows Security, click the three-dot menu, and choose Advanced options.
4- Scroll down and click Reset, then confirm.
Method 2 – via PowerShell
Open PowerShell as Administrator and run:
Get-AppxPackage Microsoft.SecHealthUI | Reset-AppxPackage

For all users, use:
Get-AppxPackage Microsoft.SecHealthUI -AllUsers | Reset-AppxPackage

Restart your PC after resetting.
3. Run a Full Antivirus and Malware Scan
Malware infections or conflicting third-party antivirus tools can block Windows Security from shutting down properly.
Step 1: Open Windows Security from the Start Menu.

Step 2: Go to Virus & threat protection > Scan options.

Step 3: Select Microsoft Defender Antivirus (offline scan) and click Scan now.

This deep scan runs before Windows loads, removing persistent threats. If you use another antivirus program, run its full system scan as well.
4. Repair System Files Using SFC and DISM
System file corruption often causes services to malfunction. The System File Checker (SFC) and Deployment Imaging Servicing and Management (DISM) tools can automatically fix these issues.
Step 1: Open Command Prompt as administrator.

Step 2: Type:
sfc /scannow

Let the scan complete. If SFC cannot repair everything, continue with:
DISM /Online /Cleanup-Image /RestoreHealth

Restart once the repairs finish to apply fixes.
5. Perform a Clean Boot to Identify Conflicting Software
If background applications interfere with the Windows Security Service, a clean boot can help isolate the culprit.
Step 1: Press Win + R, type msconfig, and press Enter.

Step 2: Under the General tab, choose Selective startup and uncheck Load startup items.

Step 3: Go to the Services tab, check Hide all Microsoft services, then click Disable all.

Step 4: Open the Startup tab and click Open Task Manager. Disable all startup items.

Step 5: Restart your PC.
If the problem disappears, re-enable items one by one to find the conflicting software.
6. Check Group Policy and Registry Settings
Incorrect policy or registry configurations can prevent the Security Center from starting or stopping properly.
Using Group Policy Editor
1- Press Win + R, type gpedit.msc, and press Enter.

2- Navigate to:Computer Configuration > Administrative Templates > Windows Components > Security Center
3- Ensure Turn Off Security Center is set to Not Configured or Disabled.
Using Registry Editor
1- Press Win + R, type regedit, and press Enter.

2- Backup your registry before editing.
3- Navigate to:
HKEY_LOCAL_MACHINE\SOFTWARE\Policies\Microsoft\Windows Security Center
- Check the Start value — it should be set to 2 (Automatic).
- Close the editor and restart your system.
7. Repair or Reinstall Windows Security Components
If none of the above solutions work, performing a repair install (in-place upgrade) of Windows 11 can fix deep system corruption without deleting your files or applications.
Steps:
- Download the latest Windows 11 installation media from Microsoft’s official website.
- Run the Setup.exe file and select Upgrade this PC now.
- When prompted, choose to keep personal files and apps.
This reinstalls Windows core components and resets built-in security services. Most users report that this step permanently resolves persistent shutdown and service issues.
Conclusion
Event ID 7043 indicates a problem with the Windows Security Service not shutting down properly — but it’s entirely fixable. By restarting key services, repairing corrupted files, scanning for malware, and adjusting policy settings, you can restore smooth system shutdowns and maintain optimal security performance.
To prevent future issues, keep Windows updated, avoid conflicting antivirus software, and run regular system scans to ensure stability and protection.
And if you'd like to go a step further in supporting us, you can treat us to a virtual coffee ☕️. Thank you for your support ❤️!

We do not support or promote any form of piracy, copyright infringement, or illegal use of software, video content, or digital resources.
Any mention of third-party sites, tools, or platforms is purely for informational purposes. It is the responsibility of each reader to comply with the laws in their country, as well as the terms of use of the services mentioned.
We strongly encourage the use of legal, open-source, or official solutions in a responsible manner.
Comments