
Is your Windows 11 system stubbornly refusing to let go of your USB drive or external hard drive? That frustrating message, “Windows can’t stop your device because a program is still using it,” can be a real productivity killer, interrupting file transfers and leaving you feeling helpless. This guide provides a comprehensive, step-by-step solution to conquer this common Windows 11 issue and ensure you can safely remove your external storage every time. Say goodbye to data corruption worries and hello to seamless device ejection!
Why Can’t I Eject My USB Drive? Understanding the Culprit
The “Windows can’t stop your device” error usually stems from processes actively using files on your external drive. These can be anything from hidden background tasks, indexing services, or even simple file explorer windows. Fortunately, Windows 11 offers several tools and settings to identify and resolve these conflicts, allowing you to safely eject your drive.
Step-by-Step Solutions to the Eject USB Error
1. Unmasking Hidden Processes: Using Resource Monitor
The Resource Monitor provides a real-time look at your system’s resource usage. It’s the perfect starting point to identify processes holding onto your drive.
Step 1: Open Resource Monitor: Press the Windows key, type resmon.exe, and hit Enter.

Step 2: Navigate to the CPU tab: Click on the CPU tab within the Resource Monitor window.

Step 3: Search for your Drive: In the “Associated Handles” search box, type your drive letter (e.g., D:\). Resource Monitor will reveal any processes actively using the drive.
Step 4: Terminate the offending processes: Open Task Manager (Ctrl + Shift + Esc), locate the processes identified in Resource Monitor, right-click them, and select “End Task.” This releases the drive.

2. A User-Friendly Approach: PowerToys File Locksmith
Microsoft PowerToys offers a convenient File Locksmith utility, simplifying process identification and termination.
Step 1: Install PowerToys: Download and install PowerToys from the official Microsoft website. Enable the File Locksmith utility within PowerToys.
Step 2: Right-click your drive: In File Explorer, right-click your external drive, choose “Show more options,” and select “What’s using this file?” via File Locksmith.

Step 3: Terminate processes: File Locksmith will display the processes accessing the drive. Select them and terminate them as prompted. Try ejecting the drive again.
Alternative: Sysinternals Process Explorer
As an alternative to File Locksmith, you can utilize Sysinternals Process Explorer. Launch the tool, press Ctrl + F, and enter your drive letter or path. Close any listed handles to release the drive.
3. Taming Windows Services: Disable Indexing & Recycle Bin
Windows Search indexing and the Recycle Bin can sometimes prevent ejection.
- Step 1: Disable Drive Indexing: Right-click your external drive in File Explorer, select “Properties,” and uncheck “Allow files on this drive to have contents indexed.”
- Step 2: Disable Recycle Bin: Right-click the Recycle Bin icon, select “Properties,” choose your external drive, and select “Don’t move files to the Recycle Bin. Remove files immediately when deleted.”
4. Ensuring Driver Compatibility: Update USB and Chipset Drivers
Outdated drivers can cause ejection issues.
Step 1: Open Device Manager: Press Windows + X and select “Device Manager.” Expand “Disk drives” and “Universal Serial Bus controllers.”

Step 2: Update Drivers: Right-click your external drive and each USB controller. Select “Update driver” and allow Windows to automatically search for updates. Also, check your motherboard or laptop manufacturer’s website for the latest chipset and USB drivers.
5. Optimize for Removal: Set Drive Policy to Quick Removal
The “Quick Removal” policy prioritizes safe ejection over performance.
- Step 1: Open Device Manager: As in step 4.
- Step 2: Access Drive Properties: Right-click your external drive, select “Properties,” and go to the “Policies” tab.
- Step 3: Select “Quick Removal”: Ensure “Quick removal (default)” is selected.
6. Last Resort: Taking the Drive Offline in Disk Management
If standard ejection fails, Disk Management offers a safe alternative.
Step 1: Open Disk Management: Press Windows + R, type diskmgmt.msc, and press Enter.
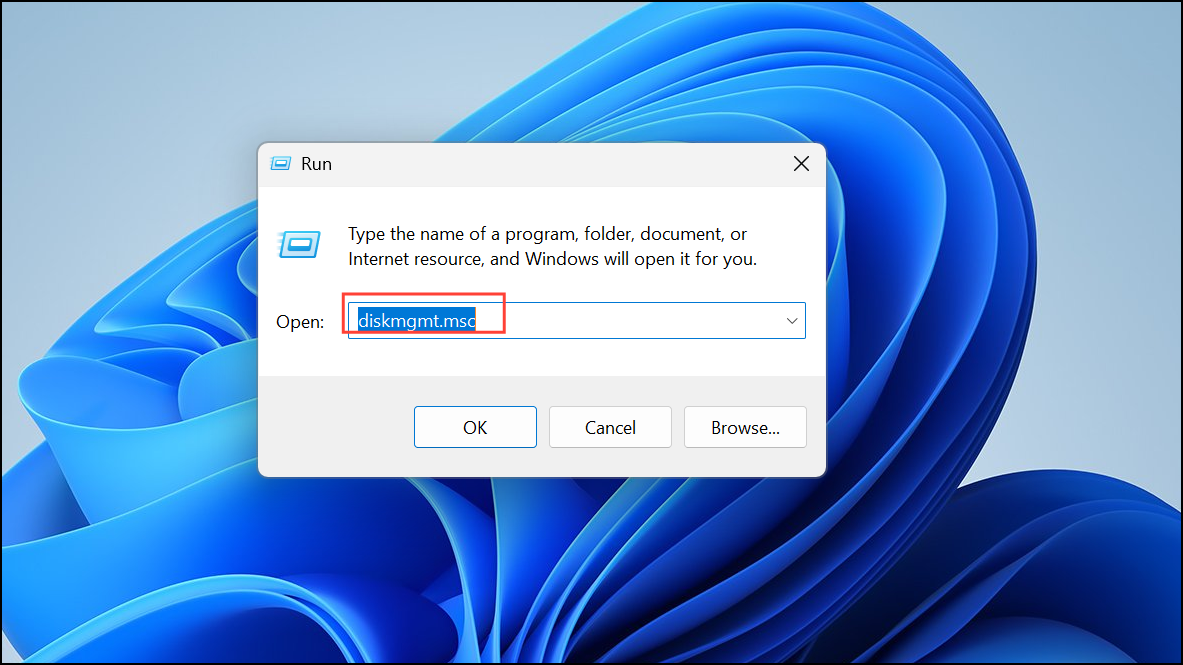
Step 2: Take the Drive Offline: Locate your external drive, right-click it, and select “Offline.” You can now safely disconnect the device.
7. Temporary Measures: Disable Antivirus and Backup Software
Antivirus programs and backup software often scan or monitor external drives.
- Step 1: Disable Protection: Temporarily disable real-time protection or scheduled scans for your external drive within your antivirus settings.
- Step 2: Close Backup Software: Close any backup software running in the background.
8. Emergency Exit: Restart or Shut Down
As a last resort, restarting or shutting down your PC will close all processes and release the drive. After shutdown, you can safely unplug the device.
Conclusion:
By implementing these troubleshooting steps, you can overcome the frustrating “can’t eject USB or external drive” error in Windows 11 and regain control over your external storage devices. From identifying hidden processes to adjusting system settings and updating drivers, these solutions provide a comprehensive approach to safe and reliable device removal. Follow these steps and enjoy the peace of mind that comes with knowing your data is protected and your devices are always ready for safe and swift ejection.
And if you'd like to go a step further in supporting us, you can treat us to a virtual coffee ☕️. Thank you for your support ❤️!

We do not support or promote any form of piracy, copyright infringement, or illegal use of software, video content, or digital resources.
Any mention of third-party sites, tools, or platforms is purely for informational purposes. It is the responsibility of each reader to comply with the laws in their country, as well as the terms of use of the services mentioned.
We strongly encourage the use of legal, open-source, or official solutions in a responsible manner.
Was having same issue ejecting USB drives in Win 11, but couldn’t figure out what app was using them. Today, after a cold boot, before launching any apps, I could eject both a 2 GB USB stick (USB2) and an 800 GB external HDD (USB3) with no problems.
A while later, I couldn’t eject either of them. The only app that was used to access both drives was Win 11’s new Notepad. New Notepad has settings (click gear icon in upper right corner) such as “When Notepad starts”, “Recent files”, “Co-Pilot” etc. As soon as I changes or disabled those settings, I was able to eject both USB devices without having to reboot.
Don’t know if new Notepad is responsible for blocking ejection of USB devices on other user’s PC, but if they regularly use new Notepad, that’s the first place to look for a solution.
Thinking about installing the old Windows Notepad, and ditching this new (unimproved) version…
Thanks for the useful information