
Please note that by installing and using a VPN server, you may be exposing your home network to potential security risks. I am not responsible for any damages that may occur as a result of following these instructions.
This guide will demonstrate how to set up a VPN server on a Windows 10 computer, enabling you to use your home internet connection as a VPN. While it is possible to create a VPN server on a Linux or MacOS computer, this guide will specifically focus on Windows. I used this method while traveling in China and can confirm that, at the time of writing, it was effective in circumventing the Great Firewall of China.
Here are the different ways to create a VPN server ;
- Windows 10 integrated VPN server
- SoftEther VPN server
- OpenVPN server
To start, you’ll need a Dynamic DNS service; this is only for the Windows 10 VPN server and OpenVPN server, as SoftEther comes with a free DDNS service that is activated by default. Meaning we’re going to create an address that is going to redirect to your home IP, so even if your IP changes the service is going to work. Alternatively, you could call your ISP and pay for a static IP, but a DDNS is just as good and is free.
Here is a list of free DDNS services; simply create an account and install the client on the PC you’re going to use as the VPN server ;
http://freedns.afraid.org/
https://www.noip.com/free
https://www.duckdns.org/
https://www.cloudns.net/dynamic-dns/
And then, of course, you”‘ll have to do some port forwarding from your router to the computer hosting the VPN server ;
Windows VPN server: TCP, port 1723.
SoftEther: TCP, port 1194 + UPD ports 500, 4500 (for L2TP/IPsec).
OpenVPN : TCP, port 1194.
Windows 10 VPN server
For Windows 10 Built-in VPN service, the steps are quite easy ;
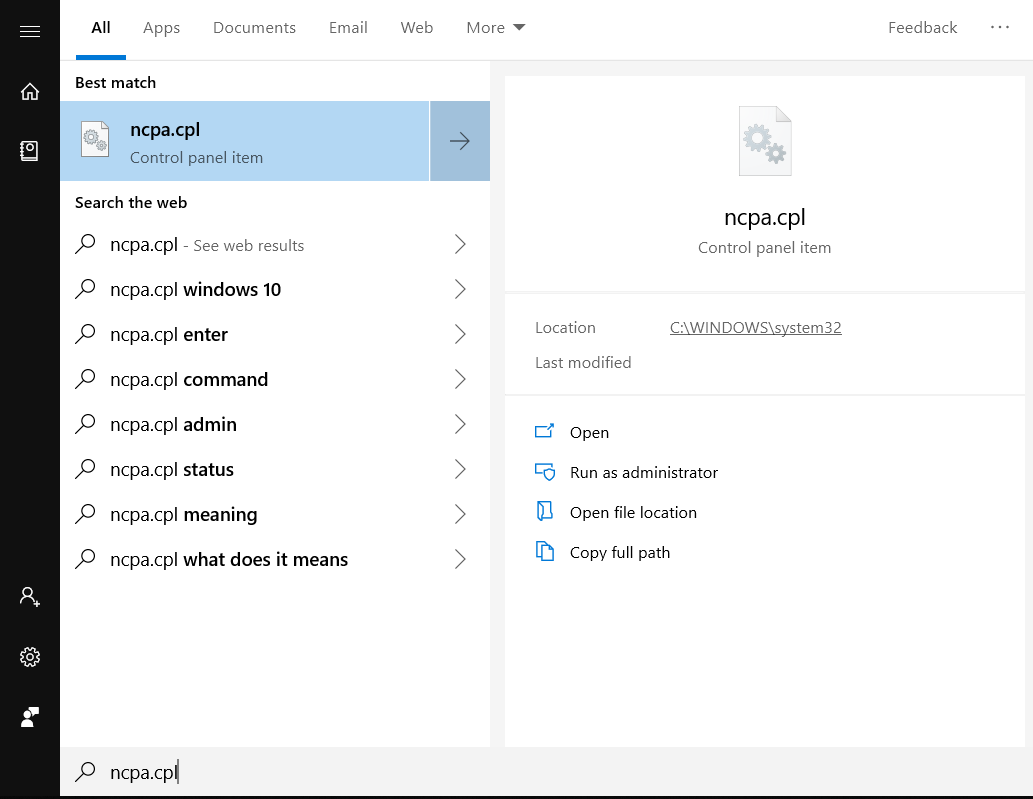
Open the Start menu, type ncpa.cpl, and open that control panel item
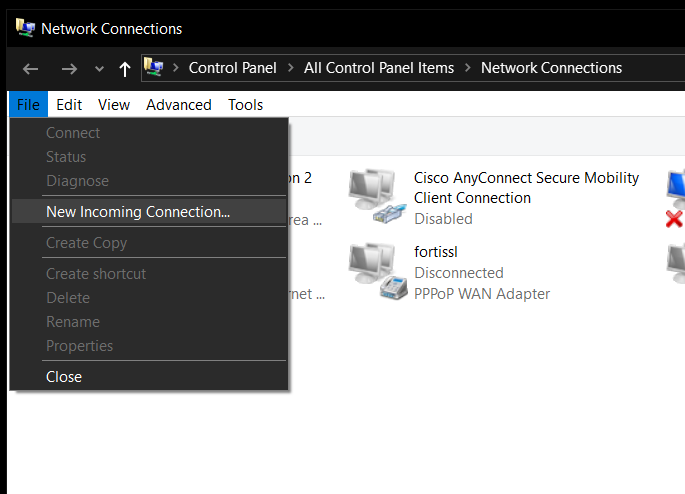
While in Network Connections, click on File>New Incomming Connection
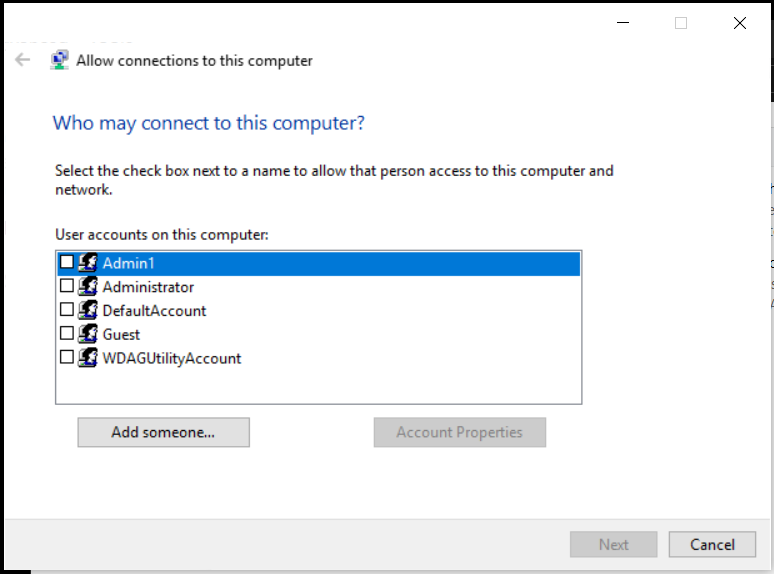
On the menu that opens, select the user account that you want to your for the VPN connection (so that you can log in to the VPN); you can also add a new account just for the VPN connection (that’s what I suggest) by clicking on “Add someone…”.
Next, check the option “Through the Internet”
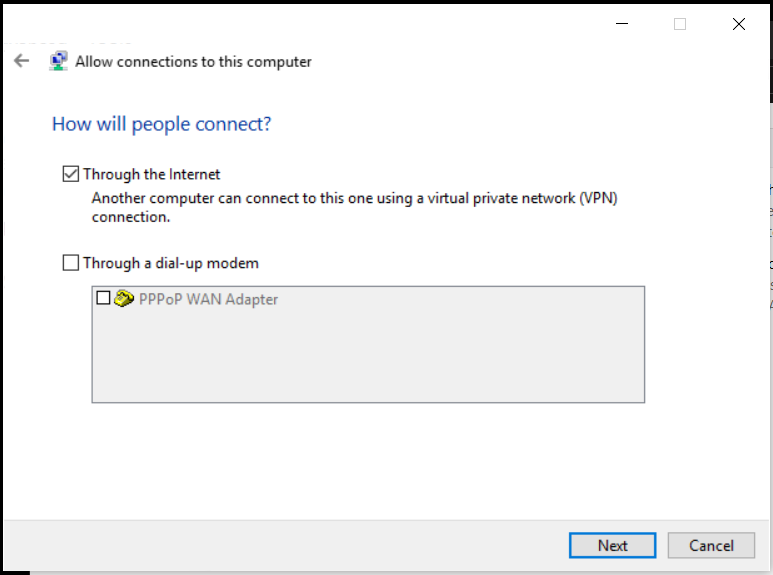
Click next, then “Allow access,” and finally, “close”
Now, if you look in Network connections, you’ll see a new device named “Incomming connections.”

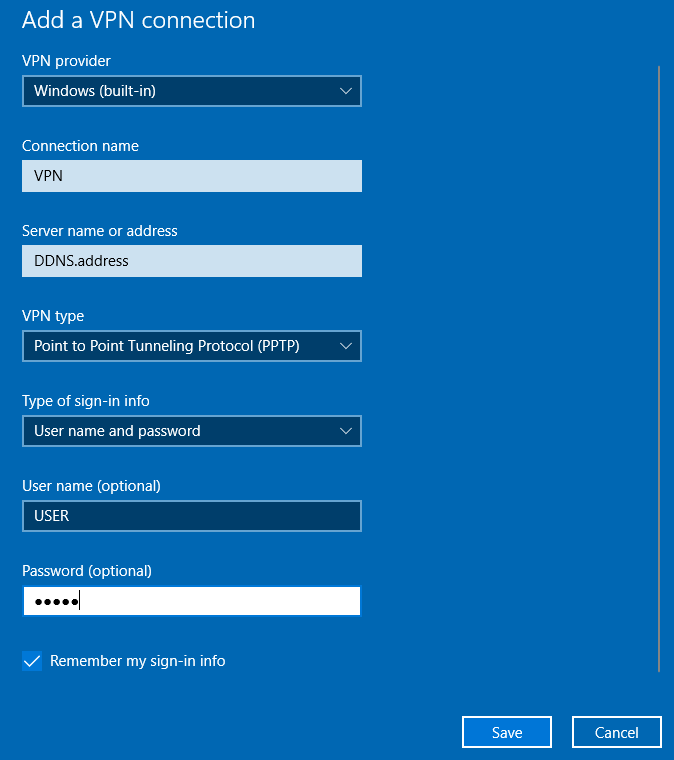
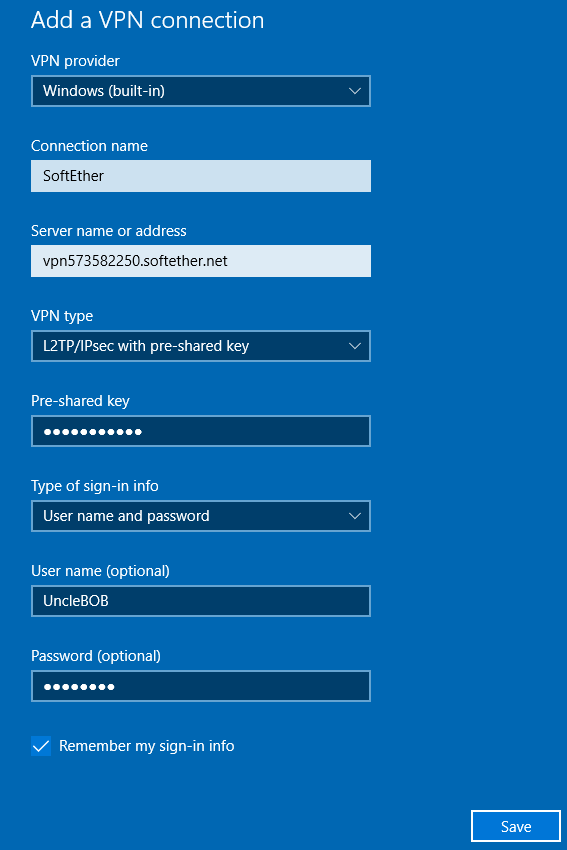
Now, to connect to that VPN from a PC, go to the Settings app, then Network & Internet > VPN > Add a VPN connection and fill the information for the connection (Windows VPN is a PPTP type), the settings are similar when using a phone ;
SoftEther VPN server
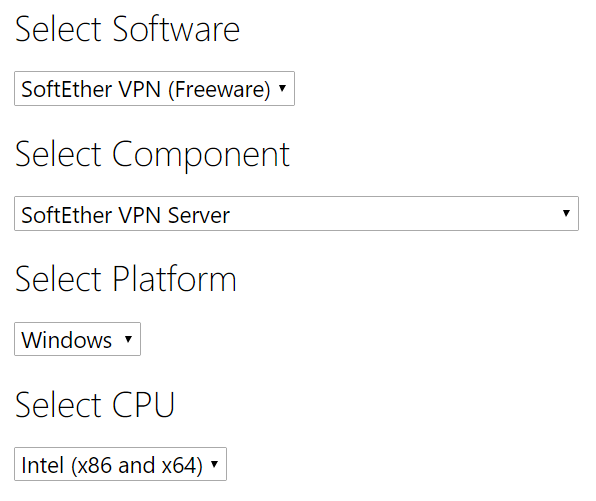
To get the SoftEther VPN server software, go to http://www.softether-download.com/en.aspx?product=softether select the following, and click on the first download link (often a beta build, so if you’re not comfortable with a beta build, scroll down until you see an RTM release) ;
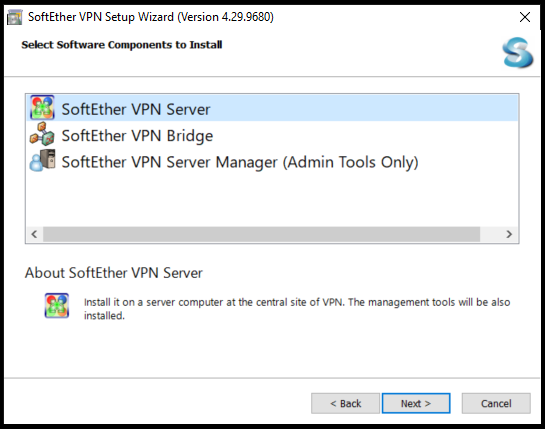
Once downloaded, run the .exe, click NEXT, then on the list, select SoftEther VPN Server ;
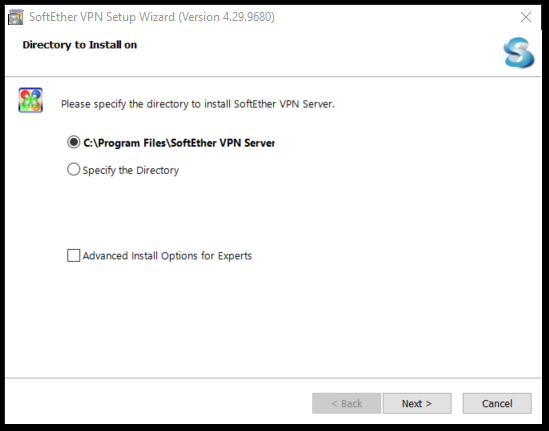
Accept the license agreement, leave everything as default, and click NEXT a few times; you can also change the install location if you want to ;
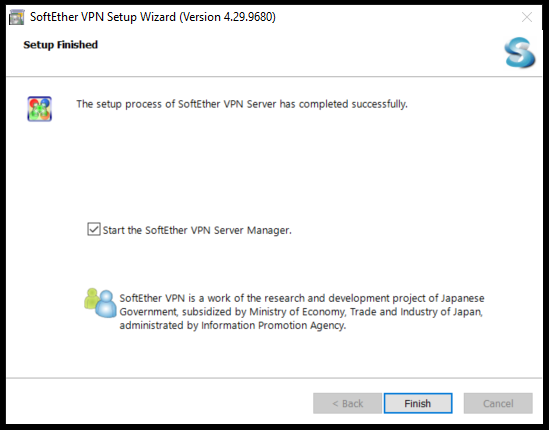
Click NEXT until SoftEther starts installing, then FINISH and leave the box checked ;
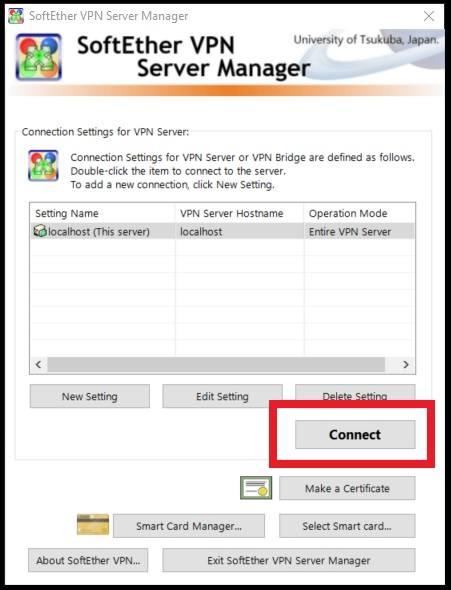
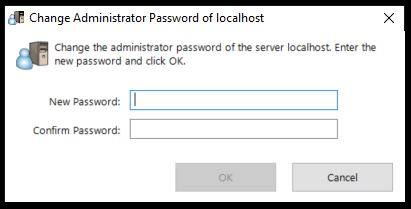
In the server manager, click CONNECT and enter a new password for the server admin ;
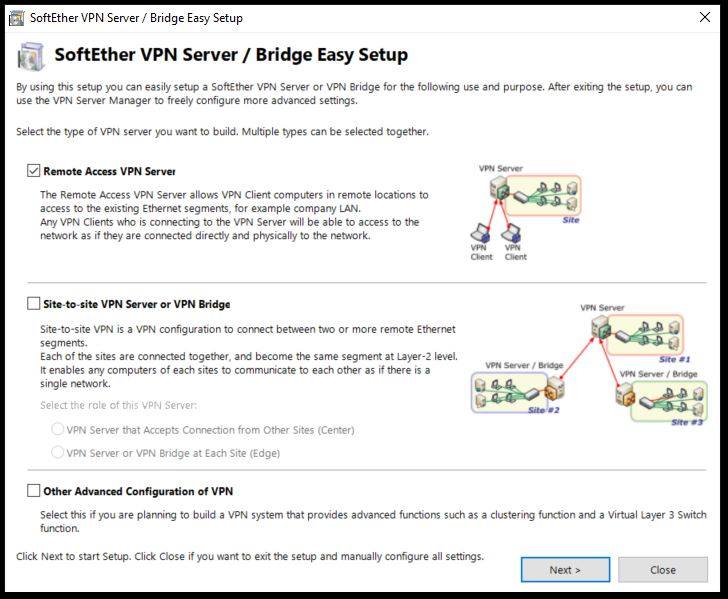
Now, in the Bridge Easy Setup window, select “Remote Access VPN Server,” then click NEXT and YES on the popup ;
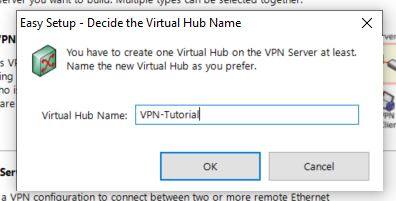
Choose whatever name you want for your VPN ;
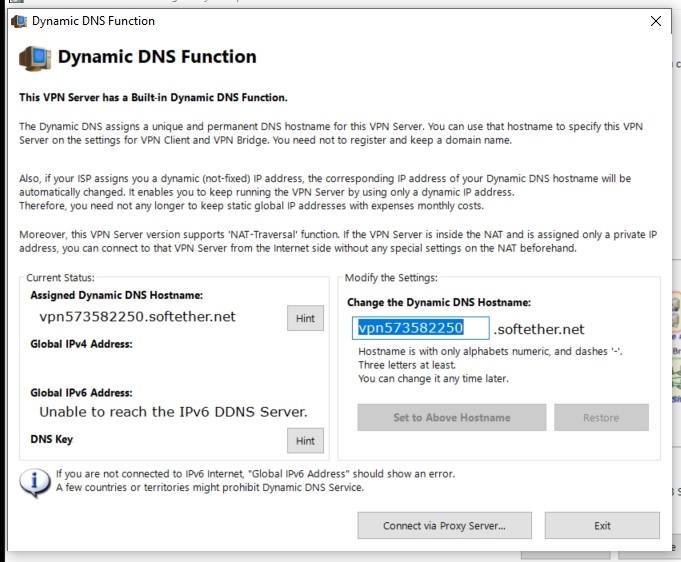
Now you can set the SoftEther DDNS settings (you can leave it as-is or change it for something else, then EXIT ;
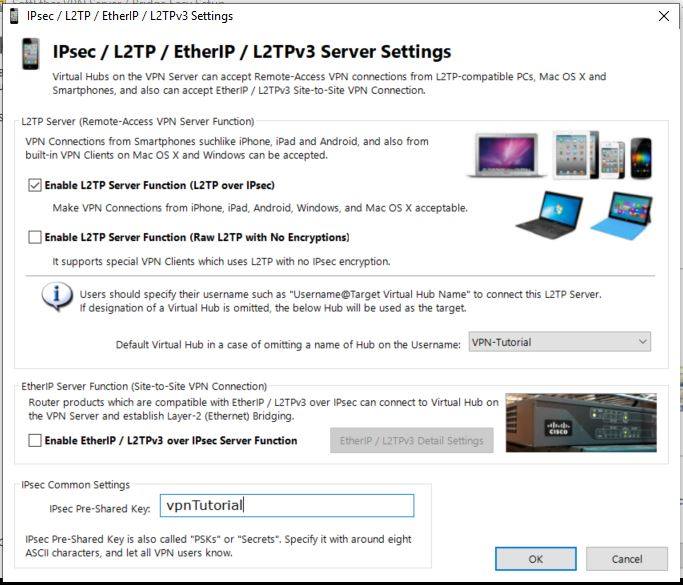
Now you can activate L2TP and change the IPsec shared key ;
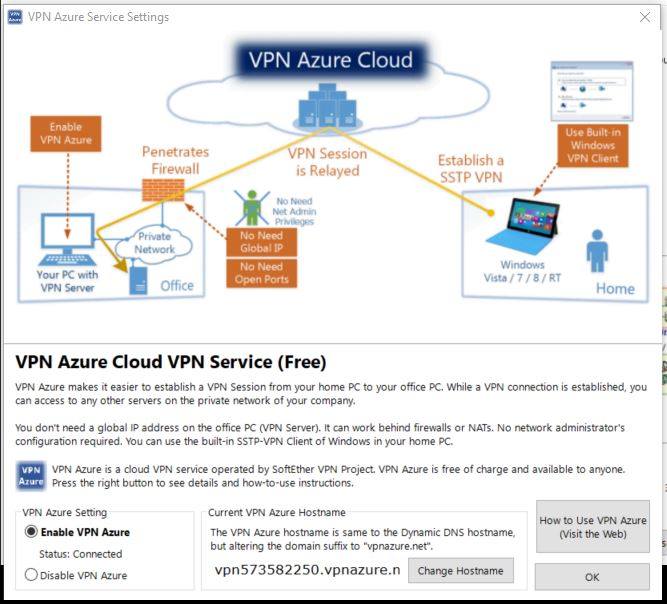
The next option is to have Azure cloud VPN service; enabling it will give you another DDNS for free in case the SoftEther DDNS isn’t working. since it’s free, I suggest you enable it! ;
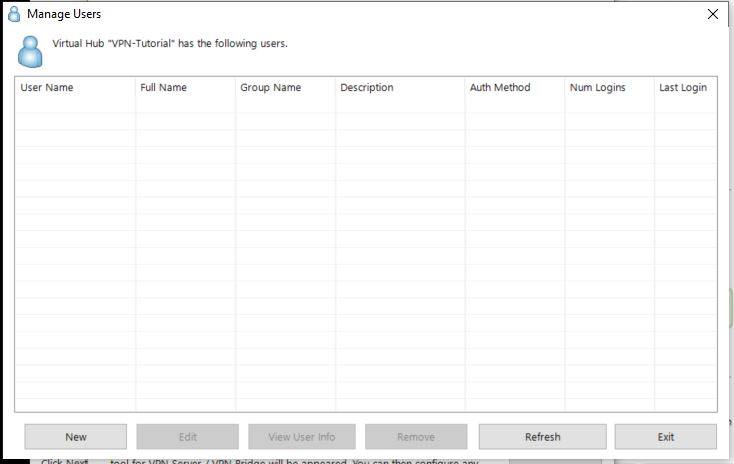
Finally, you’ll have to create users and select the Ethernet connection for the server (in case you have multiple Ethernet connections)
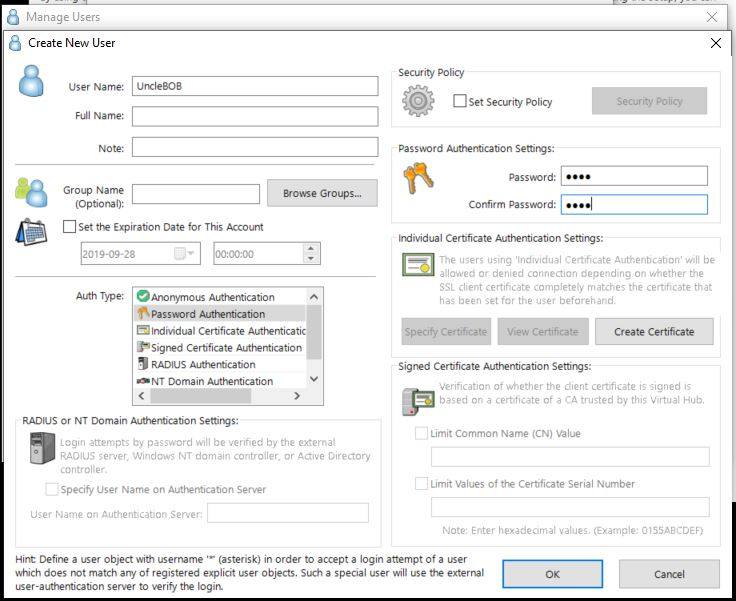
Click on “Create Users” and fill out the information and password for the user; you can also generate certificates from the Create user window ;

The VPN connection setup it’s similar to the Windows VPN; simply fill out the information to that you setup on the SoftEther server ;
OpenVPN server
Be aware that OpenVPN is NOT like the Windows VPN server or SoftEther; you will HAVE to go into the command prompt and copy/paste commands; if you’re not comfortable with this, you can consider the previous options.
Also not that I was not able to make OpenVPN work on my phone, but I was able to have SoftEther and Windows VPN work.
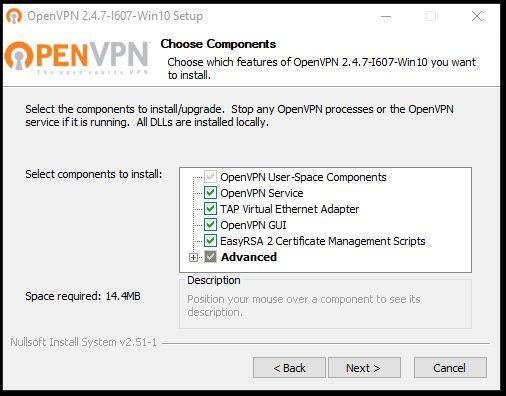
To get the OpenVPN install, follow the link and select the Windows installer ;
Guide taken from https://community.openvpn.net/openvpn/wiki/Easy_Windows_Guide
When downloaded, start the installation and select the EasyRSA 2 certificate option ;
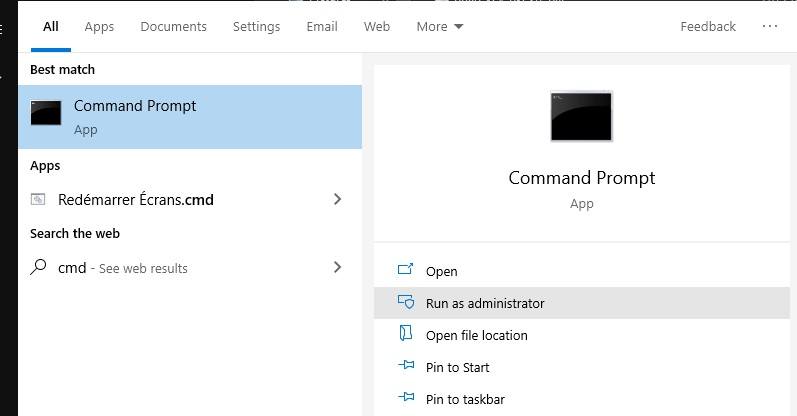
Now, open an elevated command prompt window (run as admin) ;
From the command prompt, navigate to the RSA folder ;
cd "C:\Program Files\OpenVPN\easy-rsa"Then run the init-config.bat (simply type that in the command prompt) ;
init-config.batNext, open the vars.bat file in Notepad;
notepad vars.batThen edit the information below (not mandatory; you can put whatever you want ;
set KEY_COUNTRY=US
set KEY_PROVINCE=CA
set KEY_CITY=SanFrancisco
set KEY_ORG=OpenVPN
set KEY_EMAIL=mail@host.domain
Save the file and exit notepad
Now, back in the command prompt, execute the following commands ;
vars.bat

clean-all.bat
Now, you have to build the certificate authority (CA) certificate and key ;
build-ca.batDuring that process, you’ll be asked to fill the following ;
Country Name (2 letter code) [US]:
State or Province Name (full name) [CA]:
Locality Name (eg, city) [SanFrancisco]:
Organization Name (eg, company) [OpenVPN]:
Organizational Unit Name (eg, section) []:
Common Name (eg, your name or your server's hostname) []:OpenVPN-CA
Email Address [mail@host.domain]:
These will be defaulted to whatever you entered in the notepad. For the Common Name, it’s a good idea to write something.
Now, to build the certificate server and key,
build-key-server.bat serverYou will be prompted to fill in similar information; when you get to the Common Name enter SERVER, you can select a password if you want.
When prompted to sign the certificate, choose Y
When prompted to commit, choose Y
Now, to build the client’s keys,
For each client, choose a name to identify that computer, such as “mike-laptop” in this example.
build-key.bat my-laptopWhen prompted, enter the “Common Name” as the name you have chosen (I choose “my-laptop”; you can put whatever you want)
Repeat this step for each client computer that will connect to the VPN.
Generate Diffie Hellman parameters. (This is necessary to set up the encryption and can take a few minutes)
build-dh.bat
Generate a shared-secret key (Required when using tls-auth)
"C:\Program Files\OpenVPN\bin\openvpn.exe" --genkey --secret "C:\Program Files\OpenVPN\easy-rsa\keys\ta.key"Copy the sample server configuration file to the easy-rsa folder.
"C:\Program Files\OpenVPN\sample-config\server.ovpn" "C:\Program Files\OpenVPN\easy-rsa\keys\server.ovpn"
Edit server.ovpn in notepad.
"C:\Program Files\OpenVPN\easy-rsa\keys\server.ovpn"
In the config file, find the following lines:
ca ca.crt
cert server.crt
key server.key
dh dh2048.pem
And edit them as follows:
ca "C:\\Program Files\\OpenVPN\\config\\ca.crt"
cert "C:\\Program Files\\OpenVPN\\config\\server.crt"
key "C:\\Program Files\\OpenVPN\\config\\server.key"
dh "C:\\Program Files\\OpenVPN\\config\\dh2048.pem"
Save and close the file
Now for the client’s config file, this is similar to the server configuration ;
Copy the sample server configuration file to the easy-rsa folder with the client’s Common Name as the file name (each client will have a different file name)
"C:\Program Files\OpenVPN\sample-config\client.ovpn" "C:\Program Files\OpenVPN\easy-rsa\keys\my-laptop.ovpn"
Edit the client’s config file.
"C:\Program Files\OpenVPN\easy-rsa\keys\mike-laptop.ovpn"
Find the following lines:
ca ca.crt
cert client.crt
key client.key
Edit them as follows:
ca "C:\\Program Files\\OpenVPN\\config\\ca.crt"
cert "C:\\Program Files\\OpenVPN\\config\\my-laptop.crt"
key "C:\\Program Files\\OpenVPN\\config\\my-laptop.key"
Notice that the name of the client certificate and key files depends upon the Common Name of each client.
You can also include the ca, cert, and key content in the client file. You have to copy the file content inside the tag <ca></ca>, <cert></cert> and <key></key>.
Edit the following line, replacing “my-server” with your server’s public Internet IP Address or Domain Name (see the DDNS section at the start of this post).
remote my-server 1194
Save and close
Copy these files from C:\Program Files\OpenVPN\easy-rsa\keys\ to C:\Program Files\OpenVPN\config\ on the server:
ca.crt
ta.key
dh2048.pem
server.crt
server.key
server.ovpn
"C:\Program Files\OpenVPN\easy-rsa\keys\ " "C:\Program Files\OpenVPN\config\ " ca.crt ta.key dh2048.pem server.crt server.key server.ovpn
NOTE: The space at the end of the path in each string is important.
Copy these files from C:\Program Files\OpenVPN\easy-rsa\keys\ on the server to C:\Program Files\OpenVPN\config\ on each client (my-laptop, in this example):
ca.crt
ta.key
my-laptop.crt
my-laptop.key
my-laptop.ovpn
Finally, to start OpenVPN, on both client and server, run OpenVPN from:
Start Menu -> All Programs -> OpenVPN -> OpenVPN GUI.
Double-click the icon which shows up in the system tray to initiate the connection. The resulting dialog should close upon a successful start.
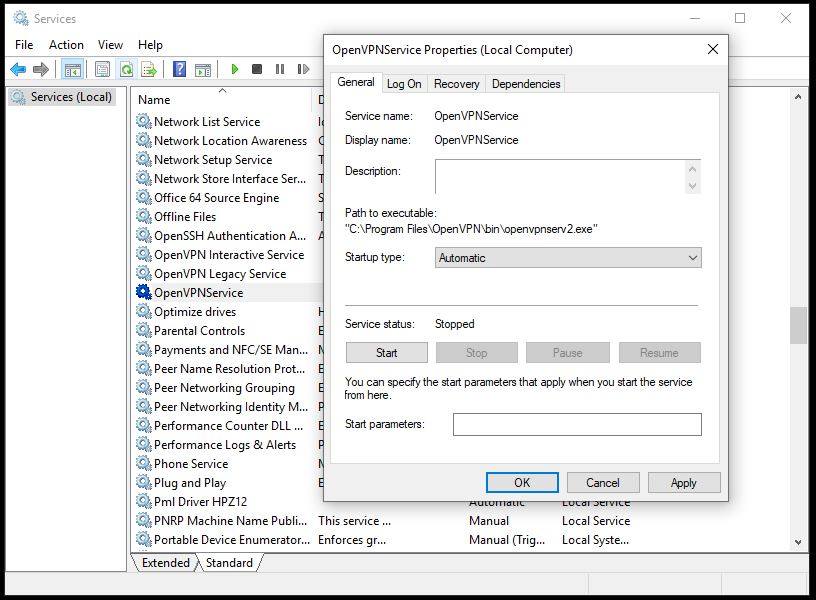
On the server, you will need to go into the services start the OpenVPN service, and change its startup type to automatic ;
VPN traffic obfuscation
The only server here that seems to support obfuscation is OpenVPN; if you’re interested in that, then here are some resources that could help ;
https://community.openvpn.net/openvpn/wiki/TrafficObfuscation
https://www.pluggabletransports.info/implement/openvpn/
https://hamy.io/post/000f/obfs4proxy-openvpn-obfuscating-openvpn-traffic-using-obfs4proxy/
Did you like this article? Do not hesitate to share it on social networks and subscribe to Tech To Geek on Google News to not miss any articles!"Because of the Google update, I, like many other blogs, lost a lot of traffic."
Join the Newsletter
Please, subscribe to get our latest content by email.