
Whether you’re looking to add/upgrade components, troubleshoot your PC, or just clean it, understanding the correct way to open a PC case is vital.
Since most PC cases these days have a tool-free design, I find it super easy to open them just by removing the thumb screws with my hands. However, there are still a lot of cases that require removing screws using a screwdriver.
To open your PC case, first turn off the computer and unplug every cable and peripherals. Then, locate the screws on the side panels and remove them. Lift the side panel and put it apart. Do the needful and close the PC case.
While these are just the summarized steps, let’s now delve deeper into the process with this step-by-step guide.
Getting Things Ready
Let’s discuss a few important things to keep in mind while opening a PC case.
- Operate in a static-free area. I strongly advise opening the case over a wooden desk/table. Always avoid carpeted floors and mats to prevent static buildup.
- Ground yourself. To ground yourself, the safest option would be to use an antistatic wristband. If you don’t have it, touch any unpainted metal body connected to the ground/earth for a while before proceeding.
- Get yourself an appropriate size screwdriver and a plate for placing the screws.
Unplug Everything From the PC
The next step involves shutting down your computer and removing all the cables from the case.
Here’s the step-by-step breakdown for better understanding.
1- Shut down your PC.

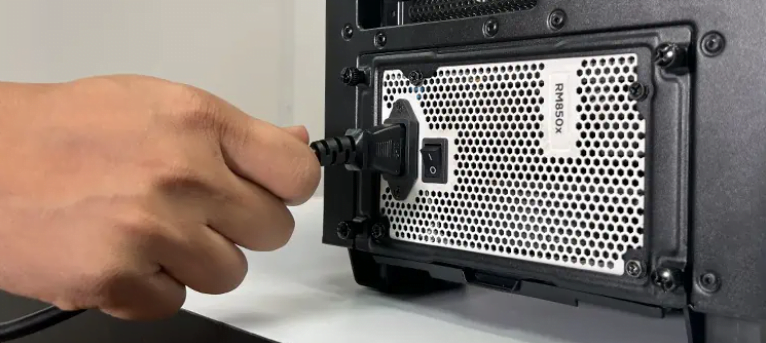
2- Access the rear panel of the case and press the 0 side on the power supply unit.

3- Remove the power cord.
4- Unplug all the cables connected to the PC. It may be a cable for your mouse, keyboard, headphones, etc. Also remove USB storage devices, if any.
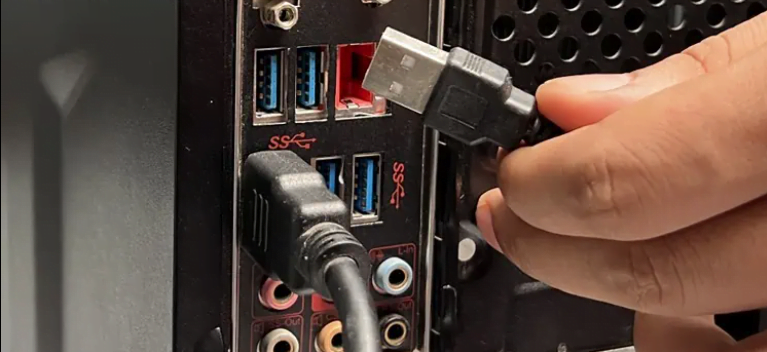
Do note that if you have VGA or ethernet cables plugged in, they can’t just be removed by pulling randomly.
In the case of a VGA cable, unfasten two tiny screws that attach it to its respective port.

Similarly, press the retaining latch to unplug the ethernet cable.

Remove the Side Panels
Now comes the step you’ve been eagerly waiting for—removing the side panels of the PC case.
To be honest, this step is the most overwhelming one for novice builders. This is because the exact steps to remove the side panel widely vary depending upon the manufacturer.
So the first step here would be to inspect the locking mechanism of your PC case.
Let’s begin with the one that has the most common method to do it.

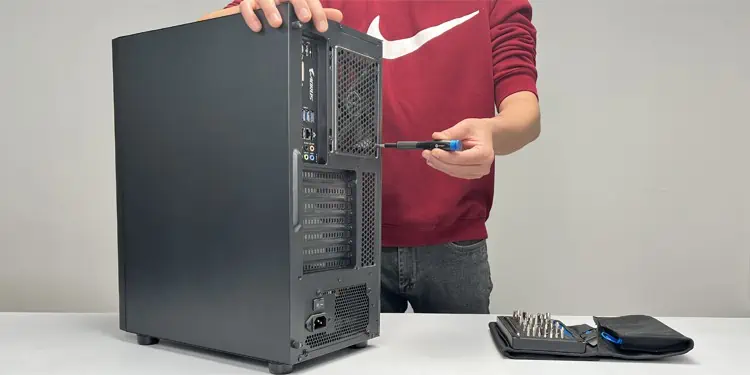
As you can see, this PC case has side panels attached to the chassis with two screws at the back.
If you have a similar kind of setup, simply use the screwdriver to unscrew them.
Use the Phillips head screwdriver if you have one. Otherwise, a screw that fits snugly into the screw should do the job.

While at it, refrain yourself from unfastening the screws that attach the power supply unit (PSU) to the chassis. It generally uses four screws and is located at the bottom center on the back of the PC case.

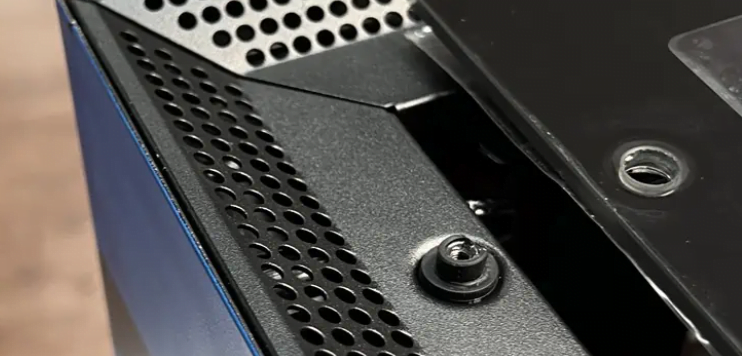
Once unscrewed, gently slide/drag the side panel towards the back of your PC case. The slide locks will now disengage from the chassis and you can lift the side panels.

Similarly detach the panel on the other side, if required.
Okay! Now that we have learned how to do it in the most common type of PC case, let’s talk about some modern PC cases.
Interestingly, most PC cases these days have a tool-free design. You don’t need to use any tool to open the case. Amazing right?
You can simply use your hands to remove the thumb screws that attach the side panel to the case. These kinds of screws are either located on the side or at the back.

For instance, this is my NZXT H700 PUBG case that has four thumb screws on one side. I can simply rotate the screws anti-clockwise and detach the panel.
But yes, you must be very careful while working with these cases. They normally have a tempered glass side panel that may break if mishandled.
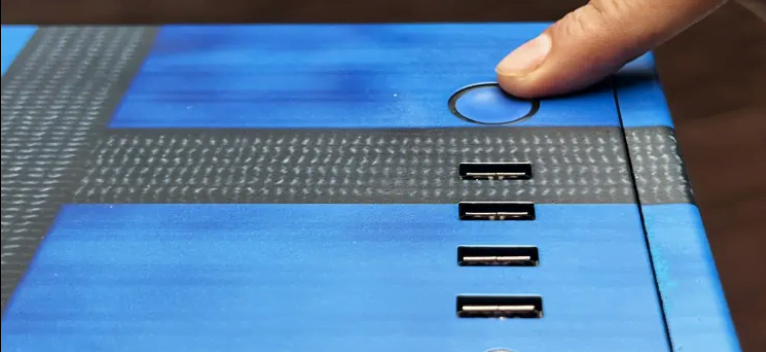
Coming to the right side panel, this case has a small button, which when pressed, detaches the side panel itself. You don’t even need to slide or drag to get them out.

Some high-end PC cases like Thermaltake’s Urban T81 even have dual swing doors to access the interior of your PC case. It further makes the process a breeze.
Kindly check what type of side panels you have and proceed accordingly.
Remove the Front and Top Panels
Once the side panels are off, you are good to go. Whether you have opened your PC case for cleaning or installing components, you can do it easily.
But what if you are planning to install case fans or a radiator for custom cooling?
Yes, you guessed it right. This is where you need to remove the front and top panels too.
While removing the side panels was pretty easy, removing these panels can be a bit problematic.
They are attached to the chassis using the pressure clips/tabs. As the name suggests, you need to apply pressure to these clips to remove the panels.

Once the front panel is removed, do the same to remove the top panel.
Do note that you should be careful with the top and front panels. If removed haphazardly, you may end up breaking the front panel cables.
Close the PC Case
Finally, it’s time to close the PC case.
If you had no problems removing the panels, you should have no problems putting them back either.
You just need to reverse the process you followed while removing them.
1- Lift the side panel and put it back on the case.
2- Make sure the holes on the panel line up with the screw hole and slide-locks on the chassis.
3- Tighten the screws.
4- Ensure all the cables are correctly organized including that of RGB lighting and not trapped between the chassis and side panels.
5- Once everything is set, plug in the power supply cord, turn the PSU on, and switch on your PC.
"Because of the Google update, I, like many other blogs, lost a lot of traffic."
Join the Newsletter
Please, subscribe to get our latest content by email.