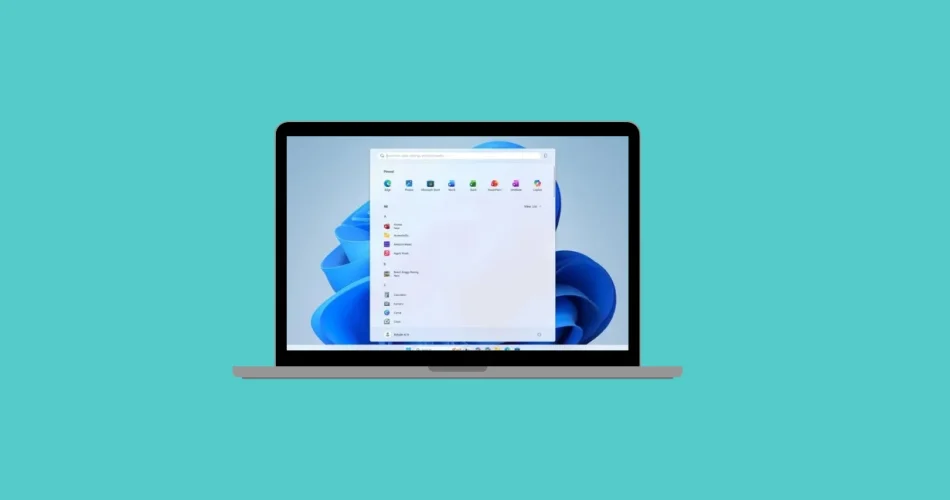
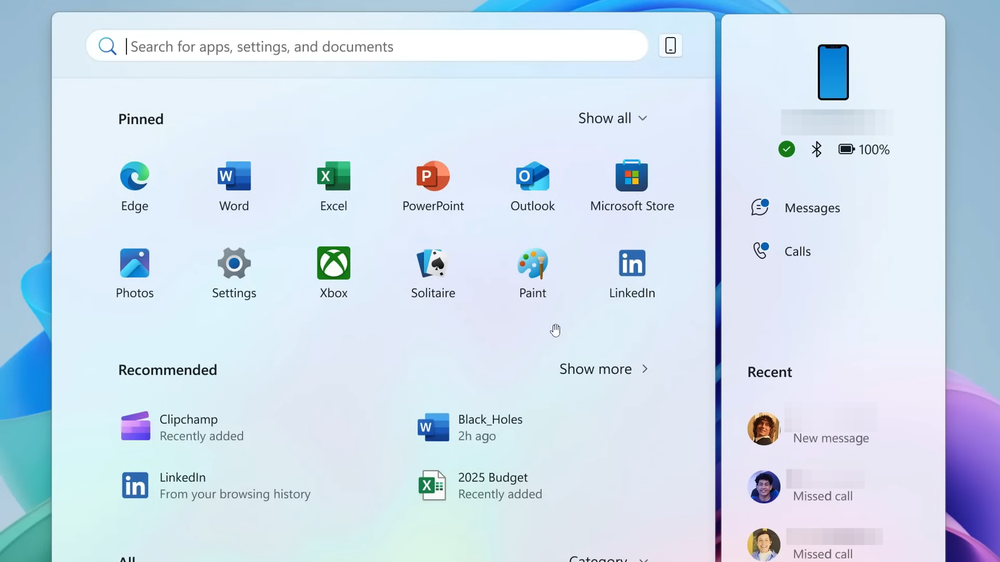
The Windows 11 Start menu is getting its biggest redesign yet, bringing a more modern, flexible, and user-friendly experience to your desktop. Microsoft has officially started rolling out the new layout with the optional October 2025 update for versions 24H2 and 25H2.
This refreshed Start menu combines style with functionality — moving the full app list to the main page, introducing grid, list, and category views, letting users disable Recommendations, and adding a more dynamic Phone Link panel. It’s also adaptive, automatically adjusting to different screen sizes for an improved experience across devices.
If the update hasn’t reached your PC yet, you can manually enable it right now. Here’s everything you need to know.
Step 1: Check Your System Requirements
Before installing the new Start menu, make sure your device meets the necessary conditions.
1. Confirm Your Windows Version
You’ll need to be running Windows 11 version 24H2 or 25H2. The redesigned Start menu is only available for these versions via the October 2025 non-security preview update.
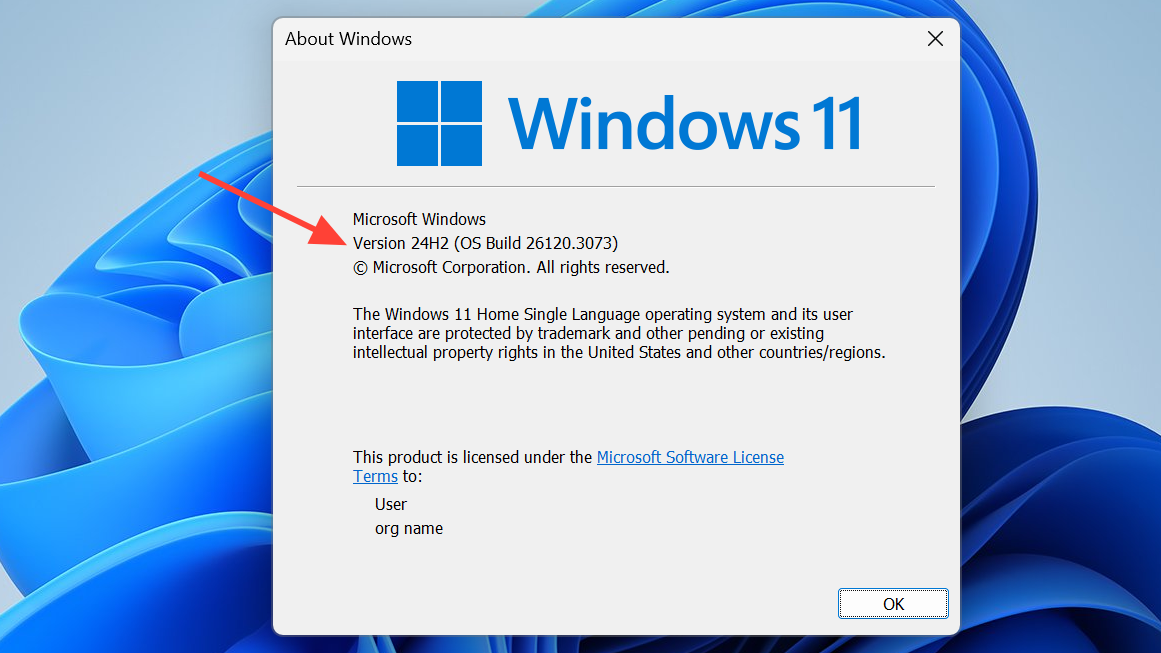
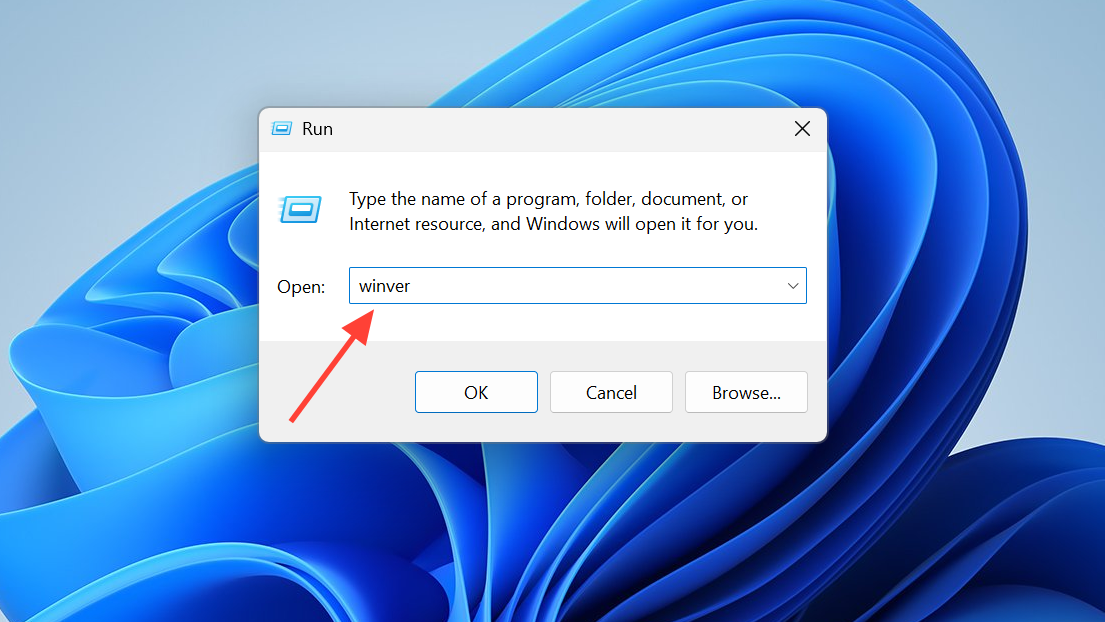
2. Verify Your Build Number
Press Windows + R, type winver, and hit Enter.
You should see one of the following build numbers (or newer):
- Build 26100.7019 for version 24H2
- Build 26200.7019 for version 25H2
3. Install the Required Prerequisite Update
Ensure that KB5043080 (September 2025 mandatory update) is already installed.
The new Start menu (delivered through KB5067036) depends on it. Without this prerequisite, the new layout may not appear.
Method 1: Install the New Start Menu via Windows Update (Official Method)
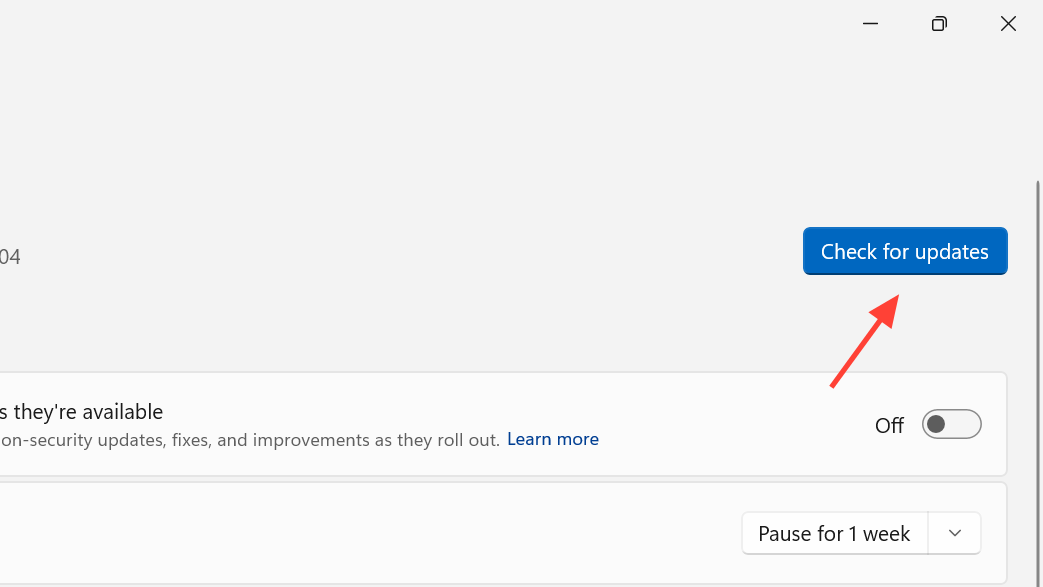
Step 1: Enable Early Access to Updates
Open Settings → Windows Update, then toggle on “Get the latest updates as soon as they’re available.”

Step 2: Check for Updates
Click Check for updates and look for the optional October 2025 non-security preview update (KB5067036).
You can find detailed release notes on Microsoft’s official site at support.microsoft.com.
Step 3: Restart Your PC
After installation, restart your computer to activate the new Start features.
Step 4: Explore the New Start Menu
Once your PC reboots:
- The All apps list now appears directly on the main Start page.
- You can toggle between grid, list, or category views.
- Recommendations can be turned off to free space for pinned apps.
Method 2: Manually Install the Update from Microsoft Update Catalog
If Windows Update hasn’t offered the patch yet, you can download it manually.
Step 1: Visit the Microsoft Update Catalog
Go to catalog.update.microsoft.com and search for KB5067036.
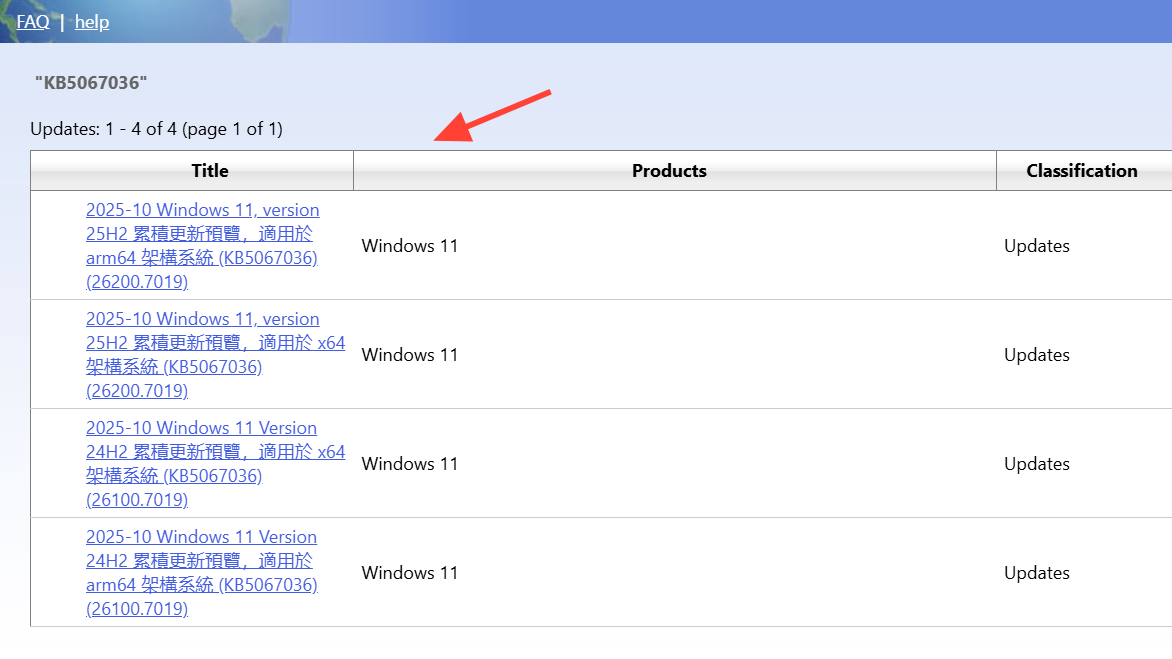
Step 2: Choose the Right Package
Download the version that matches your Windows edition and system architecture (x64 or ARM64).
Be sure to pick the correct one for 24H2 or 25H2 — otherwise, the installation will fail.
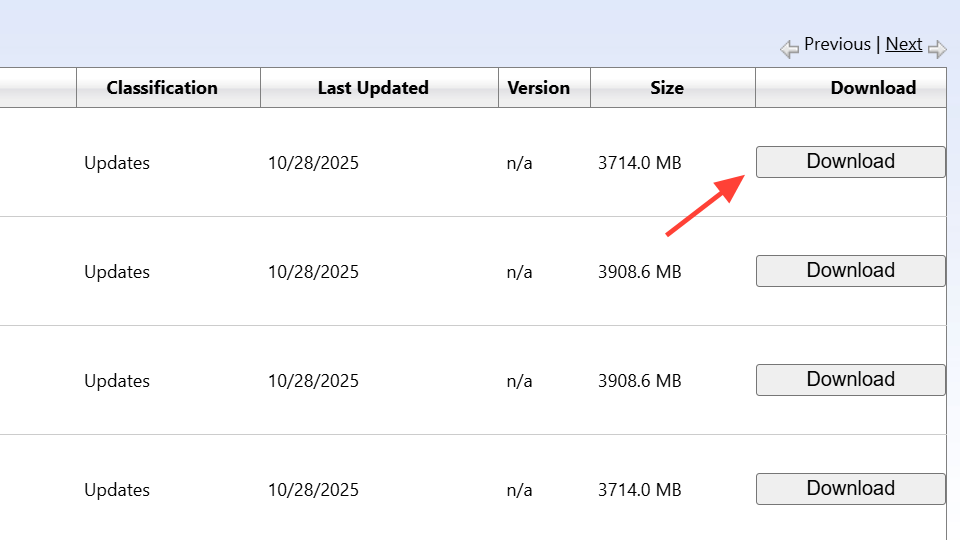
Step 3: Install and Restart
Run the downloaded .msu installer, follow the on-screen instructions, and restart your PC once the process finishes.
The redesigned Start menu should now be active.
Method 3: Force-Enable the New Start Menu Using ViVeTool (Advanced Users)
This method is for experienced users who prefer to enable hidden features manually.
Step 1: Confirm Update Installation
Make sure KB5067036 is installed and your system build is 26100.7019 or newer.
Step 2: Download ViVeTool
Grab the latest version of ViVeTool from its GitHub page and extract it to a simple location like C:\vive.

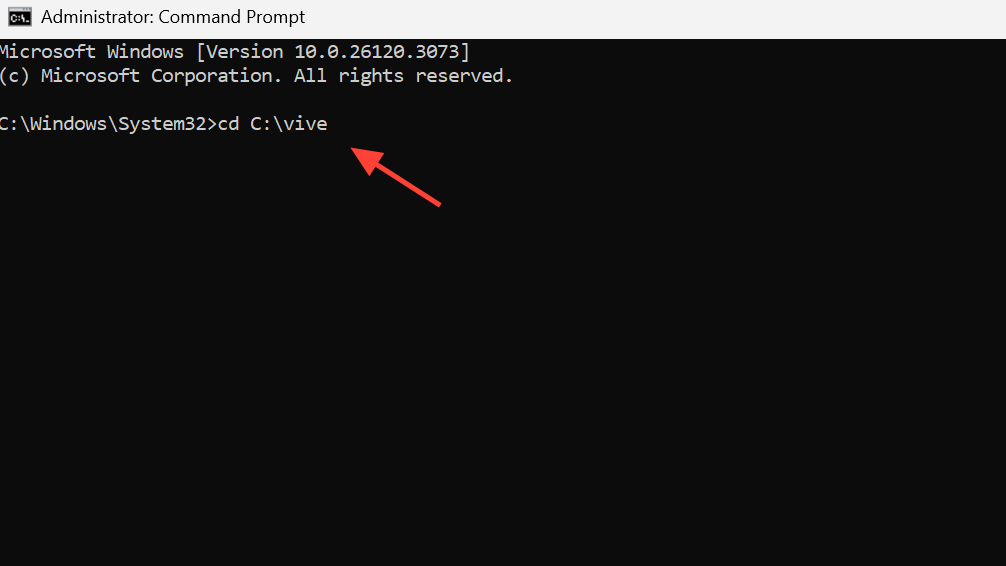
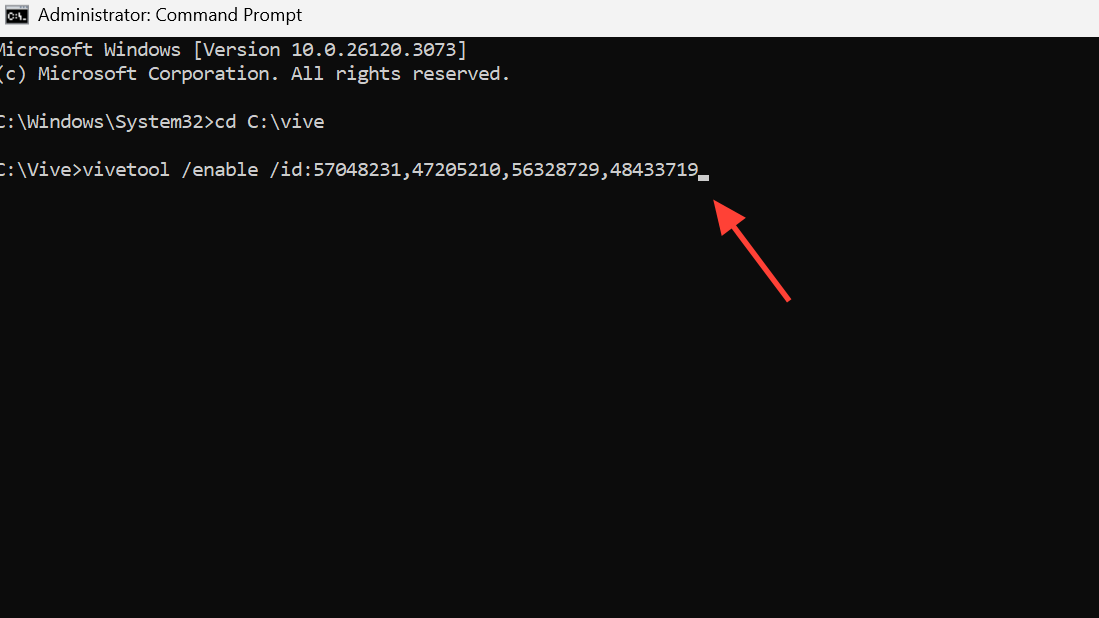
Step 3: Run Command Prompt as Administrator
Open Command Prompt (Admin) and navigate to the extracted folder:
cd C:\vive
Step 4: Enable the New Start Menu Feature IDs
Run the following command to activate the new Start menu:
vivetool /enable /id:57048231,47205210,56328729,48433719
Step 5: Restart Your Device
After rebooting, you’ll see the new layout with customizable views and the improved Phone Link integration.
If you ever wish to revert, you can disable the same feature IDs — but proceed with caution.
Customize and Configure the New Start Menu
Once the new layout is active, you can tailor it to your preferences.
Step 1: Personalize Start Menu Settings
Navigate to Settings → Personalization → Start to:
- Toggle Recommendations on or off
- Manage pinned app behavior
- Adjust content visibility

Step 2: Resize the Start Menu
Hover over the Start menu’s top or side edge until your cursor turns into a double-headed arrow, then drag to resize.
Step 3: Change the All Apps View
Inside the Start menu, switch between category, list, or grid view to match your workflow.
Windows remembers your last selected layout automatically.
Step 4: Know What’s Permanent
Once the new Start menu is enabled, there’s no official option to revert to the old design.
However, you can still disable specific panels like Recommendations or Phone Link.
Don’t Want to Rush?
If you’d rather wait, the redesigned Start menu will roll out automatically in upcoming cumulative updates.
But if you want to try it today, simply install KB5067036 — and, if needed, enable it using ViVeTool for immediate access.
Final Thoughts
The revamped Windows 11 Start menu is a major usability upgrade, merging aesthetic polish with functional power. Whether you love minimalist layouts or prefer quick access to every app, Microsoft’s 2025 redesign finally gives users the flexibility they’ve been asking for.
By following the steps above, you can experience the new Start menu now—weeks or even months before it becomes the default across all Windows 11 systems.
And if you'd like to go a step further in supporting us, you can treat us to a virtual coffee ☕️. Thank you for your support ❤️!

We do not support or promote any form of piracy, copyright infringement, or illegal use of software, video content, or digital resources.
Any mention of third-party sites, tools, or platforms is purely for informational purposes. It is the responsibility of each reader to comply with the laws in their country, as well as the terms of use of the services mentioned.
We strongly encourage the use of legal, open-source, or official solutions in a responsible manner.
Comments