
Compatible with Windows, macOS, and Linux, Visual Studio Code has become an essential application for editing code in just a few years. It is free, open source, and supports many languages, including PowerShell. It also has the advantage of supporting Git as a versioning system.
Unlike the PowerShell ISE editor, VSCode supports both Windows PowerShell and PowerShell. Although PowerShell ISE is still helpful and convenient in some cases ( editing a script quickly on a server, for example ), VSCode is the editor of choice for your workstation.
To learn more about Visual Studio Code, visit the official website:
Visual Studio Code should not be confused with Visual Studio, a much heavier development suite (IDE) aimed directly at application developers. Although one can use Visual Studio to write PowerShell code, it is better to use VSCode.
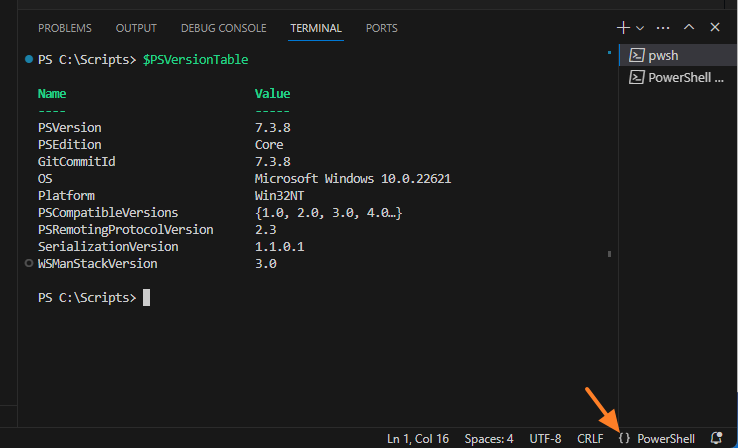
A machine running Windows 11 22H2 with Windows PowerShell 5.1 and PowerShell 7 installed will be used for this demonstration.
II. Install Visual Studio Code
Start by installing Visual Studio Code on your machine if you haven’t already. It is accessible on the official website. For Windows, you can install at the machine level for all users or only in your profile.
Installation is done in just a few clicks…

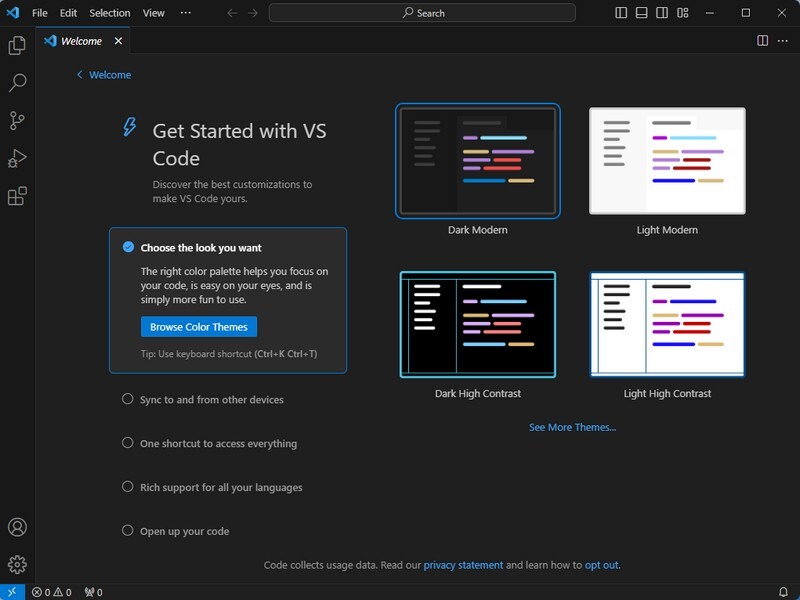
At the first launch, a welcome wizard guides you in your first steps with Visual Studio Code, particularly in defining a theme. You can also synchronize VSCode with your Microsoft account to find the same settings between your different devices. Furthermore, GitHub synchronization will synchronize your scripts with your repository.
Now; the installation is done; what do we do next?
III. Add PowerShell extension to VSCode
By default, Visual Studio Code can edit text files, but it is not ready to help you edit PowerShell code. You should know that VSCode relies on an extension system: each extension will add functionalities to Visual Studio Code.
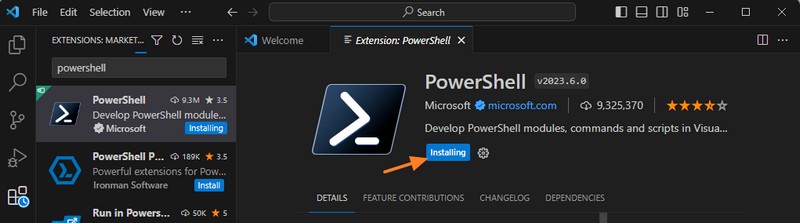
Click the extension’s icon on the left (1), search for “PowerShell” (2), and click on the ” PowerShell ” extension offered by Microsoft (3).
Note : if you want a complete environment with PowerShell and other extensions that may be useful (GitHub integration, YAML support, Markdown support, a color picker, etc…), you can look at the collection of extensions ” PowerShell Extension Pack ” proposed by Justin Grote. It includes 32 extensions . You can also browse the list of extensions in this collection: this may give you ideas!

Click the “ Install ” button and wait for a few seconds. Visual Studio Code adds the PowerShell extension to your machine.
Note : You can also install the extension by entering the command “ ext install powershell ” after using the shortcut CTRL + P.
Extensions are installed in the user’s profile. Here is the directory used on each system:
- Windows: %USERPROFILE%\.vscode\extensions.
- macOS: ~/.vscode/extensions.
- Linux: ~/.vscode/extensions.
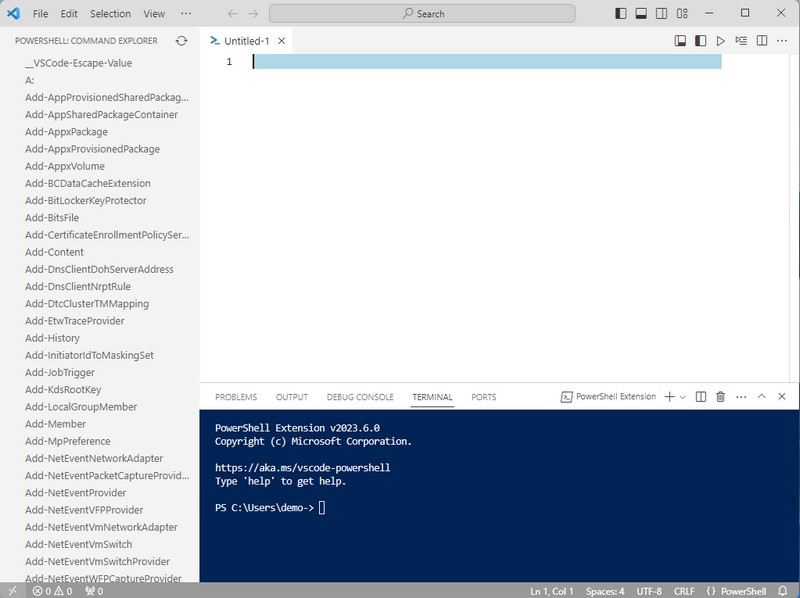
From the moment the extension is installed, VSCode is ready to edit PowerShell code!
IV. Use PowerShell with VSCode
A. Configure VSCode for PowerShell
Before creating a script, we will modify two options in the VSCode settings:
- Set PowerShell as the default language
- Enable the use of the TAB key for autocompletion (which will appeal even more to those used to PowerShell ISE)
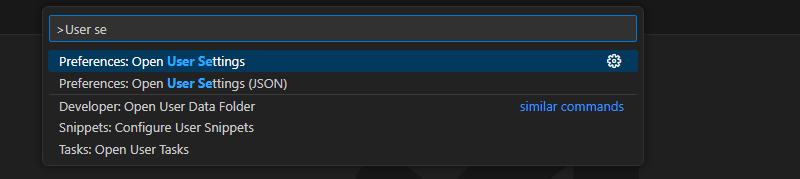
To access the command entry area, use the shortcut “ F1 ” or “ CTRL + SHIFT + P ”. This is a good way to perform actions in VSCode without navigating through menus.
Here, search for “ User settings ” to click on “ Preferences: Open User Settings ”. Your preferences are personal and saved in your session.
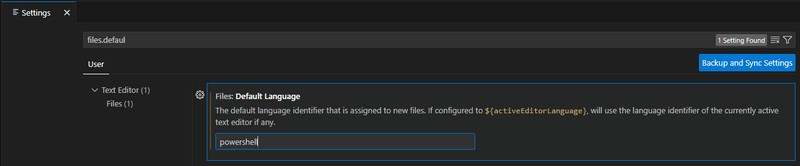
Once on the settings page, search for ” files.default ” and change the ” Files: Default Language ” setting to ” powershell .” Like this :
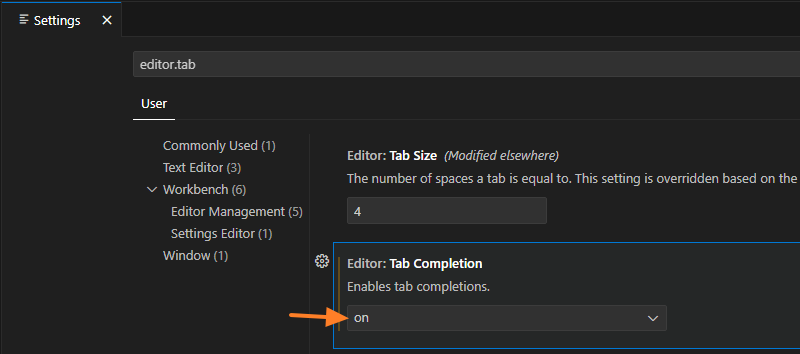
When it’s done, search for the second parameter via the keyword ” editor.tab ” and toggle the parameter named ” Editor: Tab Completion ” to ” on “. It should be noted that VSCode benefits from IntelliSense (like PowerShell ISE), which is a good help when coding.
There are many other settings available that will allow you to personalize your environment. We will be satisfied with these two options to start.
B. Create a first PowerShell script
In Visual Studio Code, several ways exist to create a new file. Quite simply, you can click on the ” File ” menu and then ” New File “, but the quickest is to use the ” CTRL + N ” shortcut to create a new file in PowerShell format (since it is the default language defined in settings).

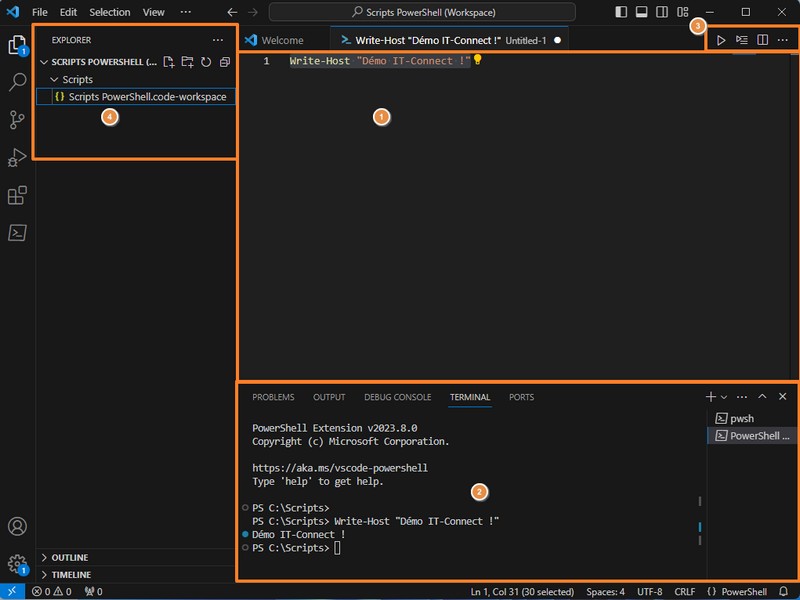
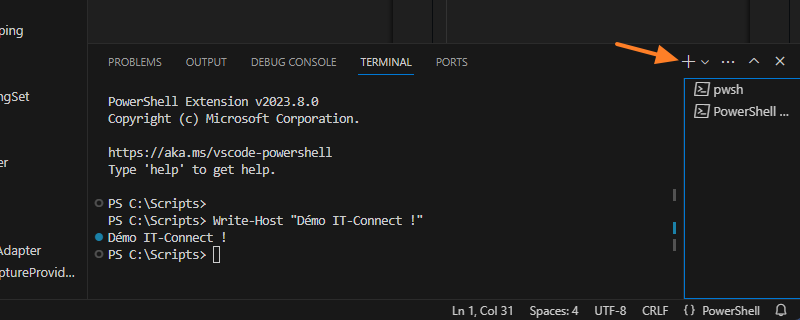
A new file opens in a dedicated tab. Without going into detail, here is some information on the organization of the VSCode interface:
1 – Area where you write your PowerShell script (or in another language); this is simply the code editor.
2 – Area where the terminal is located. This is where you can view the result of your script or enter commands directly.
3 – Area with action buttons. The first button is used to execute the entire script, the second button is used to execute the selection, and the third button allows you to divide the code editor into two areas and thus have two scripts side by side.
4 – Explorer area, where you can display the contents of a directory on your PC (a directory where you store your scripts, for example). This directory will be associated with a workspace with its configuration. You can create several workspaces ( see the official documentation).
All you have to do is code! Remember to save your script.
Note : from the moment the folder with your scripts is saved as a workspace ( File > Save workspace as ) , you can benefit from automatic code formatting (indentation) using the following shortcut: Shift + Alt + F. This will format your code in the blink of an eye!
C. ISE mode in VSCode
For people used to PowerShell ISE, be aware that Visual Studio Code includes a mode called “ ISE Mode ”.
To enable it, invoke the VSCode command prompt via F1 and type ” ISE Mode ” to click on ” PowerShell: Enable ISE Mode “. To disable it, repeat the operation by selecting “ PowerShell: Disable ISE Mode ”.
Here is an overview:
D. Switch between PowerShell and Windows PowerShell
Visual Studio Code can use Windows PowerShell and PowerShell, unlike PowerShell ISE, which only knows how to use Windows PowerShell. How to switch between PowerShell versions in VSCode?
You need to click on the “{}” button at the bottom right to click on “ Show PowerShell Session Menu ”.
From the menu that appears, choose ” Windows PowerShell ” or ” PowerShell “, depending on the version you want to use.
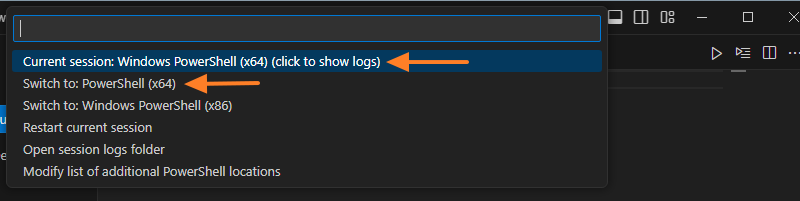
You can open multiple PowerShell Terminals simultaneously and choose the version you want. So you can switch from one to the other by clicking on it in the list!
V. Conclusion
Following this tutorial, you can use Visual Studio Code as a code editor for PowerShell! There are many more features to explore, as VSCode is a rich and customizable application! Please comment on this article if you have any questions or ideas for tutorials.
While waiting for the rest to go further, you can consult the VSCode documentation:
Did you like this article? Do not hesitate to share it on social networks and subscribe to Tech To Geek on Google News or our facebook page to not miss any articles!"Because of the Google update, I, like many other blogs, lost a lot of traffic."
Join the Newsletter
Please, subscribe to get our latest content by email.