Do you have a dead motherboard battery? I too have dealt with expired or failed motherboard batteries and know the headaches it can cause.
In this article, I will explain what a motherboard battery is, how it works, issues that can arise due to a faulty or failed battery, and even how to save money and replace it yourself.
What is a CMOS Battery

The CMOS (Complementary Metal-Oxide Semiconductor) or motherboard battery works as an RTC (Real-Time-Clock) on your motherboard. The CMOS acts as a battery-powered semiconductor chip inside your computer that stores the BIOS settings.
These include the system clock and hardware configurations like fan speeds, boot order, overclocking, etc. for your computer to startup and load correctly.
All this information is maintained with a near-quarter-sized lithium battery located directly on the motherboard of the computer.
What Causes a Dead CMOS Battery
Corruption of CMOS is unfortunately very common. The average lifespan of CMOS batteries is 3 to 10 years. If you use your computer more often, the battery will last longer.
If you go a long time without using your computer, the battery is constantly drained to preserve all that important startup information.
How to Detect a CMOS Battery Failure
Although the battery can outlive the usability of the system, it does fail over time. Here are a few signs that point to a failing CMOS battery:
- The computer is refusing to boot to the Operating System.
- It keeps shutting down without any user input.
- The time and date on your computer are constantly wrong.
- You are unable to connect to the internet due to an error: “Time and date do not match.”
- You hear a constant beeping sound.
- CMOS Checksum Error, CMOS Read Error, or CMOS Battery Failure Error
Troubleshooting a Dead CMOS Battery
To verify that the battery is the issue we will need to narrow it down. We can try first by resetting the CMOS. After that check if the battery is dead using a multimeter and then replace it with a new one.
Note:
Before taking your PC apart, check the motherboard’s user manual for the exact location of the CMOS battery and the Clear CMOS jumper/header. Additionally, you are going to handle internal PC components so, make sure to ground yourself before proceeding
Reset the CMOS
This is a very simple task that requires a #2 Phillips-head screwdriver. Use it to remove the side panel of the case and then later short the CMOS jumper.
Follow the steps below,
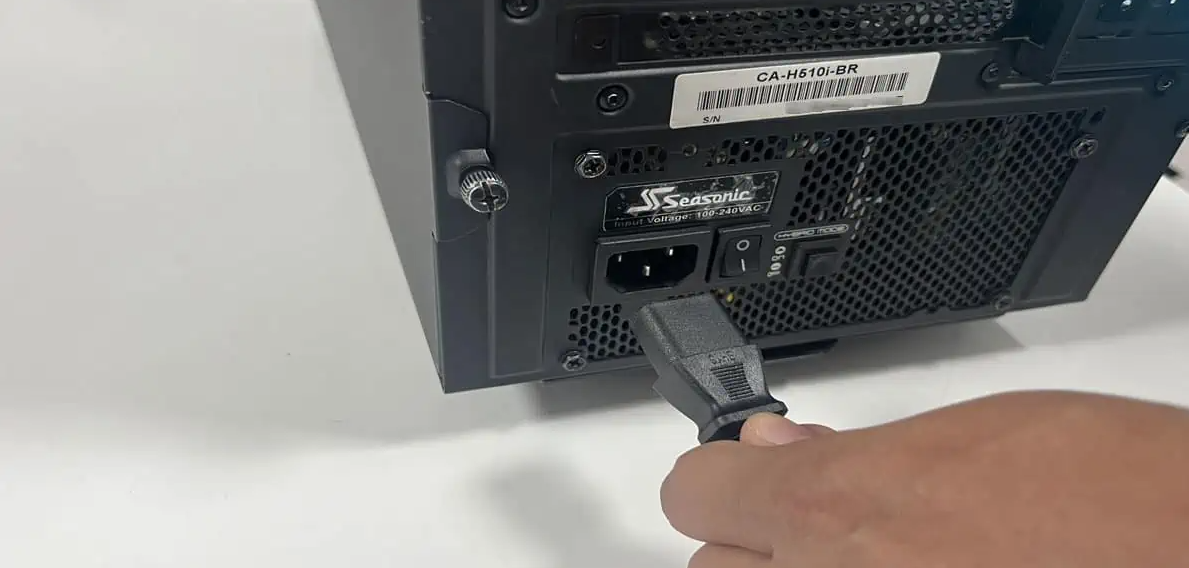
1- First, power off and unplug your computer.
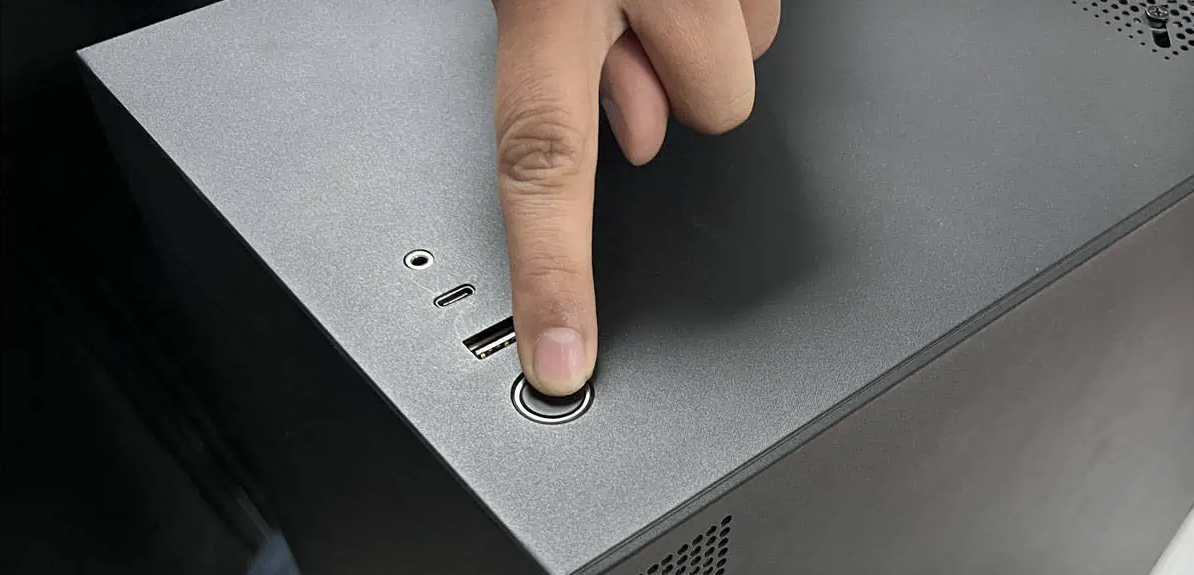
2- Drain any residual charge on the motherboard by pressing the power button for 5-10 seconds.
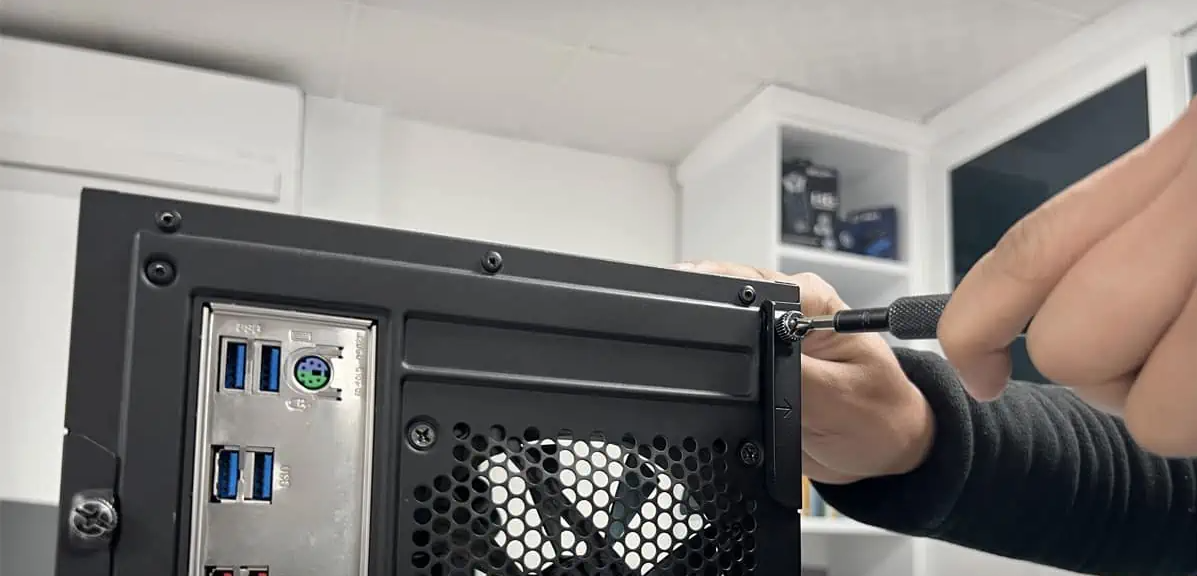
3- Unscrew the side panel and remove it to gain access to the motherboard.
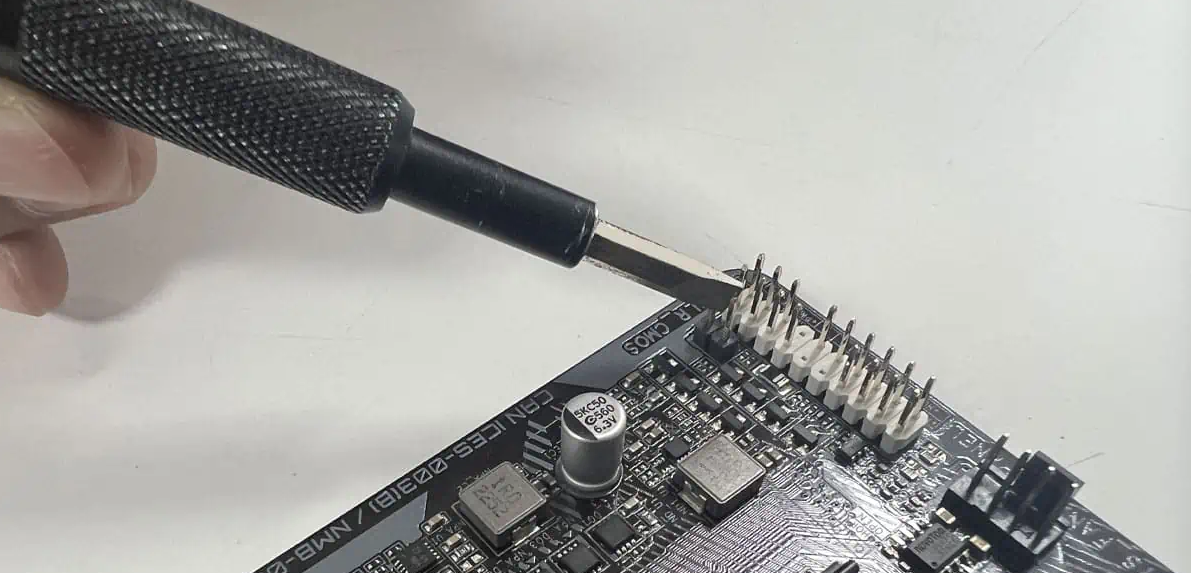
4- Look for 2 header pins named CLR_CMOS, JBAT1, CLRTC, etc. on the motherboard.

5- Use something metallic like a screwdriver to short the pins for 5-10 seconds.
Connect the power cable back and try booting your computer.
Check and Replace the CMOS Battery
Now that you have verified the issue is not due to corrupted settings, you can proceed with the troubleshooting by testing the CMOS battery. For that,
1- Shut down your computer, disconnect the power cable and press the power button for a few seconds.
2- Look for a coin-sized battery on the motherboard. If you have a smaller form factor motherboard like the ROG Strix 550i, it can be in vertical orientation and connected to the motherboard via a dedicated plug.
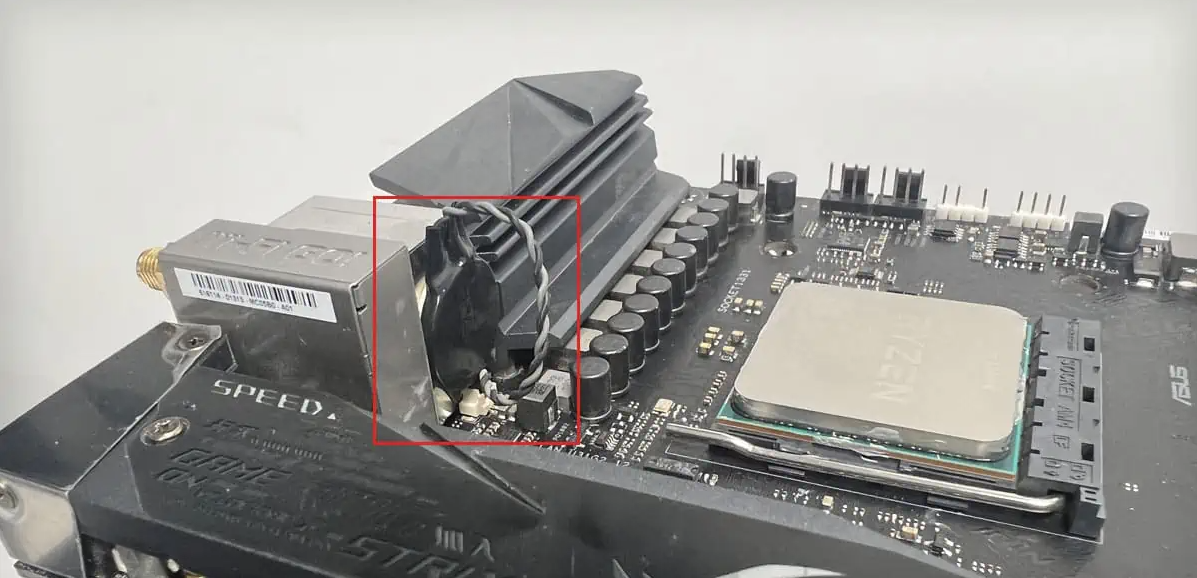
3- Push the metallic clip on the socket and the battery should pop out. If you have a plug, disconnect it gently from the motherboard header.
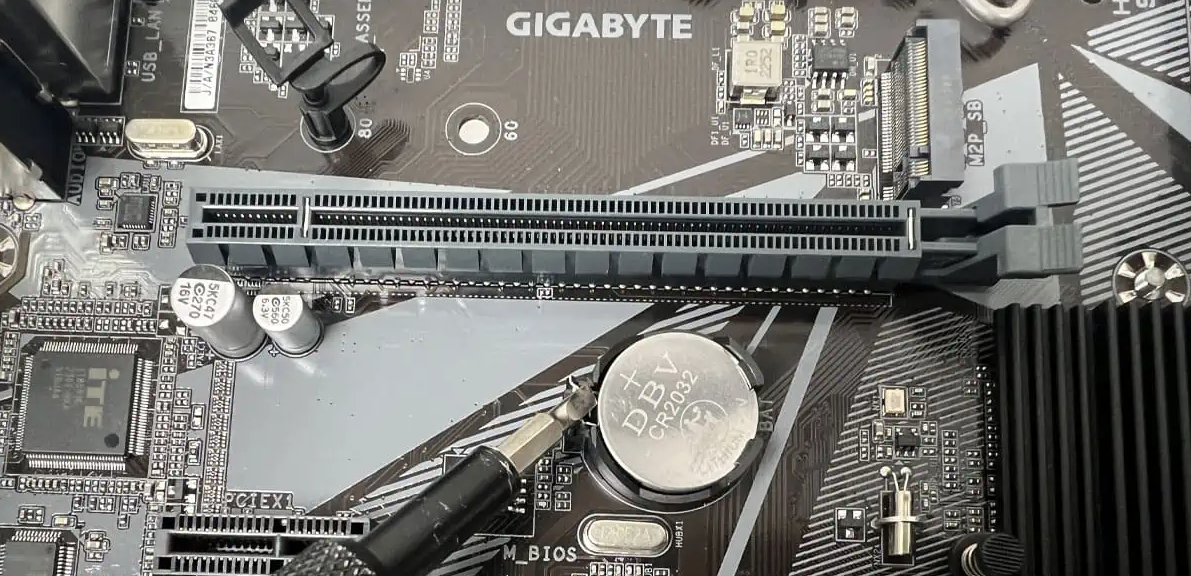
4- Use a multimeter to check it’s voltage. A good battery will read over 3.00 Volts. If the voltage reading is less or is nearly zero, you need to replace the CMOS battery.
Note: Make sure you get the exact model needed for your motherboard. While the most widely used model is the CR2032, you will find similar models on the market, such as the CR2016. But they usually have less capacity or do not fit into the socket.
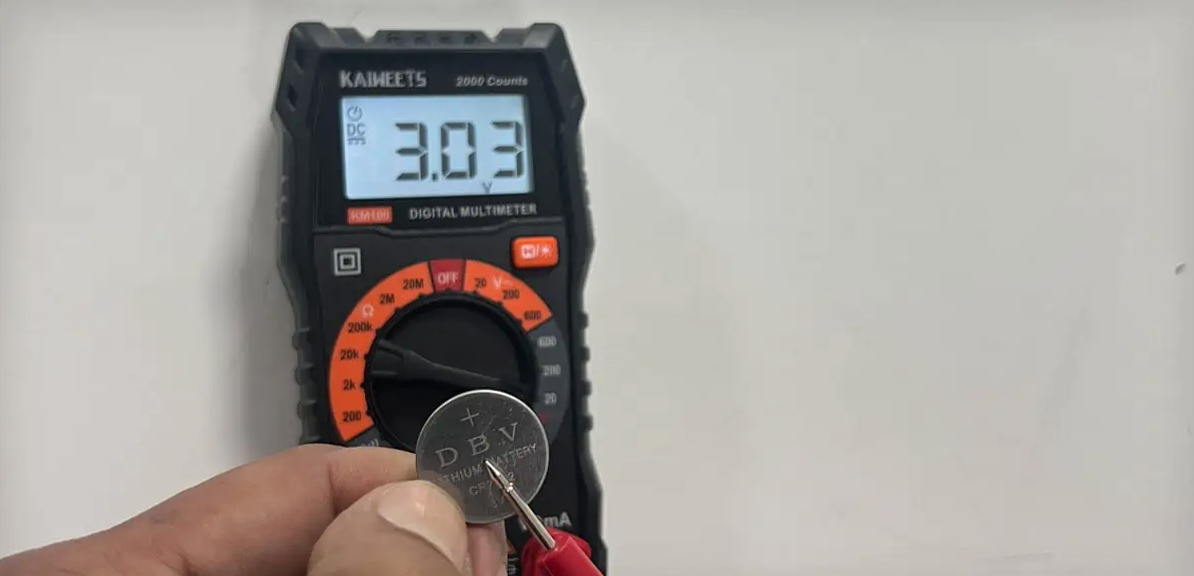
5- Wait for about 5 minutes before re-inserting the battery back into the motherboard.
6- While reinserting the battery into the socket, make sure the positive (+) side is facing up.

7- Connect the power cable, power on the computer, and boot into the BIOS.

8- Once in BIOS load the optimized defaults or reconfigure various BIOS settings as per your liking.
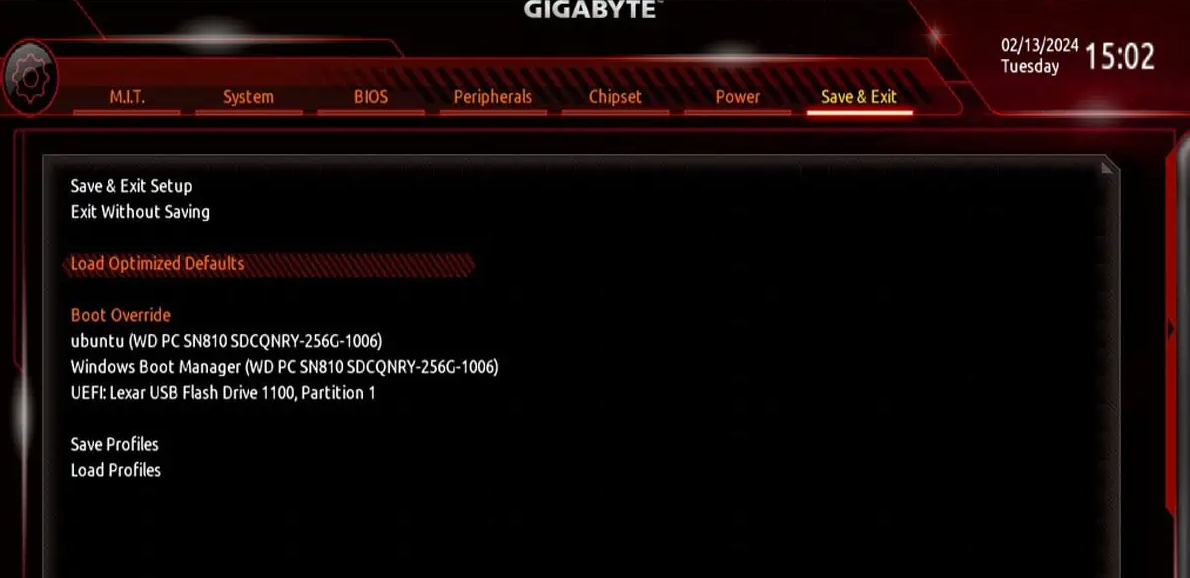
9- Save the changes and exit the BIOS.
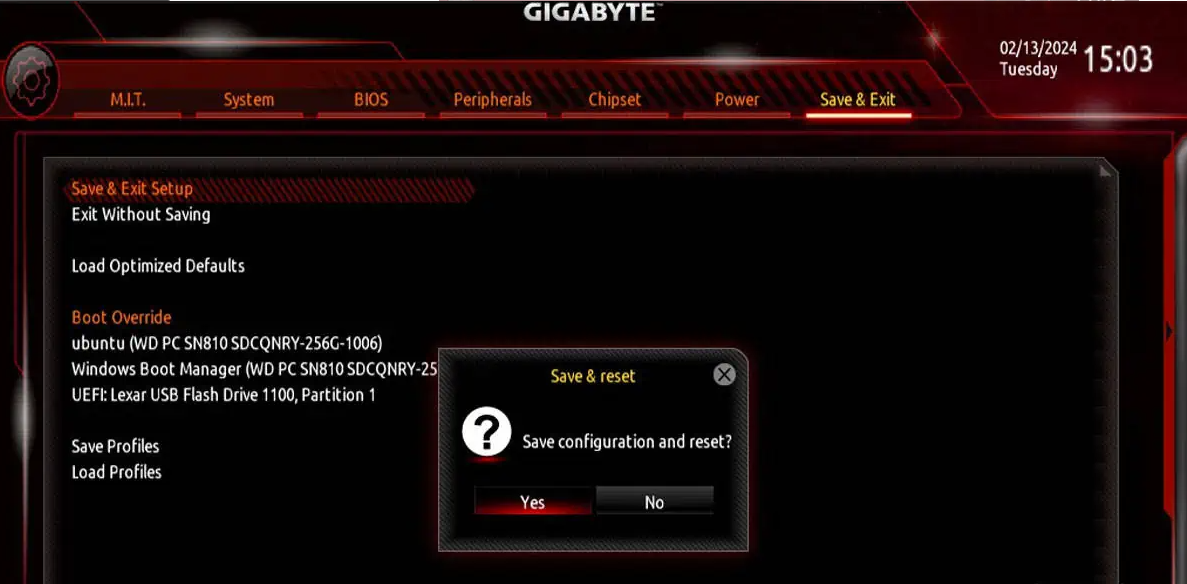
10- Your computer should successfully boot into the operating system. Once everything is running fine, power off your computer.
11- Replace the side panel and secure it with the screws.
Can a Motherboard Run Without a Battery?
Technically, YES. Removing the CMOS battery will allow your computer to run however, you will lose the date and time settings, the computer will boot with default BIOS settings or you will have to choose the drive that the OS is installed every time you start your computer.
Will Removing the Motherboard Battery Reset BIOS?
This is an excellent question I get asked a lot. The short answer is YES. If you remove the battery, wait approximately 5 minutes, and then reconnect it, it will reset the BIOS.
Can a CMOS Battery Cause a Black Screen?
A faulty battery removes all of your boot settings. It is very possible to see nothing but a black screen when booting up a computer with a dead CMOS.
For example, if you have a secondary video adapter that your monitor is plugged into and your BIOS has reset to default settings, your onboard video would be the new display and not your primary video adapter.
Did you like this article? Do not hesitate to share it on social networks and subscribe to Tech To Geek on Google News or our facebook page to not miss any articles!"Because of the Google update, I, like many other blogs, lost a lot of traffic."
Join the Newsletter
Please, subscribe to get our latest content by email.

